OneCG, is designed to simplify and automate the management and configurations of your Genesys platform. OneCG empowers your teams to efficiently manage configuration changes, reduce manual errors, and ensure consistency across environments such as development, testing, and production.
The OneCG suite includes three key modules that provide a comprehensive approach to managing Genesys CloudCX configurations:
1. OneTrack: Consists of 2 modules
OneTrack Lite – A free to use premium app that tracks all configuration changes for the past 14 days and supports one-click rollback (excluding deletions).
OneTrack Advanced – A premium solution that tracks changes for up to 3 months and enables one-click rollback for all changes, including deletions.
2. OneChange – A premium module that allows users to package configuration changes and promote them seamlessly from one org to another. For example, from development to pre-production to production. It includes features such as one-click rollback, Flow Promote (which handles flows along with all dependencies), exportable release notes, and CI/CD pipeline integration.
3. OneDesign: Consists of 2 modules
OneSync – Automates ongoing synchronization of configurations between orgs, such as keeping a disaster recovery environment in sync with production.
OneClone – Is a one-time-use module that allows users to copy the entire configuration of an org to another. Ideal for quickly spinning up development or testing environments from production setups
Steps to install OneCG in your platform:
Step 1:Sign in to your Genesys AppFoundry account, then search for ‘OneCG‘ using the application search bar.
Step 2: Click on the OneCG application. Once redirected to the OneCG page, select the ‘Configure’ option.
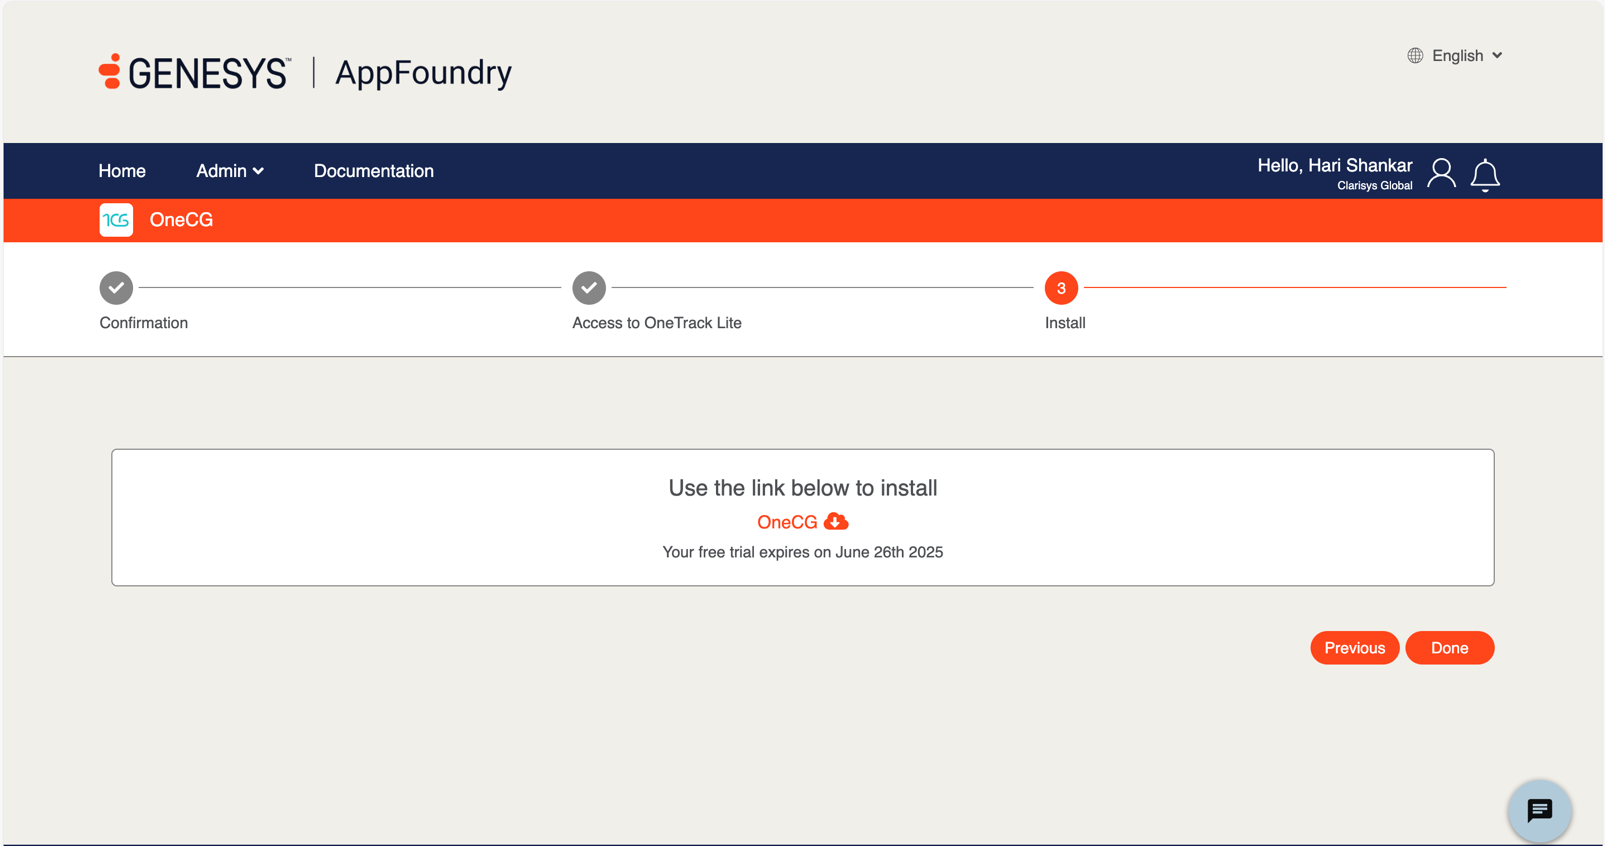
Step 3:A new page will open to guide you to install the OneCG module:
Confirmation: Confirm that you want to enable the OneCG module for your organization, then click Next.
Access to OneCG Module: You’ll be prompted to grant access for OneCG modules like OneTrack Lite. Click Next again.
Install: Click the installation icon for OneCG as shown in the image below.
Post-Installation Steps to access OneCG in your platform:
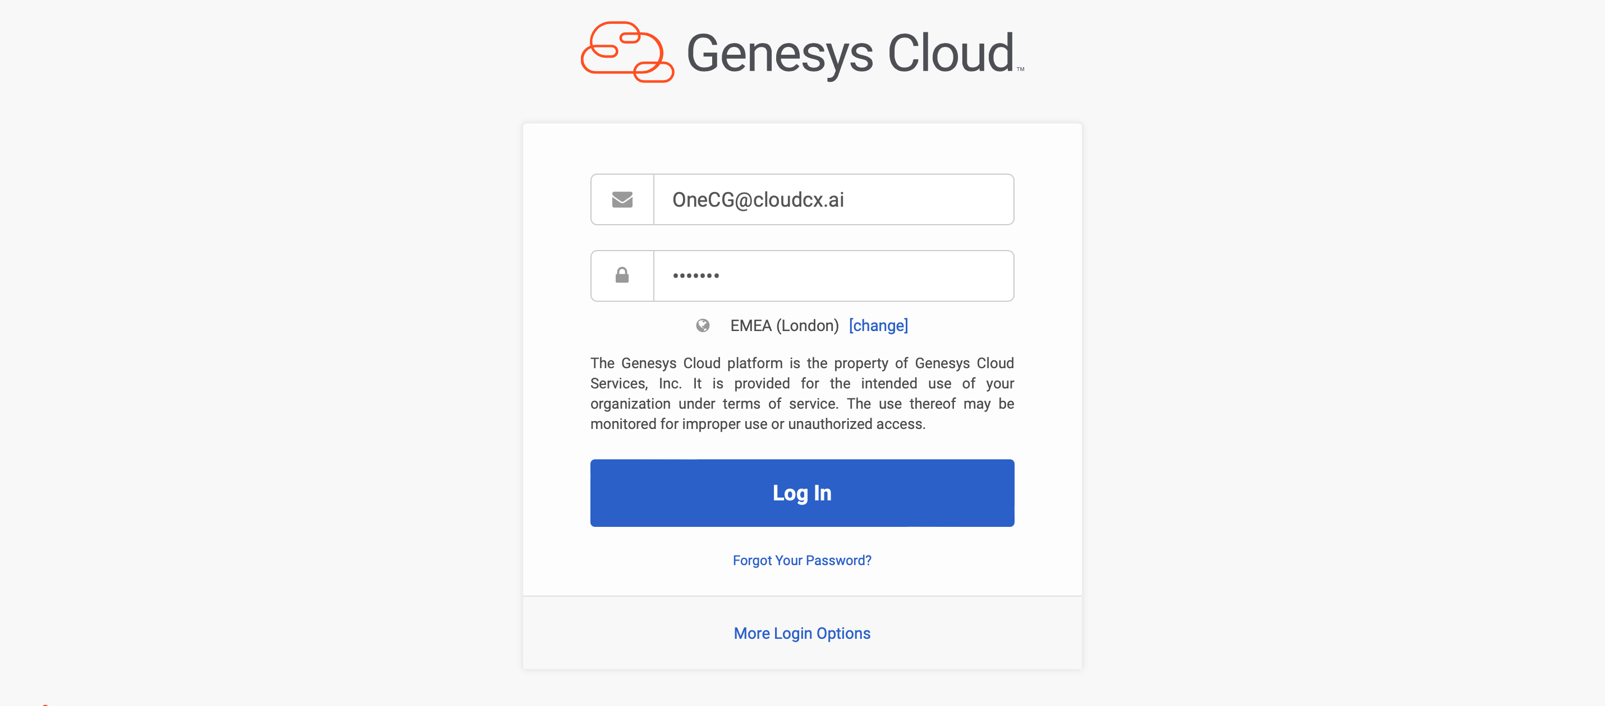
Step 1:Login to your Genesys Cloud platform.
Step 2:Click on the “Admin” dropdown and select “OneCG”.
Step 3:After navigating to the OneCG module, complete the setup.
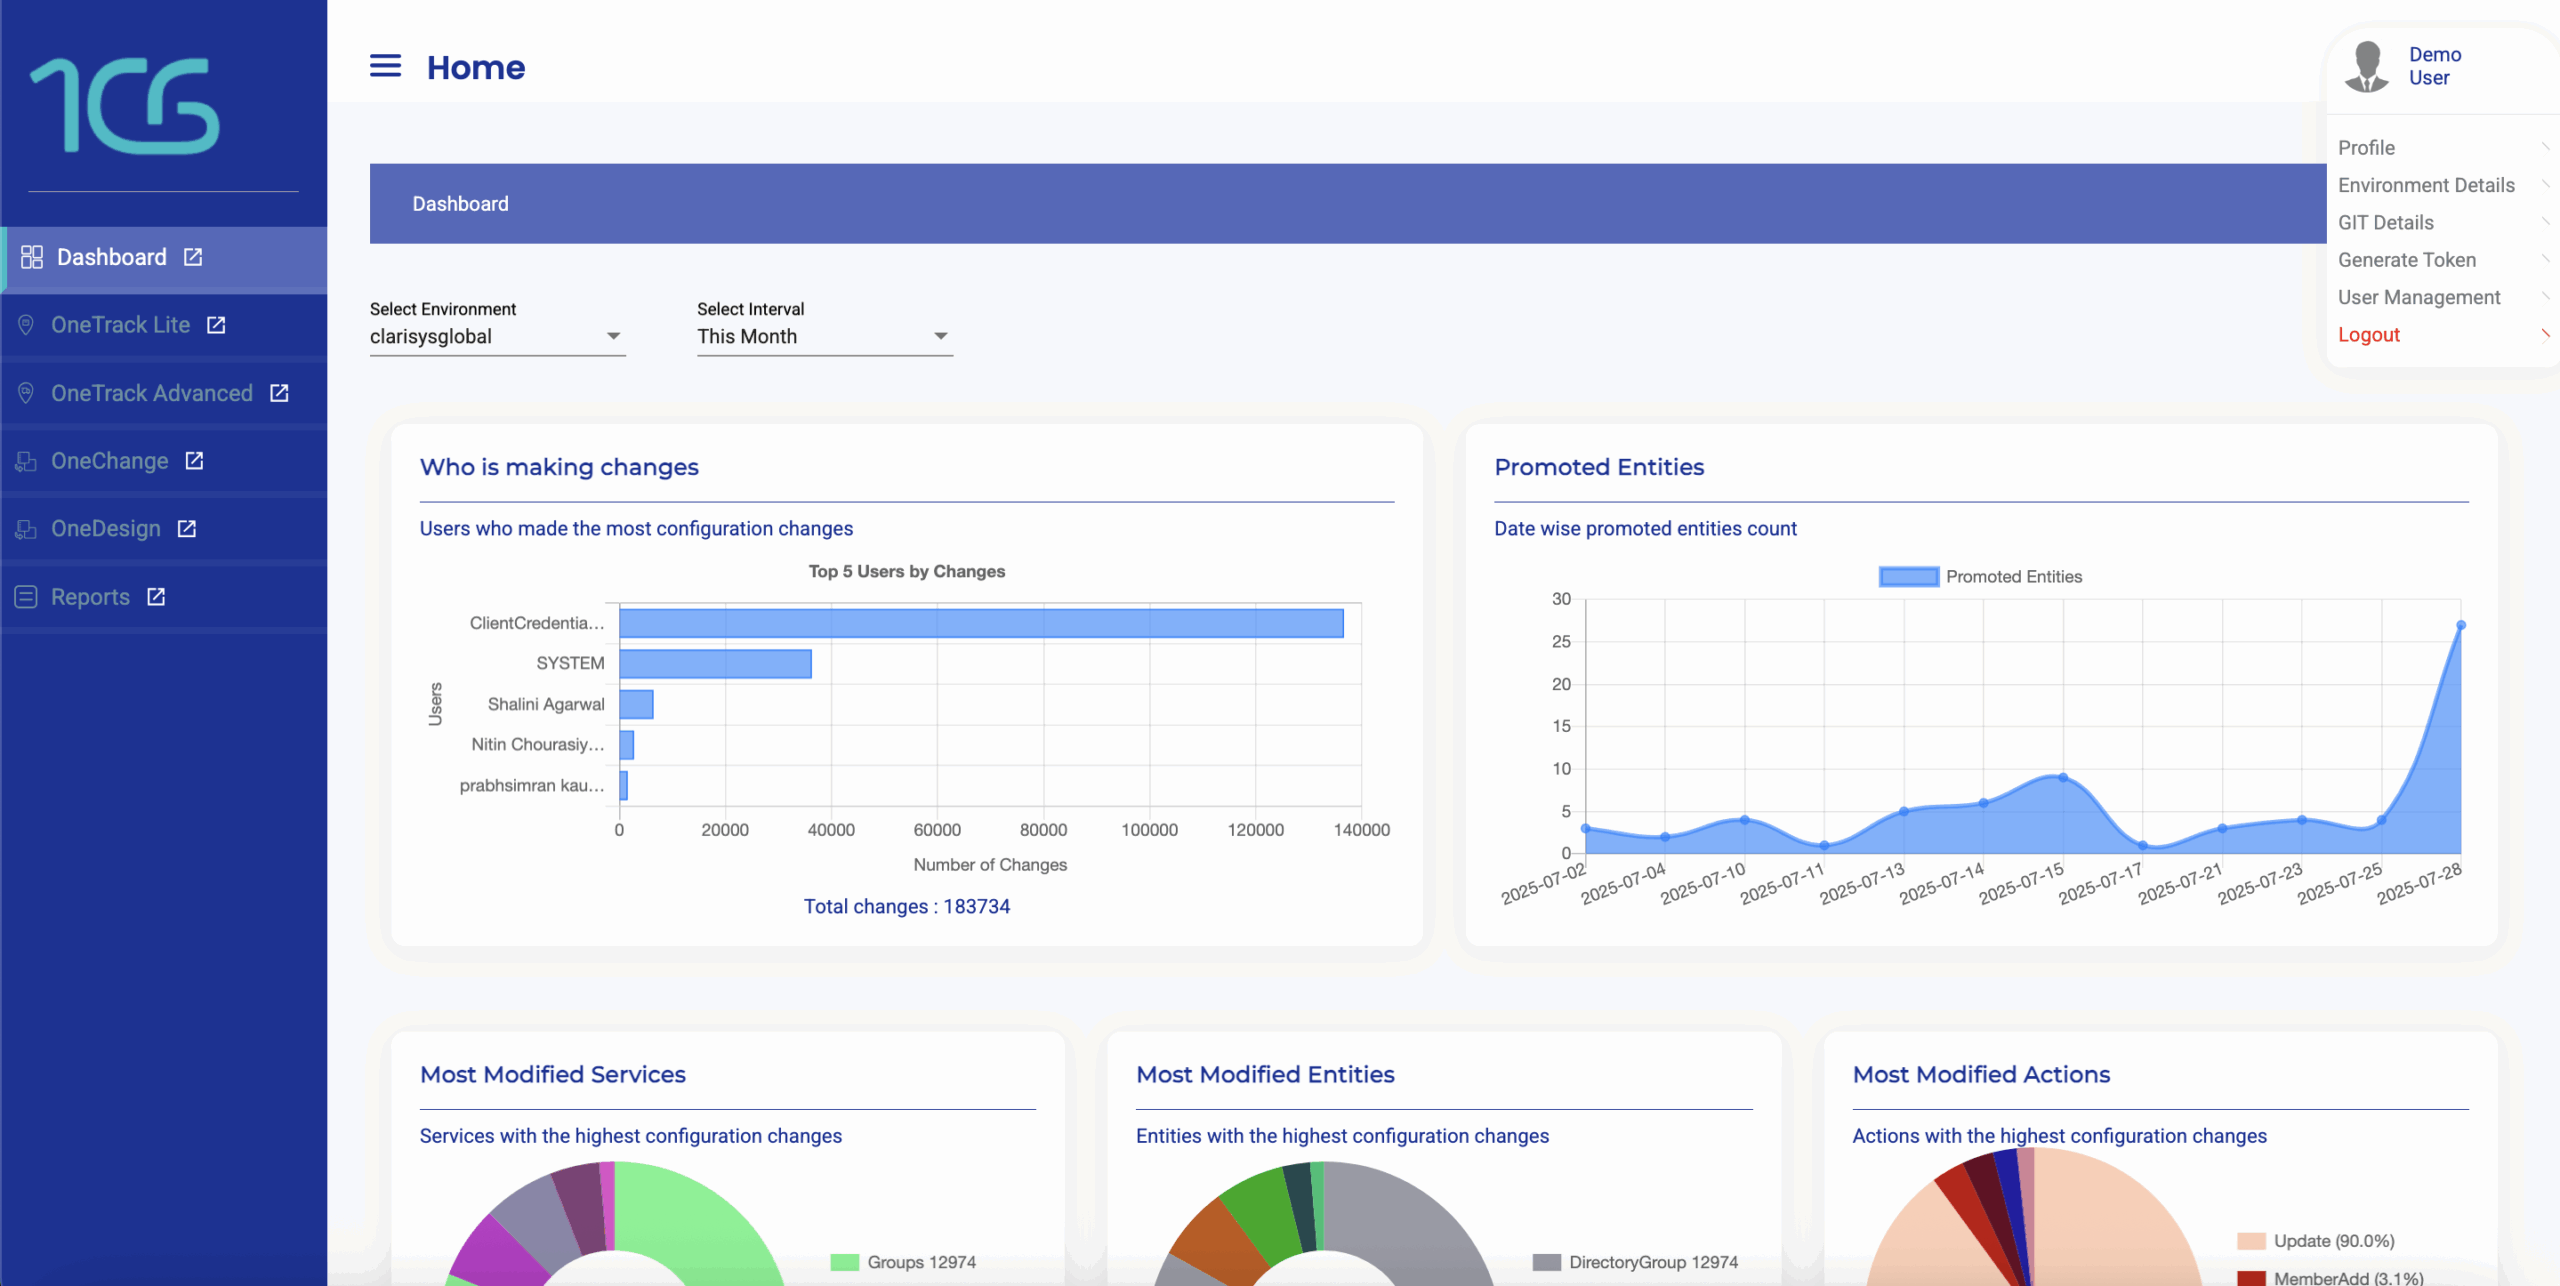
Step 4: You will be redirected to the OneCG application and all modules will appear on the left-hand side of the screen:
OneTrack Lite
OneTrack Advanced
OneChange
OneDesign
Profile Settings
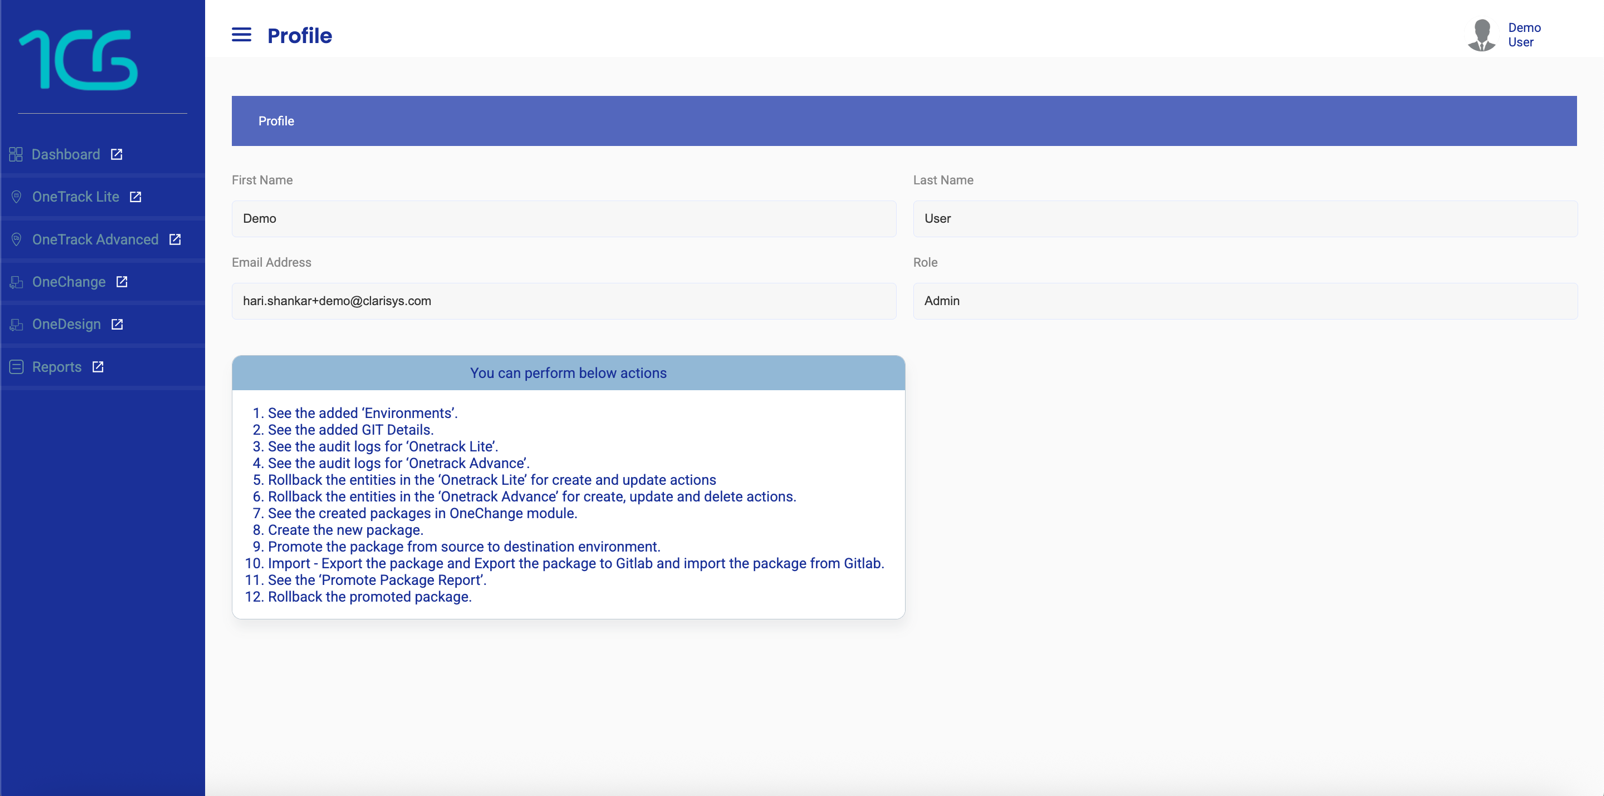
The Profile section allows users to manage personal settings and platform configurations. It includes the following key areas:
Profile: Edit your first and last name and view your email address and assigned access role within OneCG.
Environment Details: Displays information about your configured working environment. You can also add and manage new environments as needed.
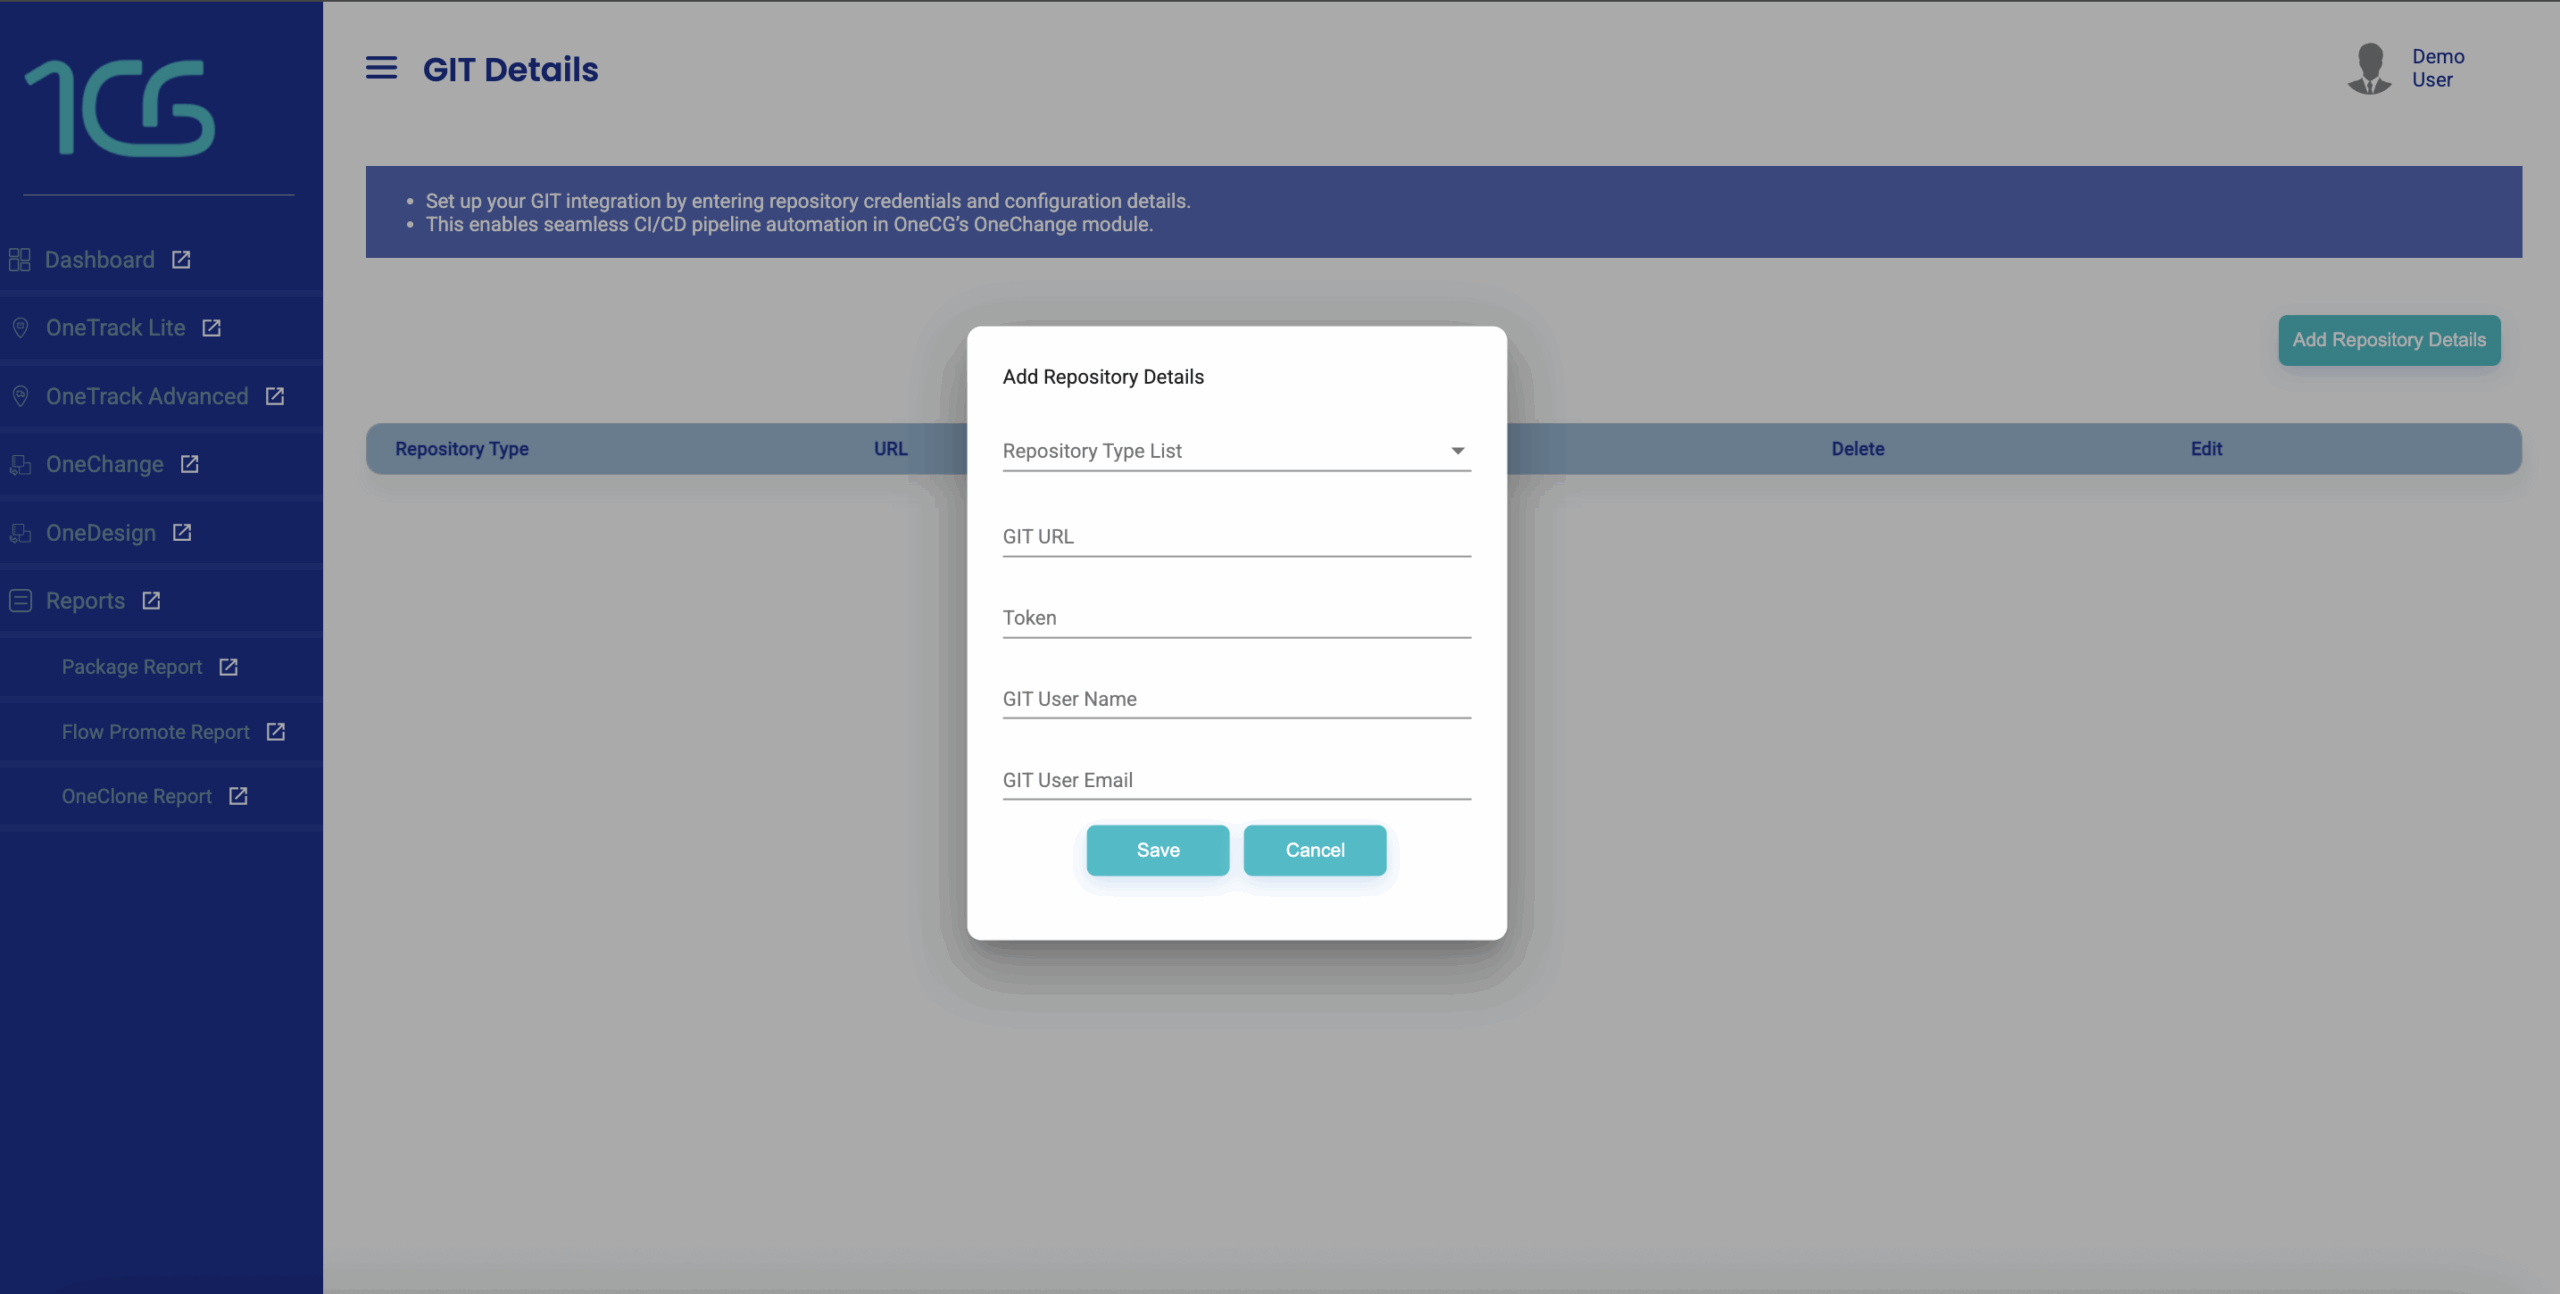
Git Details: Link your Git repository by entering credentials and configuration settings.
Generate Token: Users can generate a token to provide secure access to OneCG APIs for other applications or services.
User Management: View and manage the list of users on the platform. Only Admins can invite new users and assign one of the following roles:
Read – View-only access
ReadWrite – View and edit access
Admin – Full access including user and system management
Step 1: On the right-hand side of the screen, click the profile icon to reveal the following five options:
Profile
Environment Details
GIT Details
Generate Token
User Management
Profile
Step 1: Select the “Profile” option to view your user details. Here, you can:
View your First Name and Last Name.
View your registered Email Address.
See your assigned Access Role within the OneCG platform. Your access role determines the level of permissions you have on the platform.
Environment Details
Step 1: Click “Environment Details” to add new environments. This section displays information about the working environment(s) you have configured.
Click the Add Environment button.
Fill in the required information.
Click Save to add the environment.
GIT Details
Step 1: Click “Add RepositaryDetails” to link your Git repository by entering your credentials and configuration details.
DROP US A LINE
Connect with CloudCX
Ready to take the first step towards unlocking opportunities, realizing goals, and embracing innovation? We're here and eager to connect.