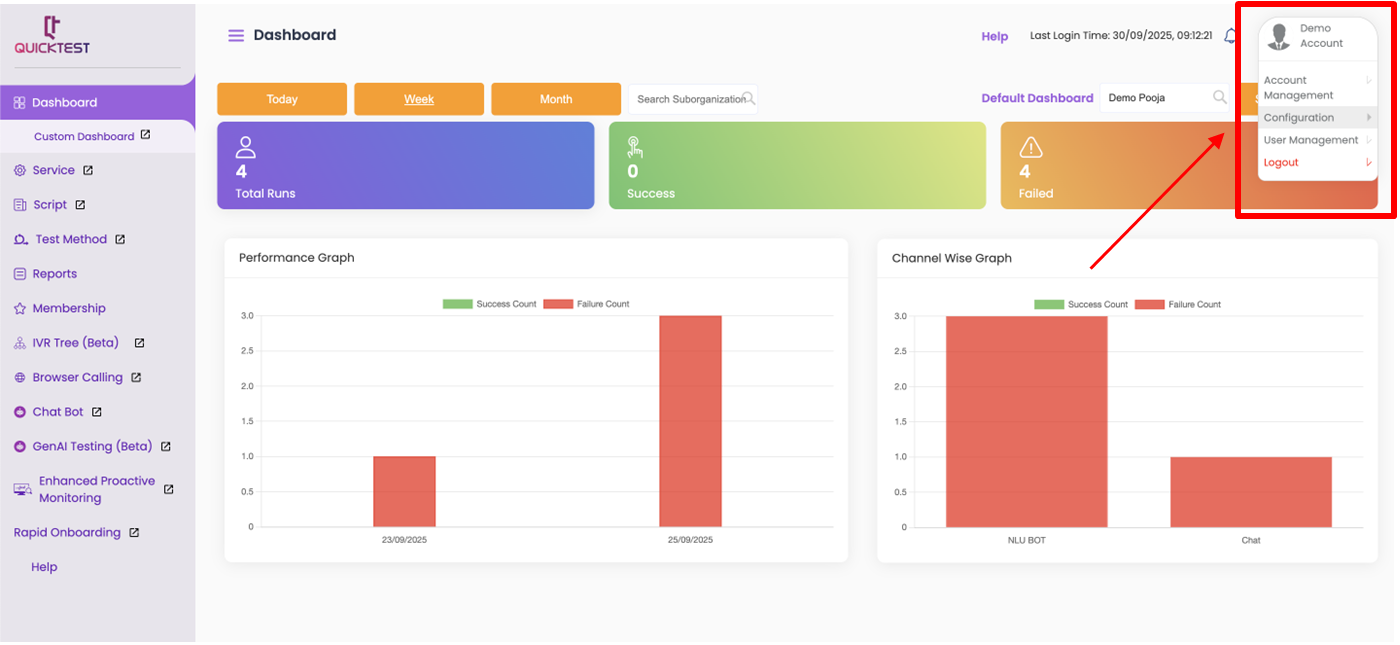
You can find details related to configuring your scripts, sprints and test methods in the top right corner under Profile settings.
Channel Profile #
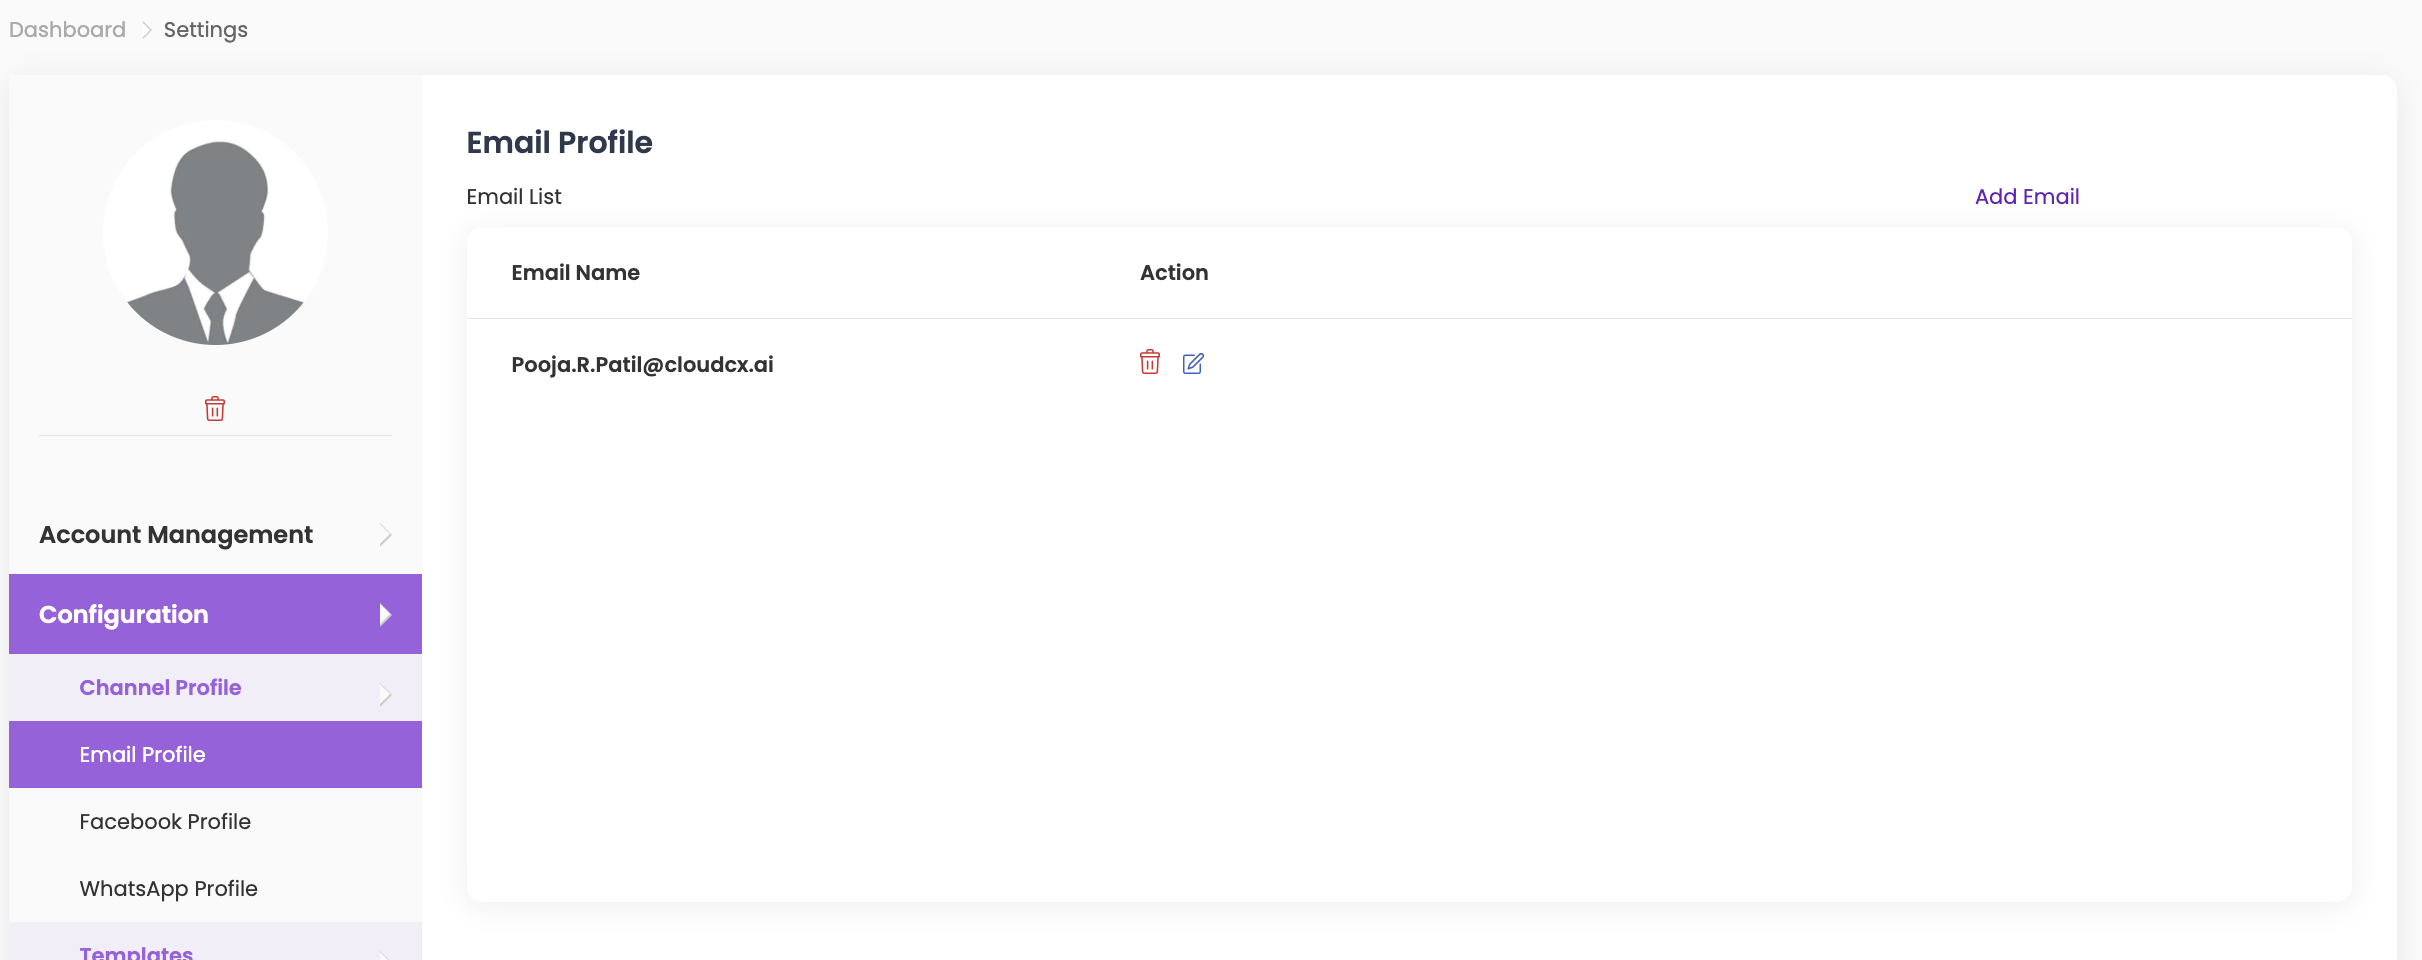
Email Profile #
- Select Add Email, then enter Email, Client ID, Tenant ID, and Client Secret, and click Submit.
- To edit or delete the email profile, click the respective icons under Action in Email Profile.
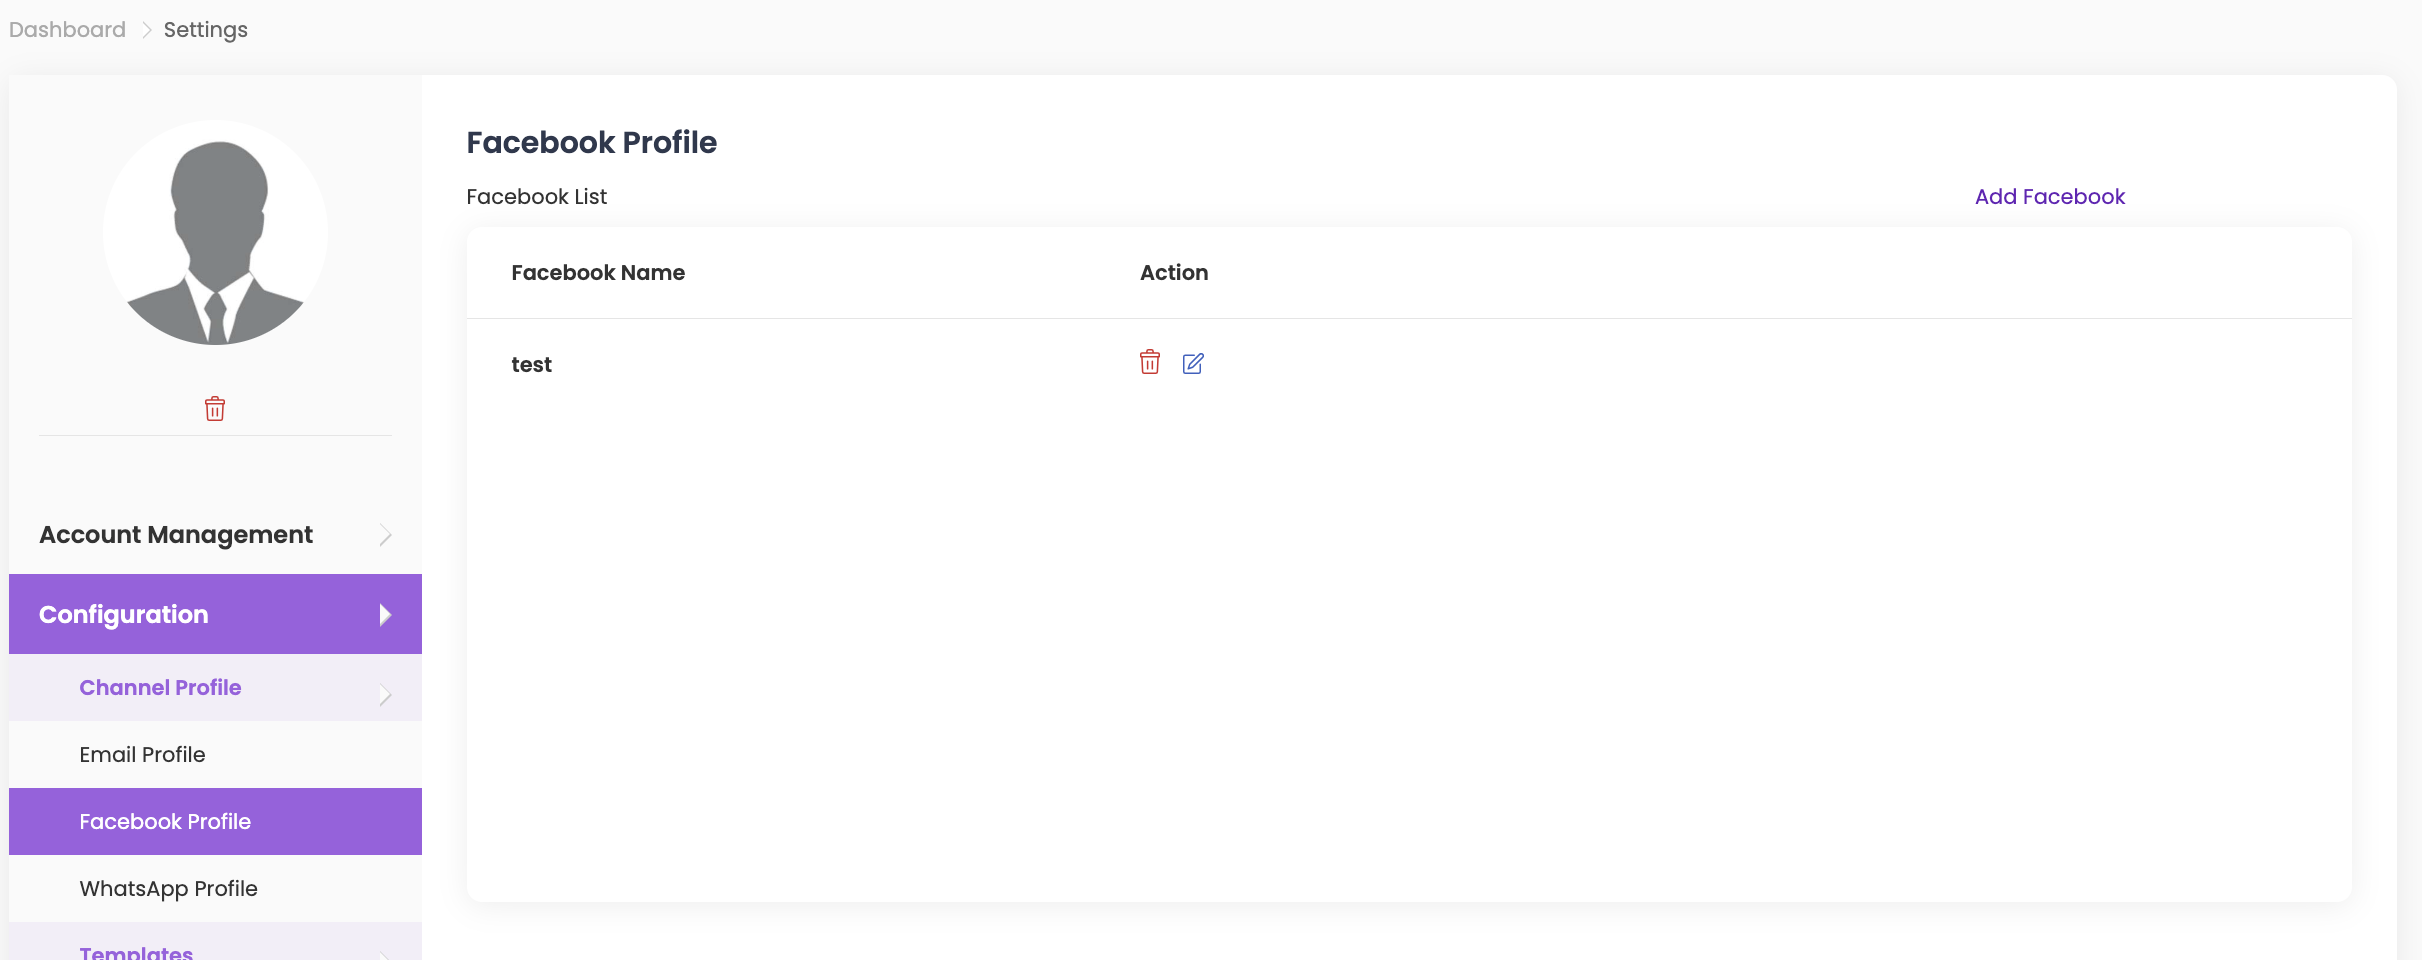
Facebook Profile #
- Select Add Facebook, enter your User Name and User Password, then click Update.
- To edit or delete the Facebook profile, click the respective icons under Action in Facebook Profile.
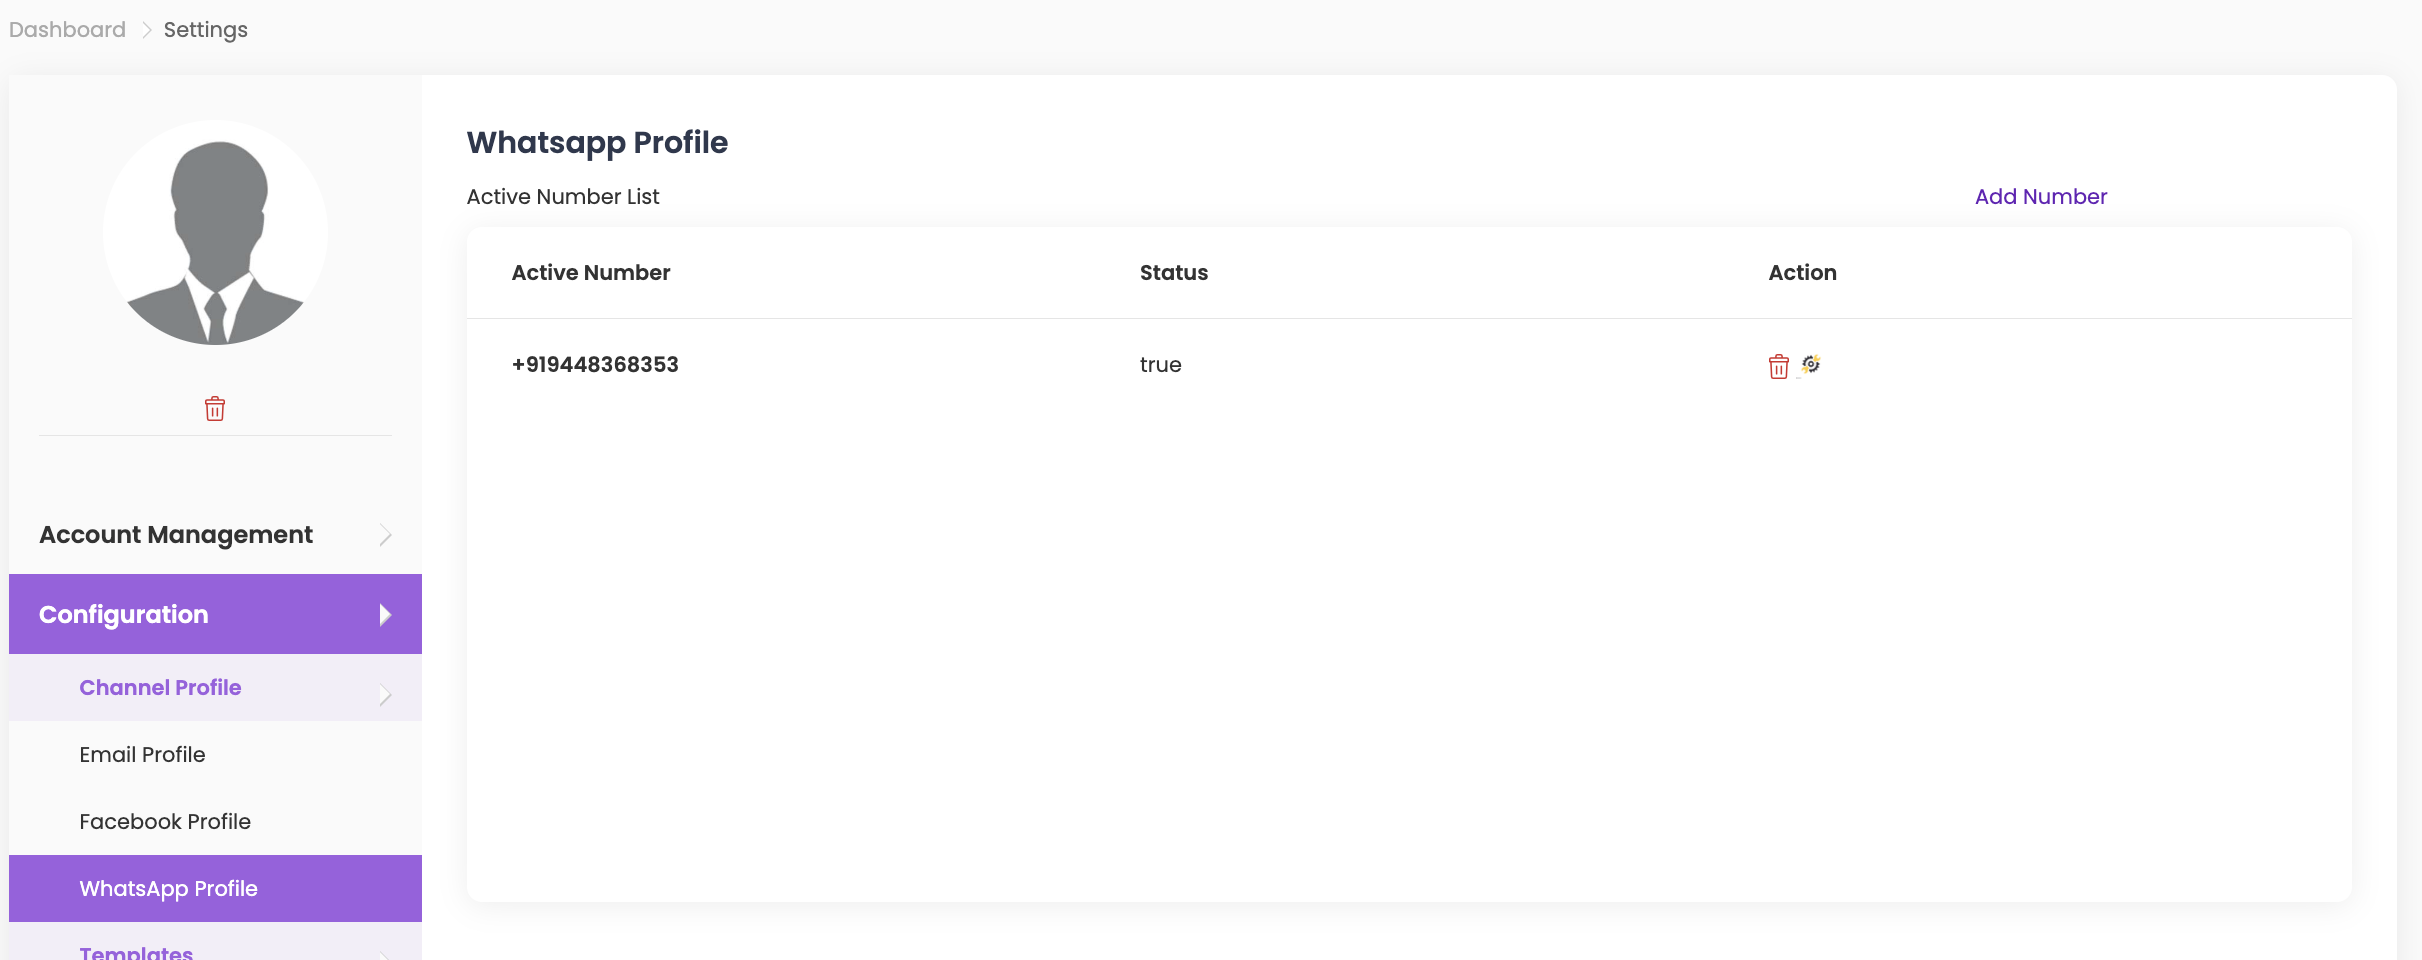
WhatsApp Profile #
- Select Add Number, choose a Country Code from the dropdown, enter your From Number, and click Submit.
- To create a session, scan the generated QR Code on the screen from your mobile device.
- Click Back to view the status of your number:
- True = number scanned successfully
- False = number not scanned
- To delete the session, click Delete under the Action column.
Templates #
Sprint Template #
- Select Add Sprint Template, then enter the Sprint Template Name.
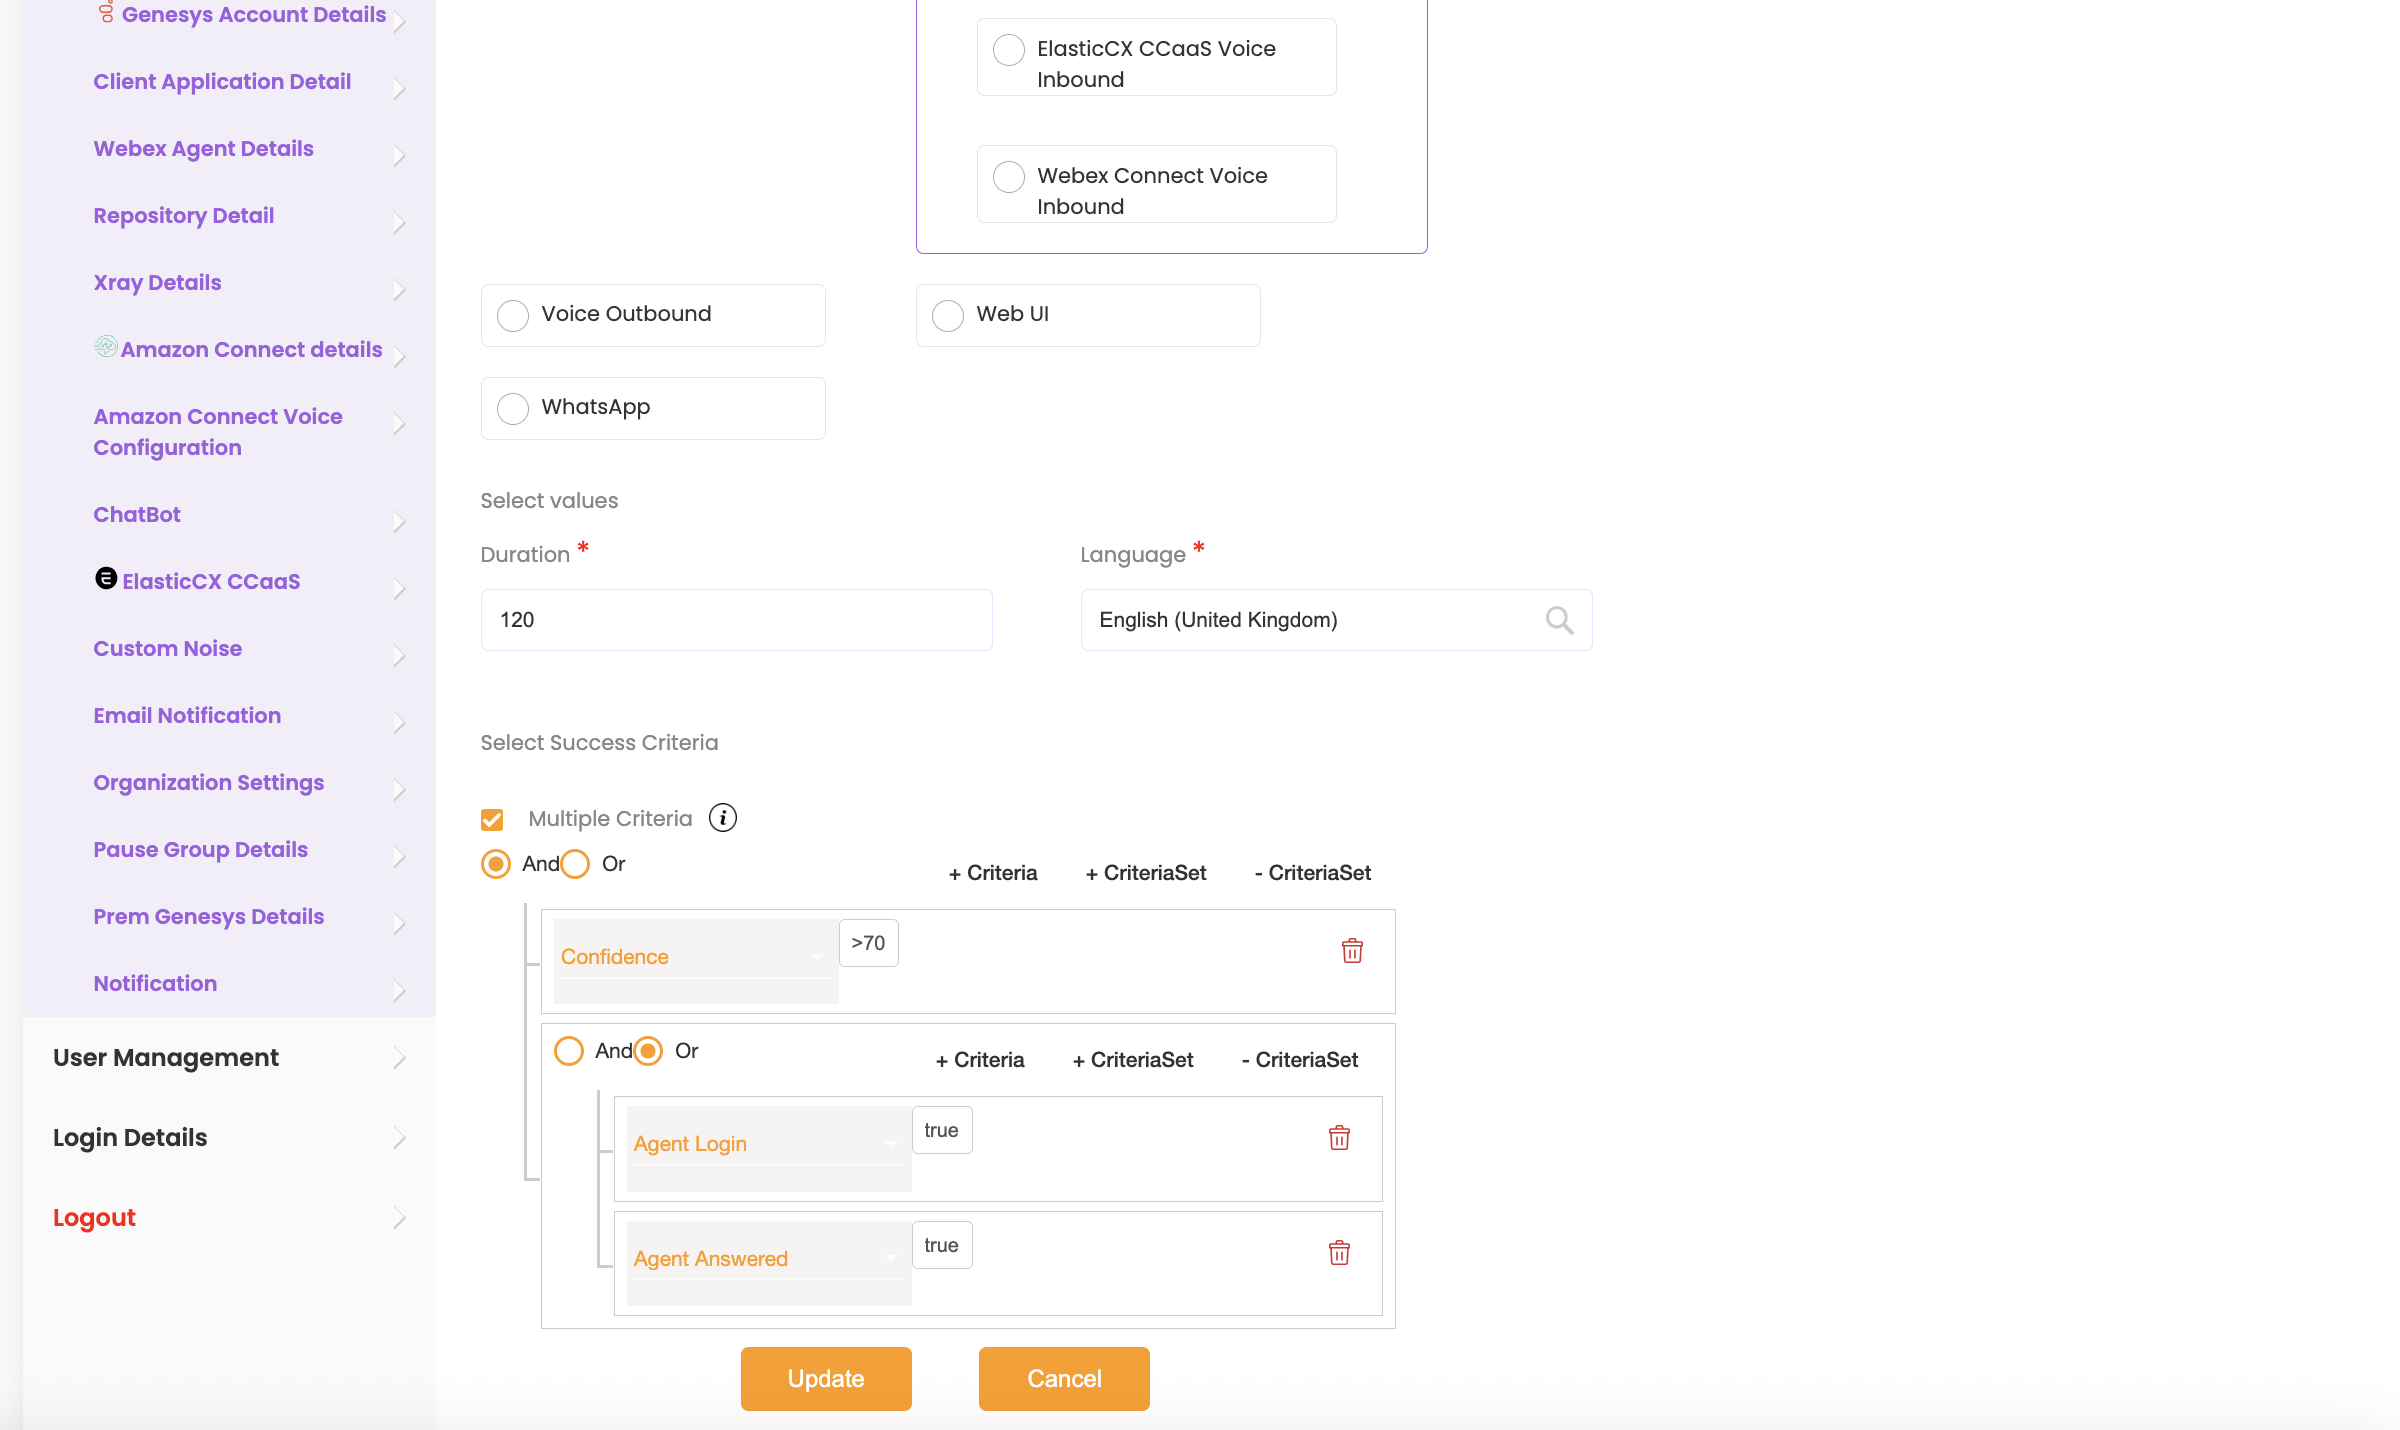
- Choose the Channel, enter the Duration, select the Language from the dropdown, and select either Success Criteria or Multiple Criteria.
- Click Update to save.
- To edit or delete the sprint template, click the respective icons under Action.

Note: To set up multiple criteria’s follow the steps below:
Multiple Criteria Steps
- Click on +criteria to add multiple criteria with AND/OR conditions between them.
- Click on +criteriaSet to add a new rule set. Within a rule set, you can add multiple criteria by clicking +criteria again.
- Example: To create the expression (Confidence > 70 AND (Agent Login = true OR Agent Answered = true)):
- Click +criteria and select Confidence with value >70 from the dropdown.
- Click +criteriaSet to add a new rule set. Select the condition as AND.
- Inside this new rule set, click +criteria twice to add two criteria:
- Select Agent Login = true
- Select Agent Answered = true
- Set the condition between these two as OR.
- Click Update to save.
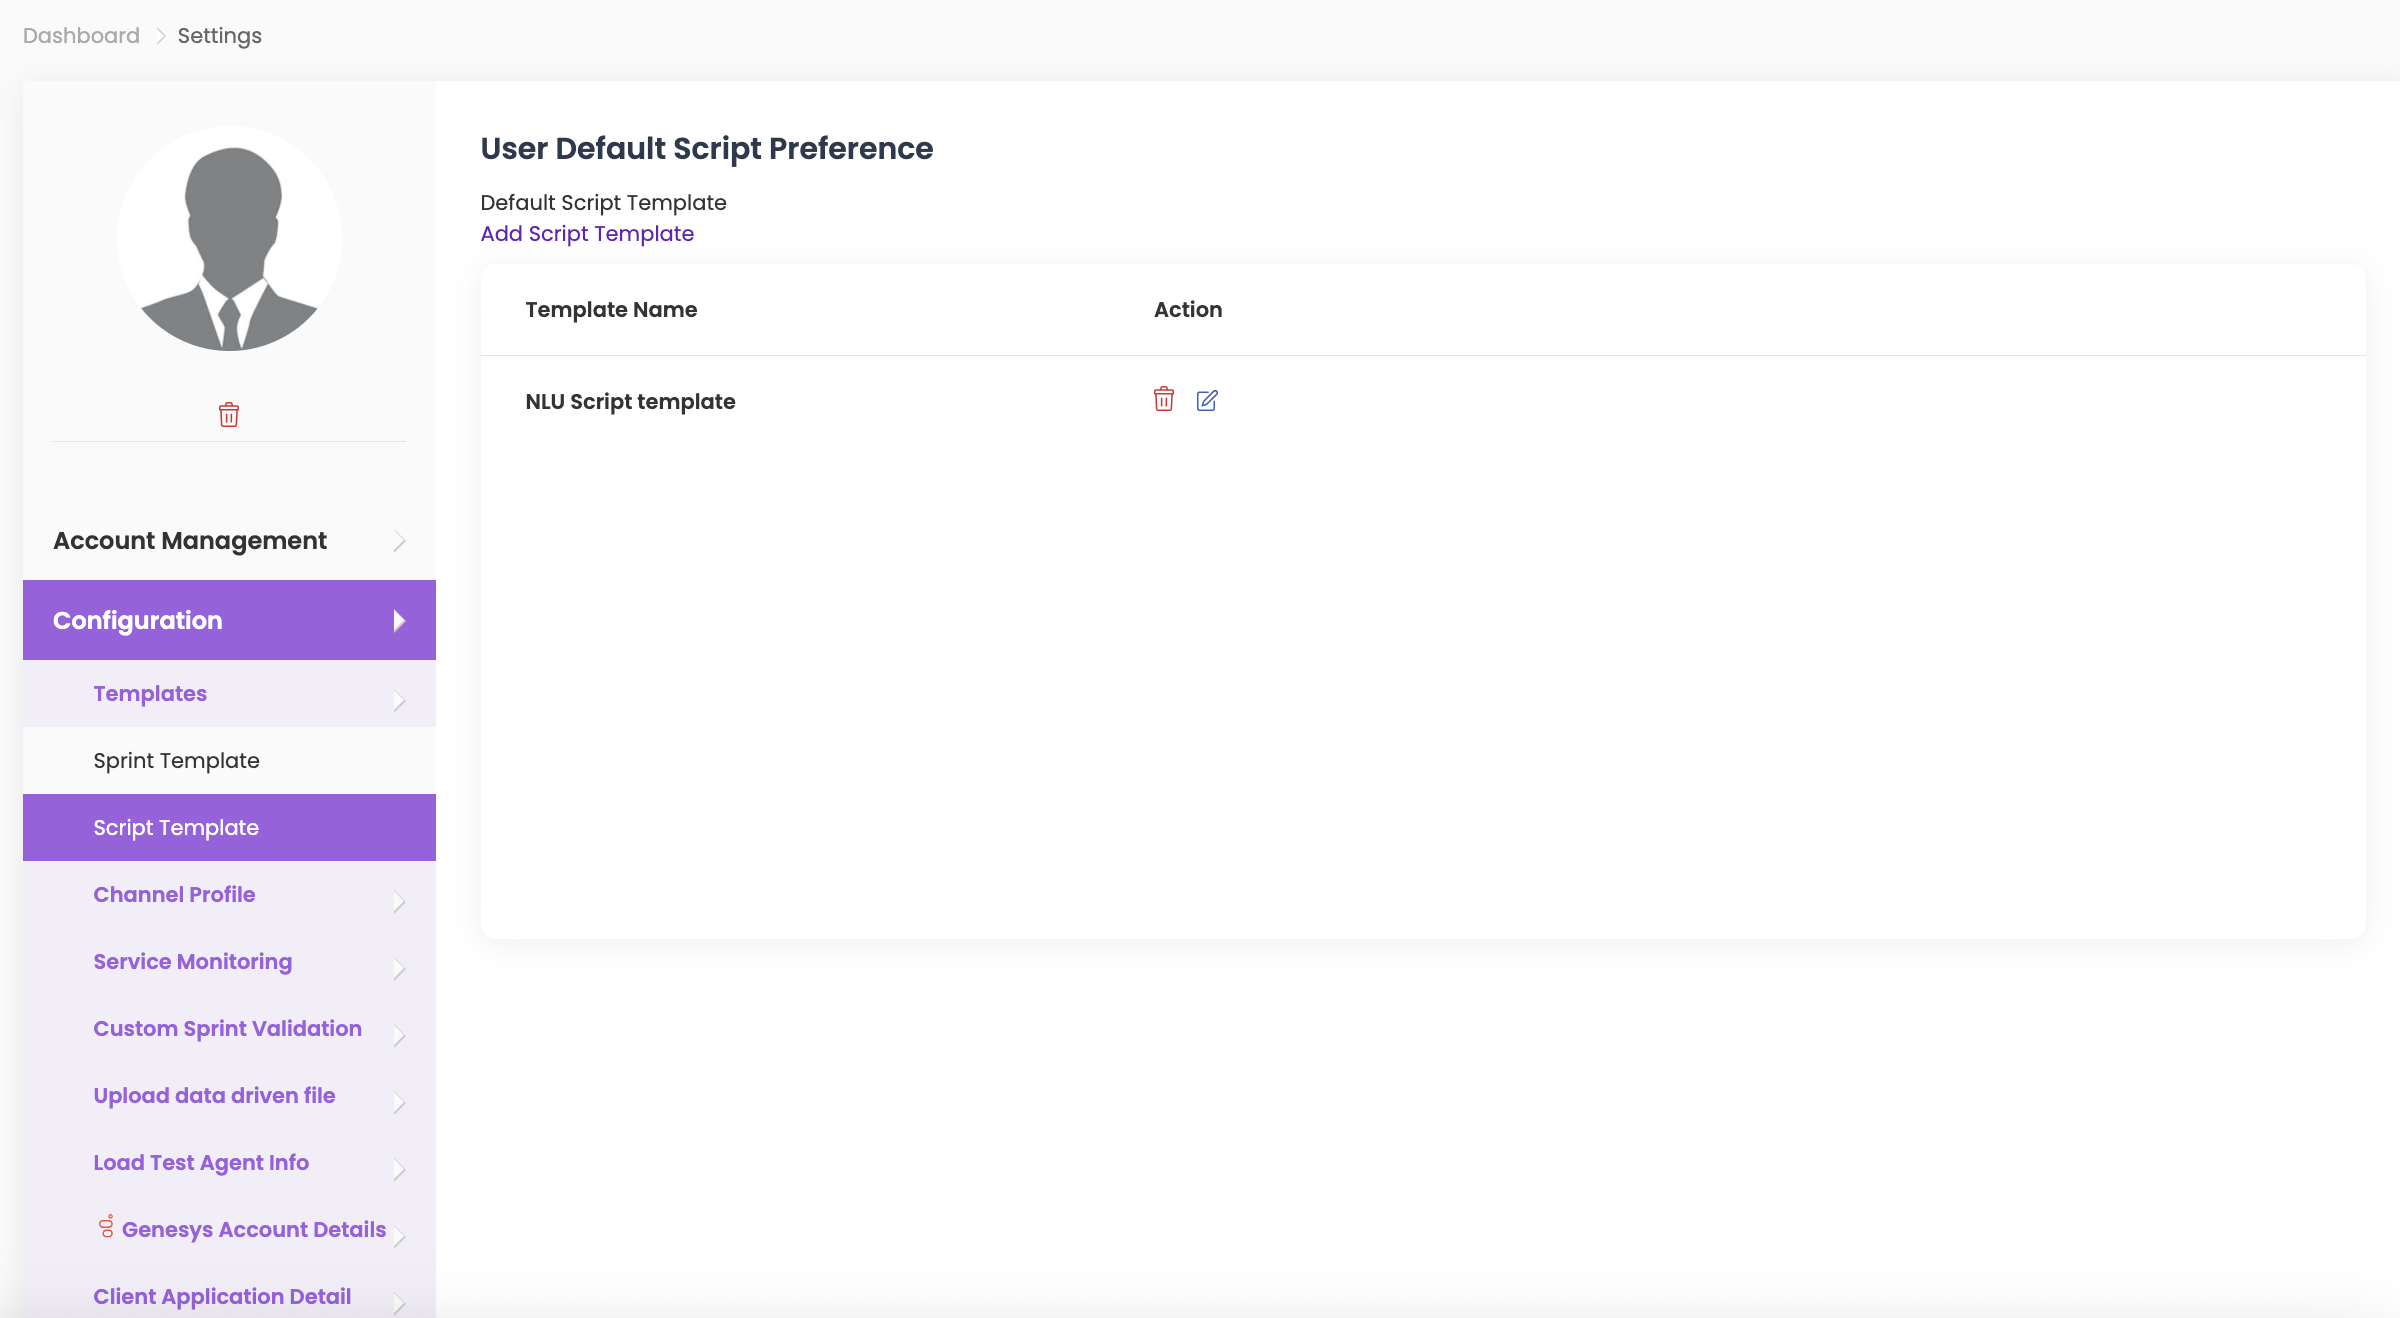
Script Template #
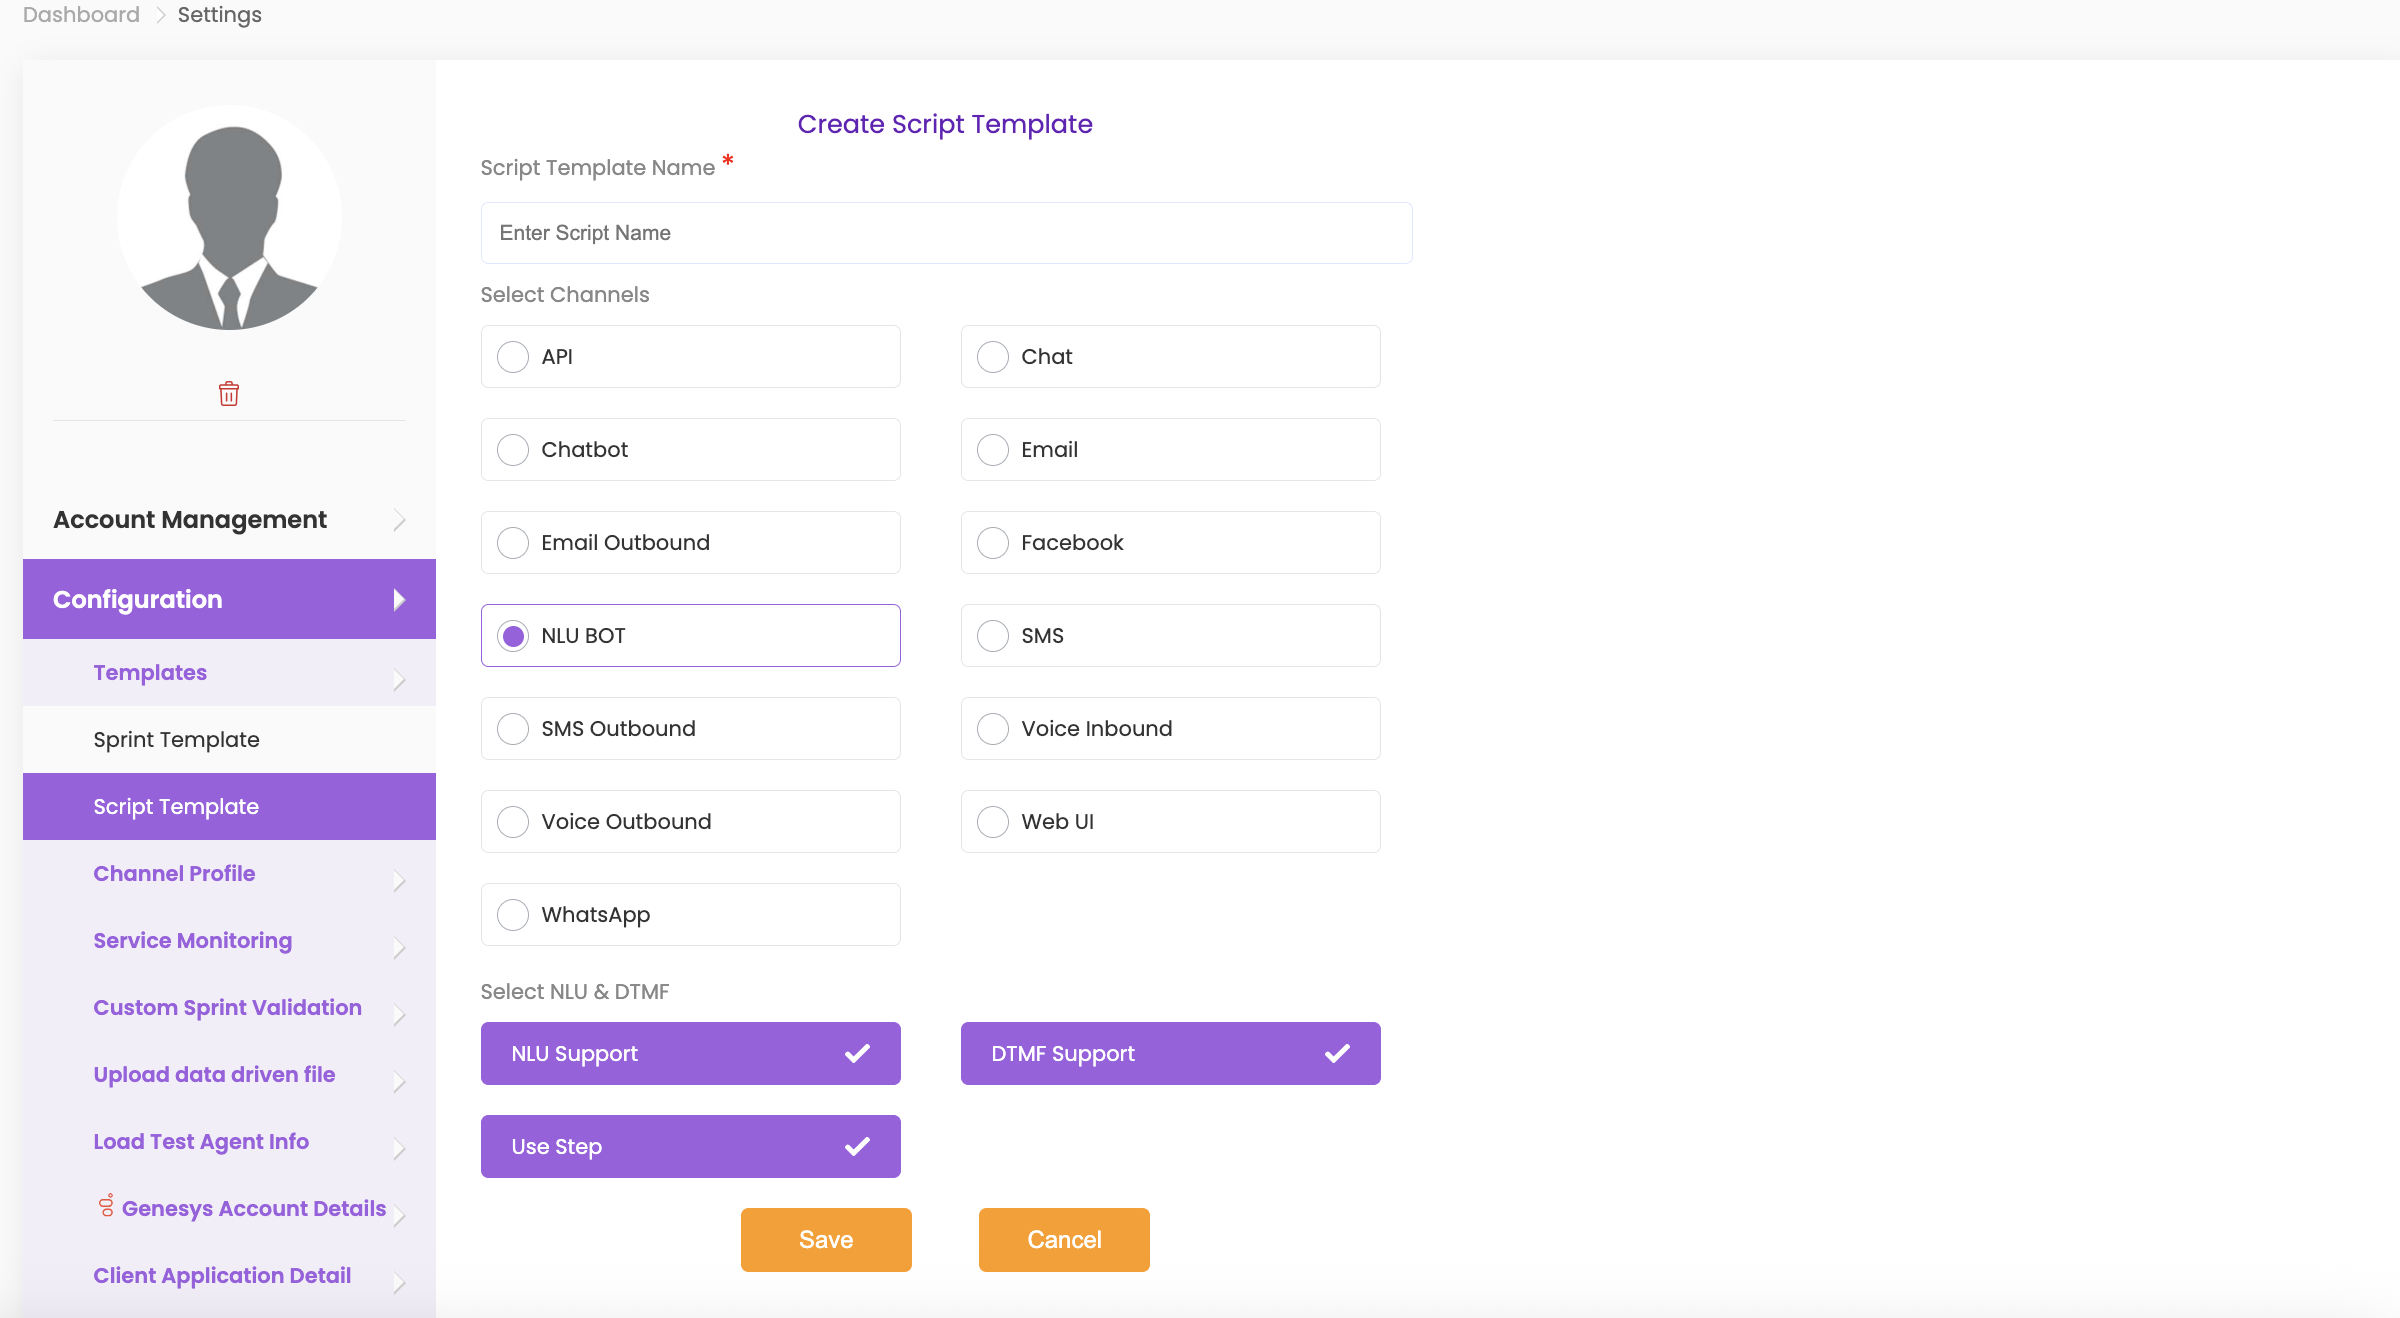
- Select Add Script Template, then enter the Script Template Name.
- Choose the Channel.
- Select NLU and/or DTMF and use Step as required.
- Click Update to save.
- To edit or delete the script template, click the respective icons under Action.
Note:
1. NLU Support: If you select NLU support, QuickTest will respond to the IVR with speech.
2. DTMF Support: If you select DTMF support, QuickTest will respond to the IVR by sending DTMF tones based on your script.
👉 You must select either NLU support or DTMF support. You can also select both if your IVR uses a combination of the two.
3. Use Step: The message played by the IVR is checked against the steps defined earlier. Using Step ensures the test flow matches the script in exact sequence.
Example:
- Expected first IVR message: “Welcome to QuickTest! How can we help you?”
- If a different first message is received, the test will be marked as failed (since the step did not match).
- Without using Step, all messages in the script are checked regardless of order.
- If any received message matches one from the script, the test is considered successful, even if the sequence differs.
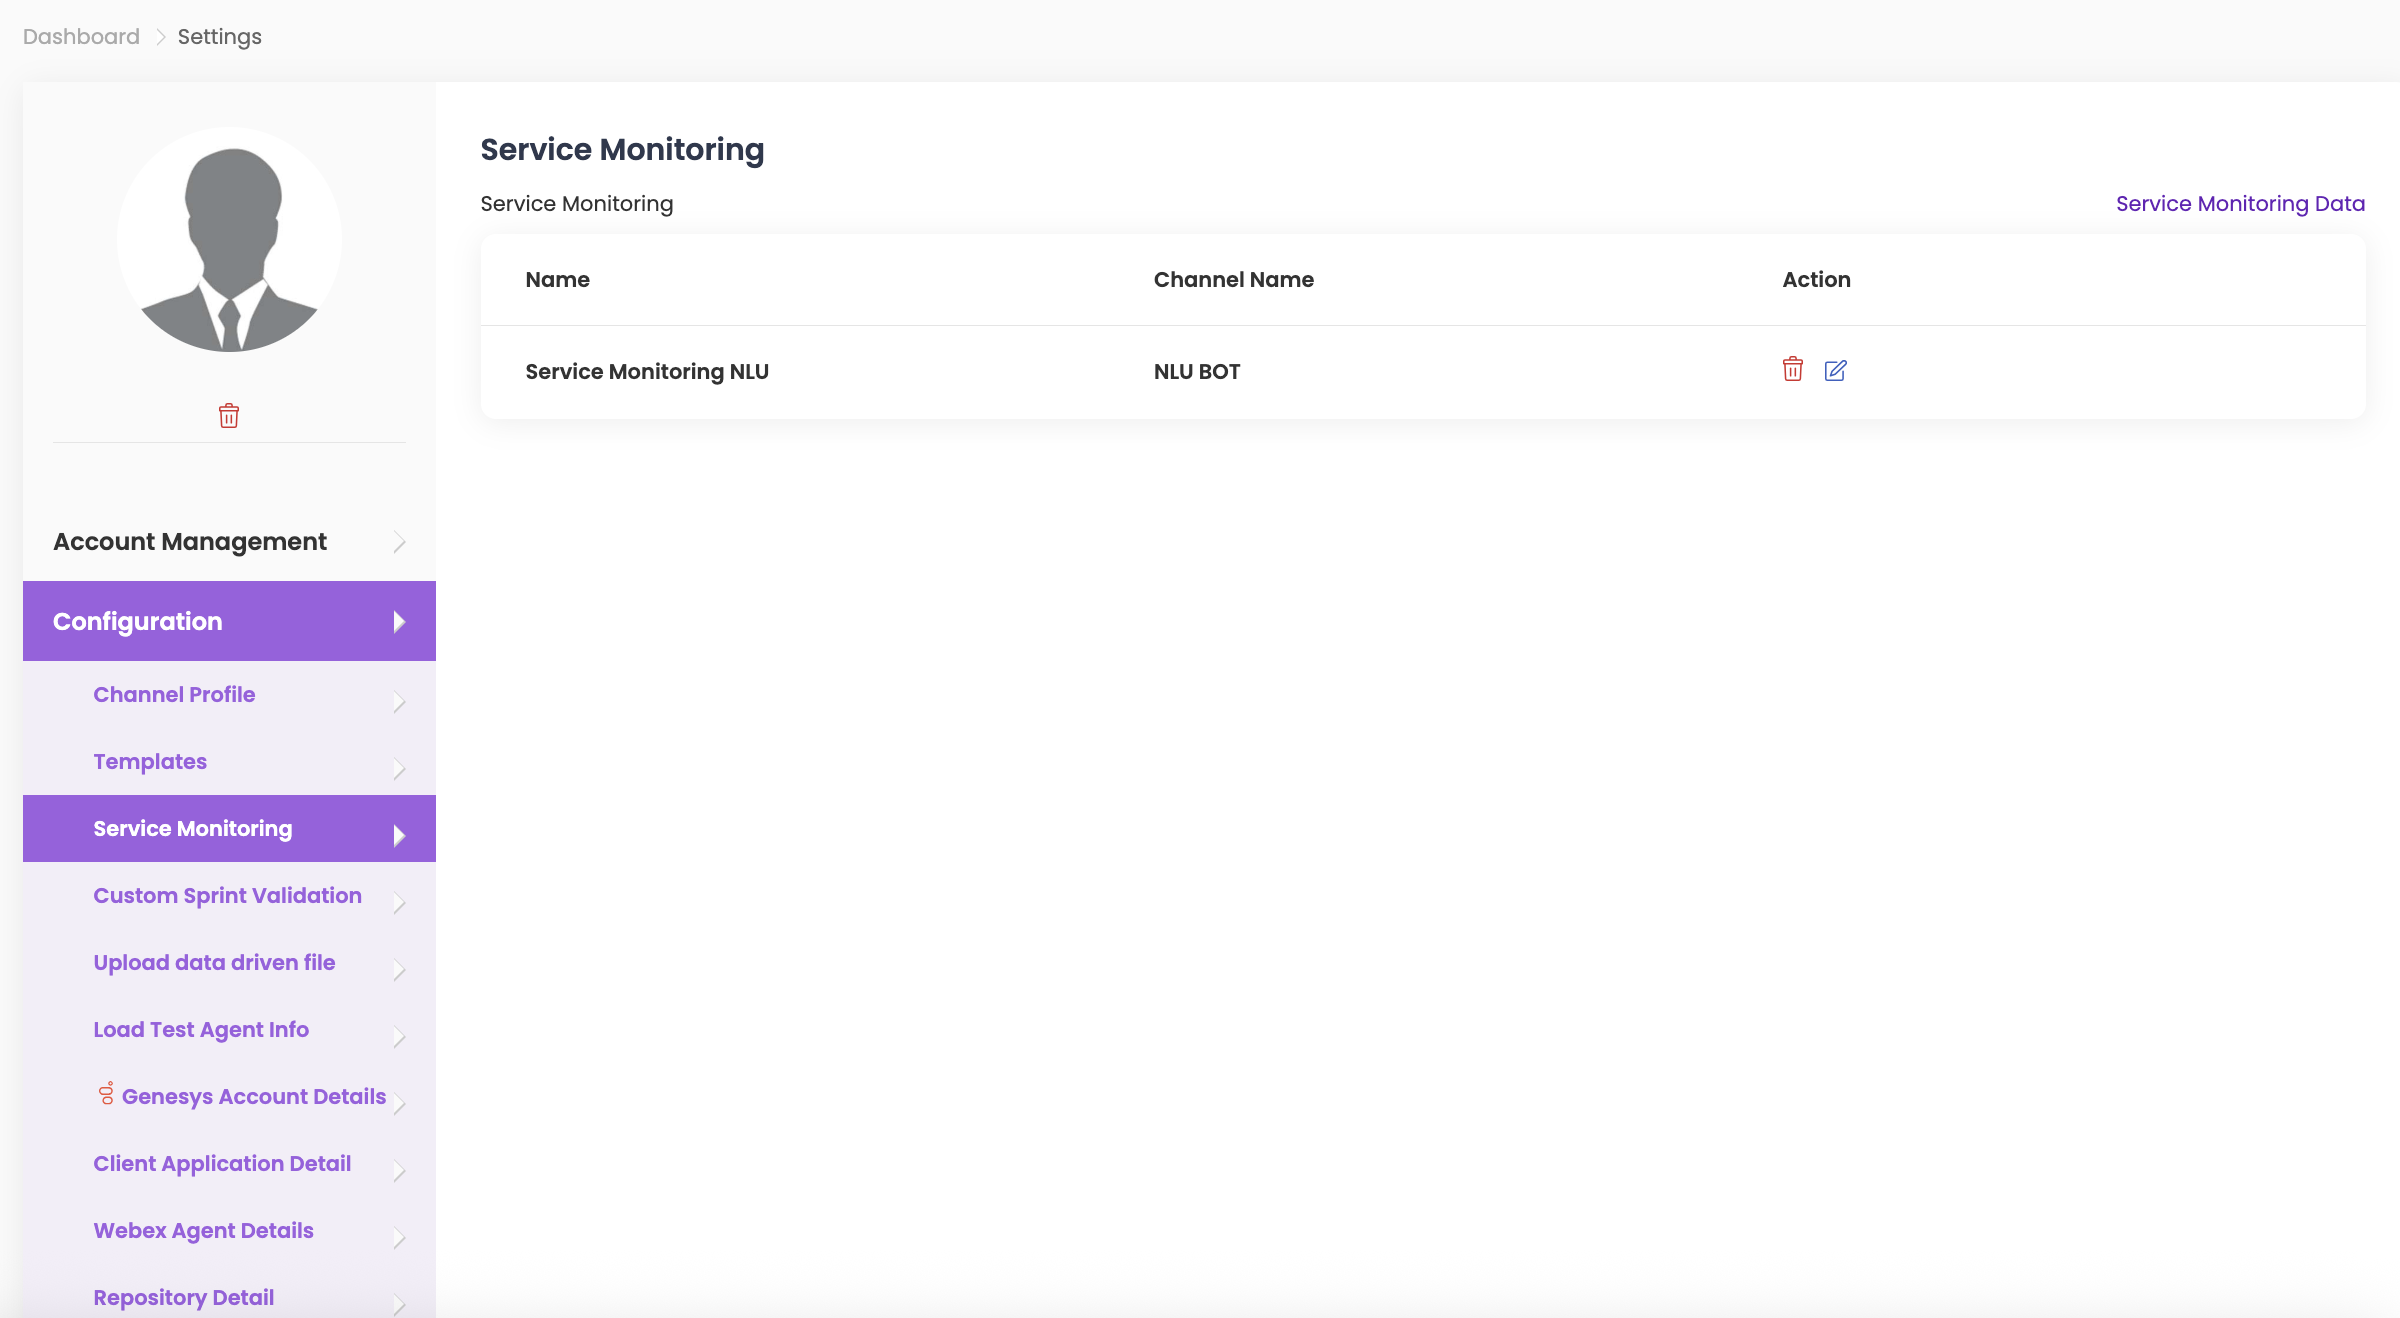
Service Monitoring #
You can add custom parameters to check the health of your channels by conducting tests with pre-defined parameters for your NLU bots and Voice Inbound channels.
- To define custom parameters, click on Service Monitoring Data, enter the Name, and select the Channel Name from the dropdown options.
- Select the Service Monitoring Parameters from the dropdown menu:
- Answering – time taken for a call to connect to an IVR (in seconds).
- Correct Prompts – average confidence of all messages in that execution.
- Welcome Prompt – accuracy of the welcome prompt delivered by the IVR.
- Responsiveness – time taken for the IVR to respond back to the customer.
- For each parameter, enter the min and max range within which the result will be determined as successful, satisfactory, or failed.
- Once these parameters have been customized, click on Save and your test sprints will be calculated against the set parameters.
- To edit or delete service monitoring data, click on the respective icons under Action and update your changes.
- Go to the Dashboard and click on Service Monitoring at the top right of the screen to view your results.
Custom Sprint Validation #
Custom Sprint Validation enables you to add custom criteria in Success Criteria for Voice Inbound, Voice Outbound, and NLU channels by specifying the Key and Value parameters.
This can be used to validate user information (e.g., agent validating first name, postal code, date of birth, etc.) or script data (e.g., validating the first and last message received).
- Click on Add New Custom Sprint Validation.
- Enter the Validation Name.
- In User Data, enter Key and Value:
- Key – Represents a specific parameter or identifier to be used as a validation criteria.
- Example: Key: Postal Code, Key: First Name
- Value – Provides the details or requirements related to the key, which determine whether the criteria are met.
- Example: Value: 603204, Value: John
- Key – Represents a specific parameter or identifier to be used as a validation criteria.
- In Script Validation, enter Key and Value using the same logic as above.
- Once these details have been entered in both User Data and Script Validation, click on the + icon to add another set.
- To delete a step, click on the x icon.
- Click on Save.
- To edit or delete a sprint validation, click on the respective icons under Action and update your changes.
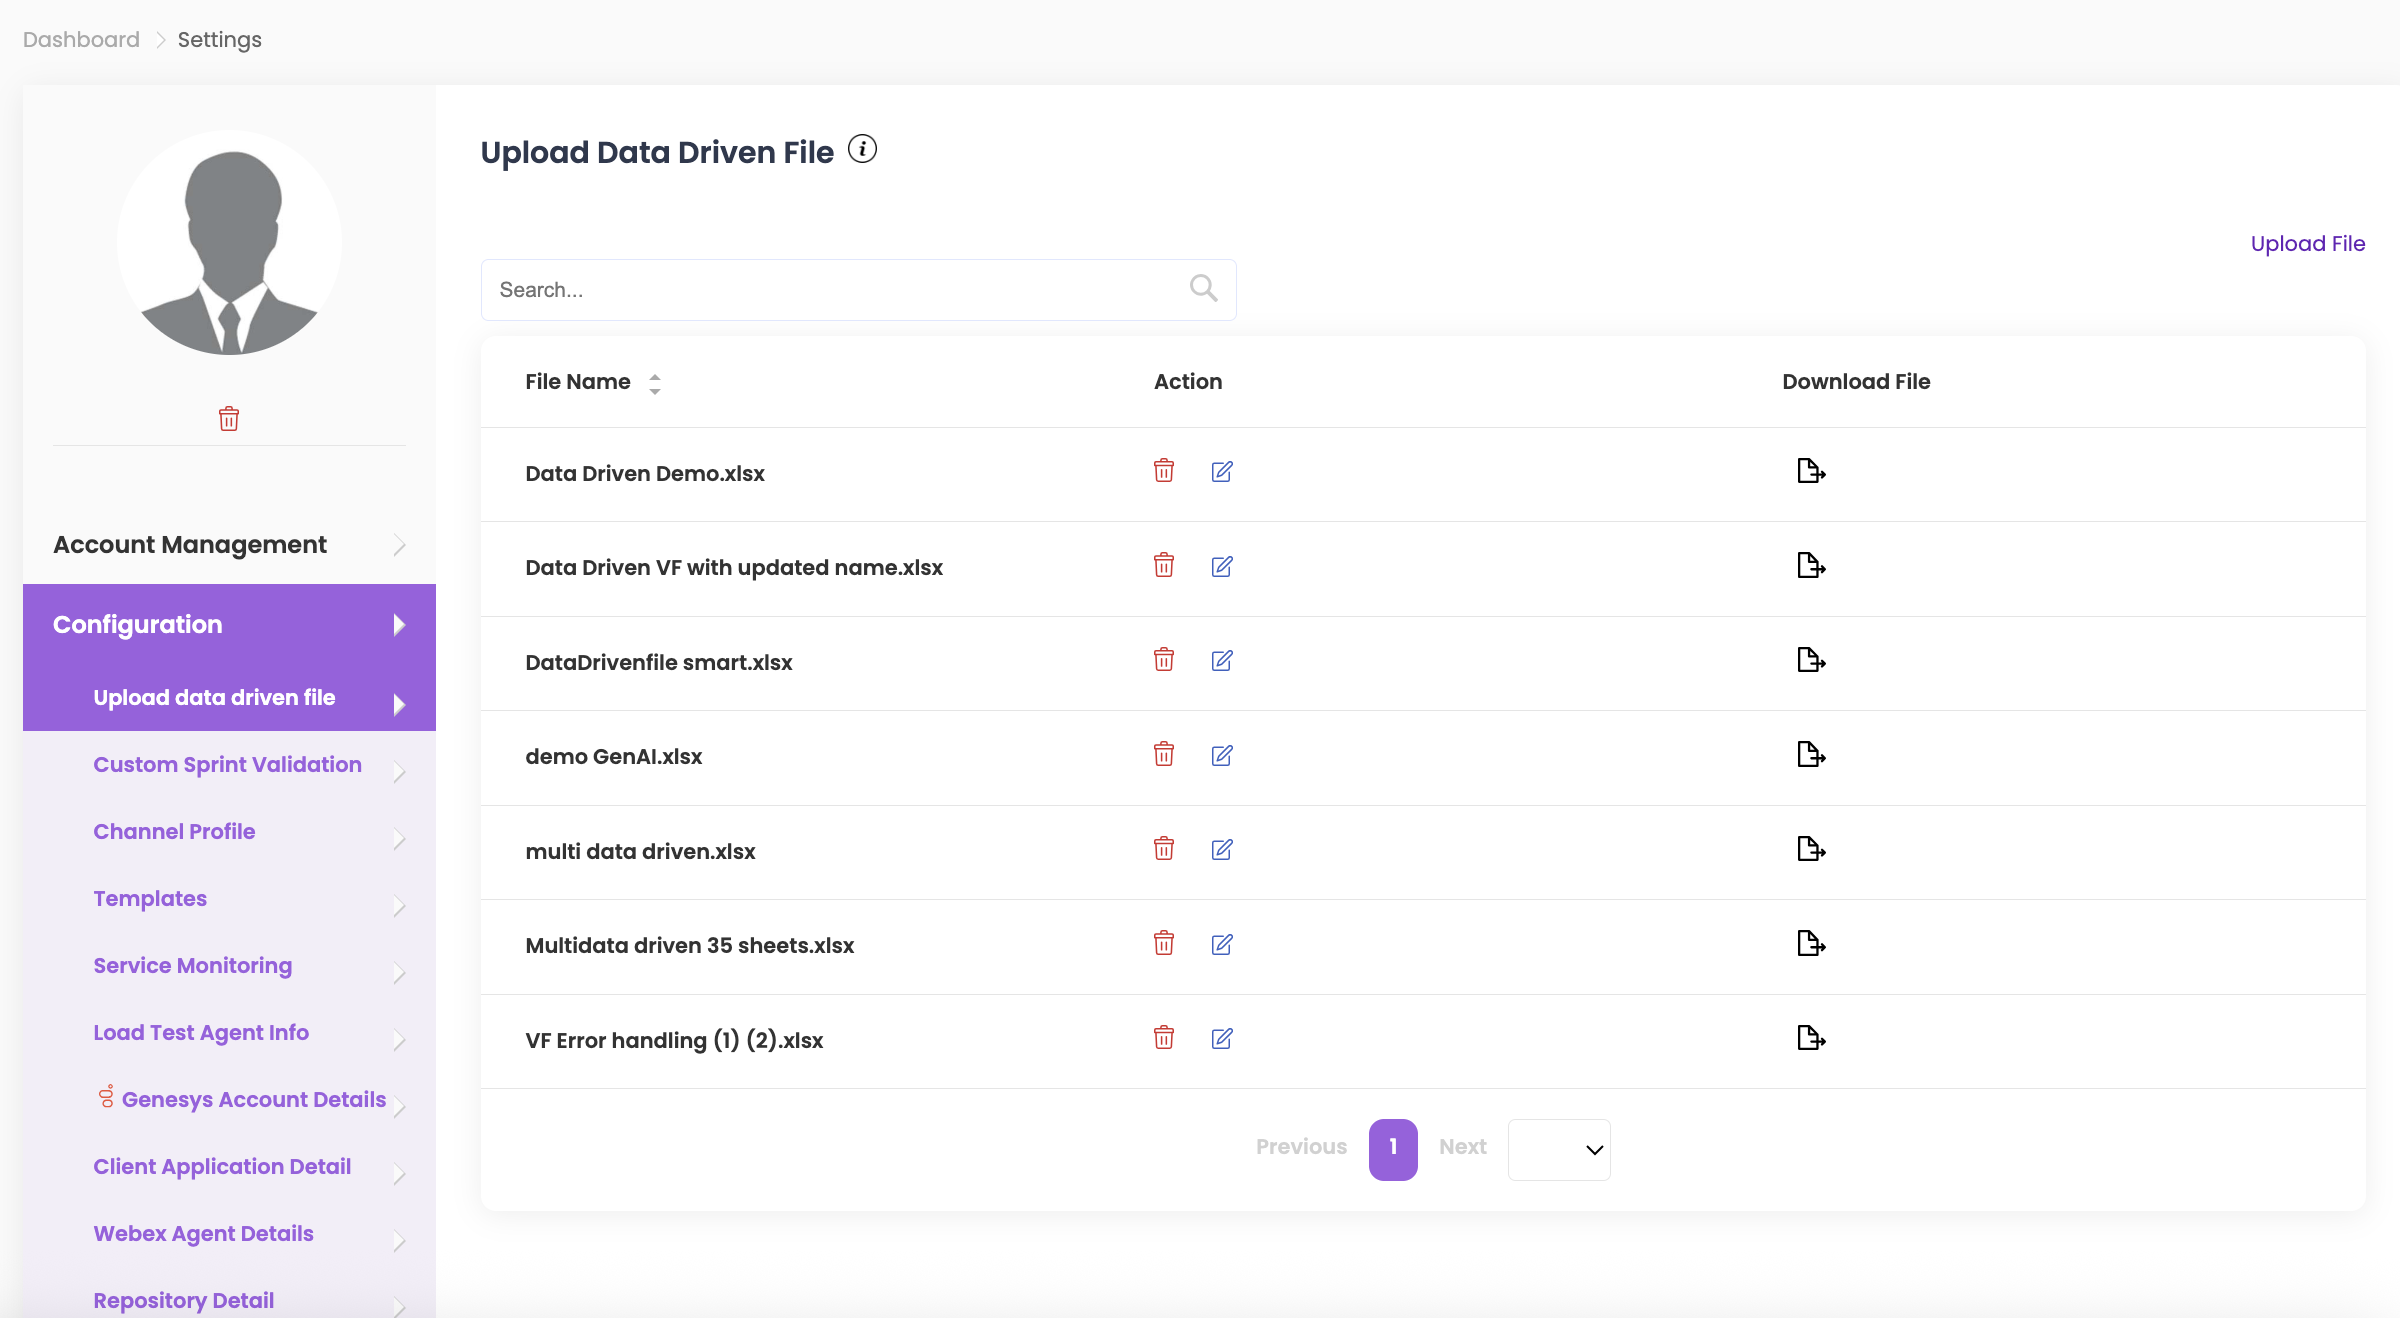
Upload Data Driven File #
Data Driven acts as a flexible placeholder in scripts, enabling easy updates by modifying a data-driven file, which in turn automatically updates all associated scripts.
To achieve automatic script updates, upload the script to an Excel file, make the necessary changes to the Expected Response field, and then upload the updated Excel file. Modifications in the Excel sheet will now be automatically reflected in QuickTest’s Scripts.
- Click on Upload File, select the required file, and click Upload. (See attached sample Excel file below.)
- To delete a file, click Delete under the Action column.
- To edit a file, click Edit under the Action column. You can amend and upload the file with the same name, and all changes will apply to your scripts.
- Note: When editing a file, the new file will only be uploaded if it has the same saved name as the previous file.
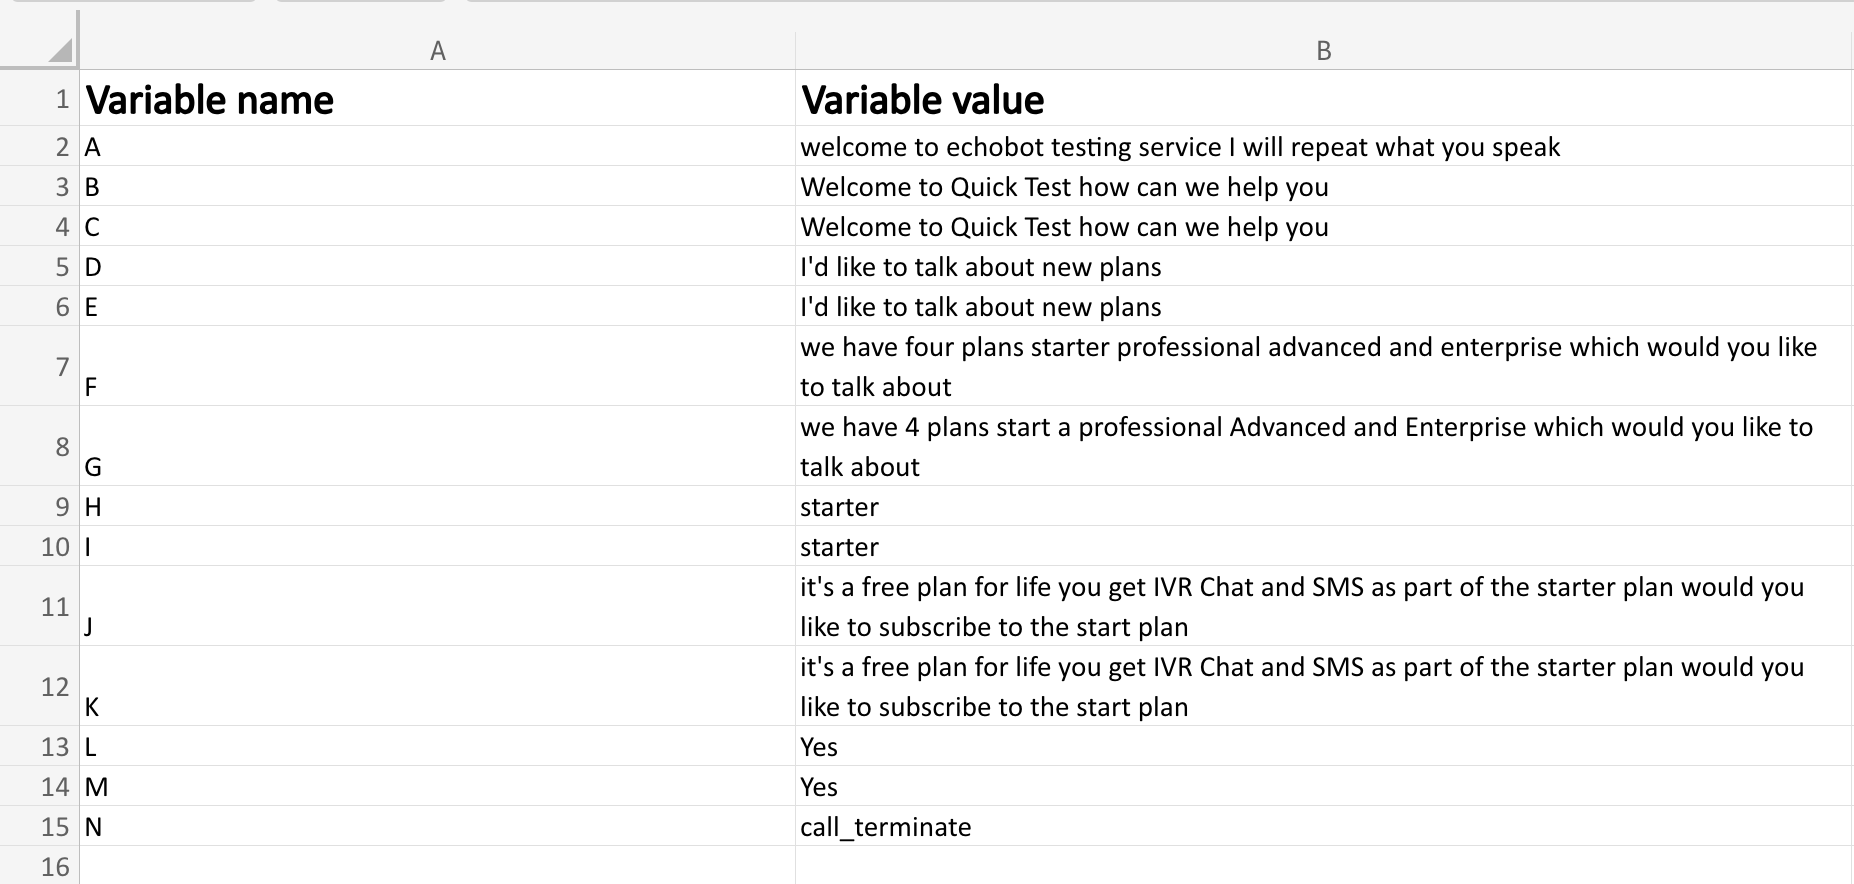
Note: Attached below sample image of excel sheet for data driven file:
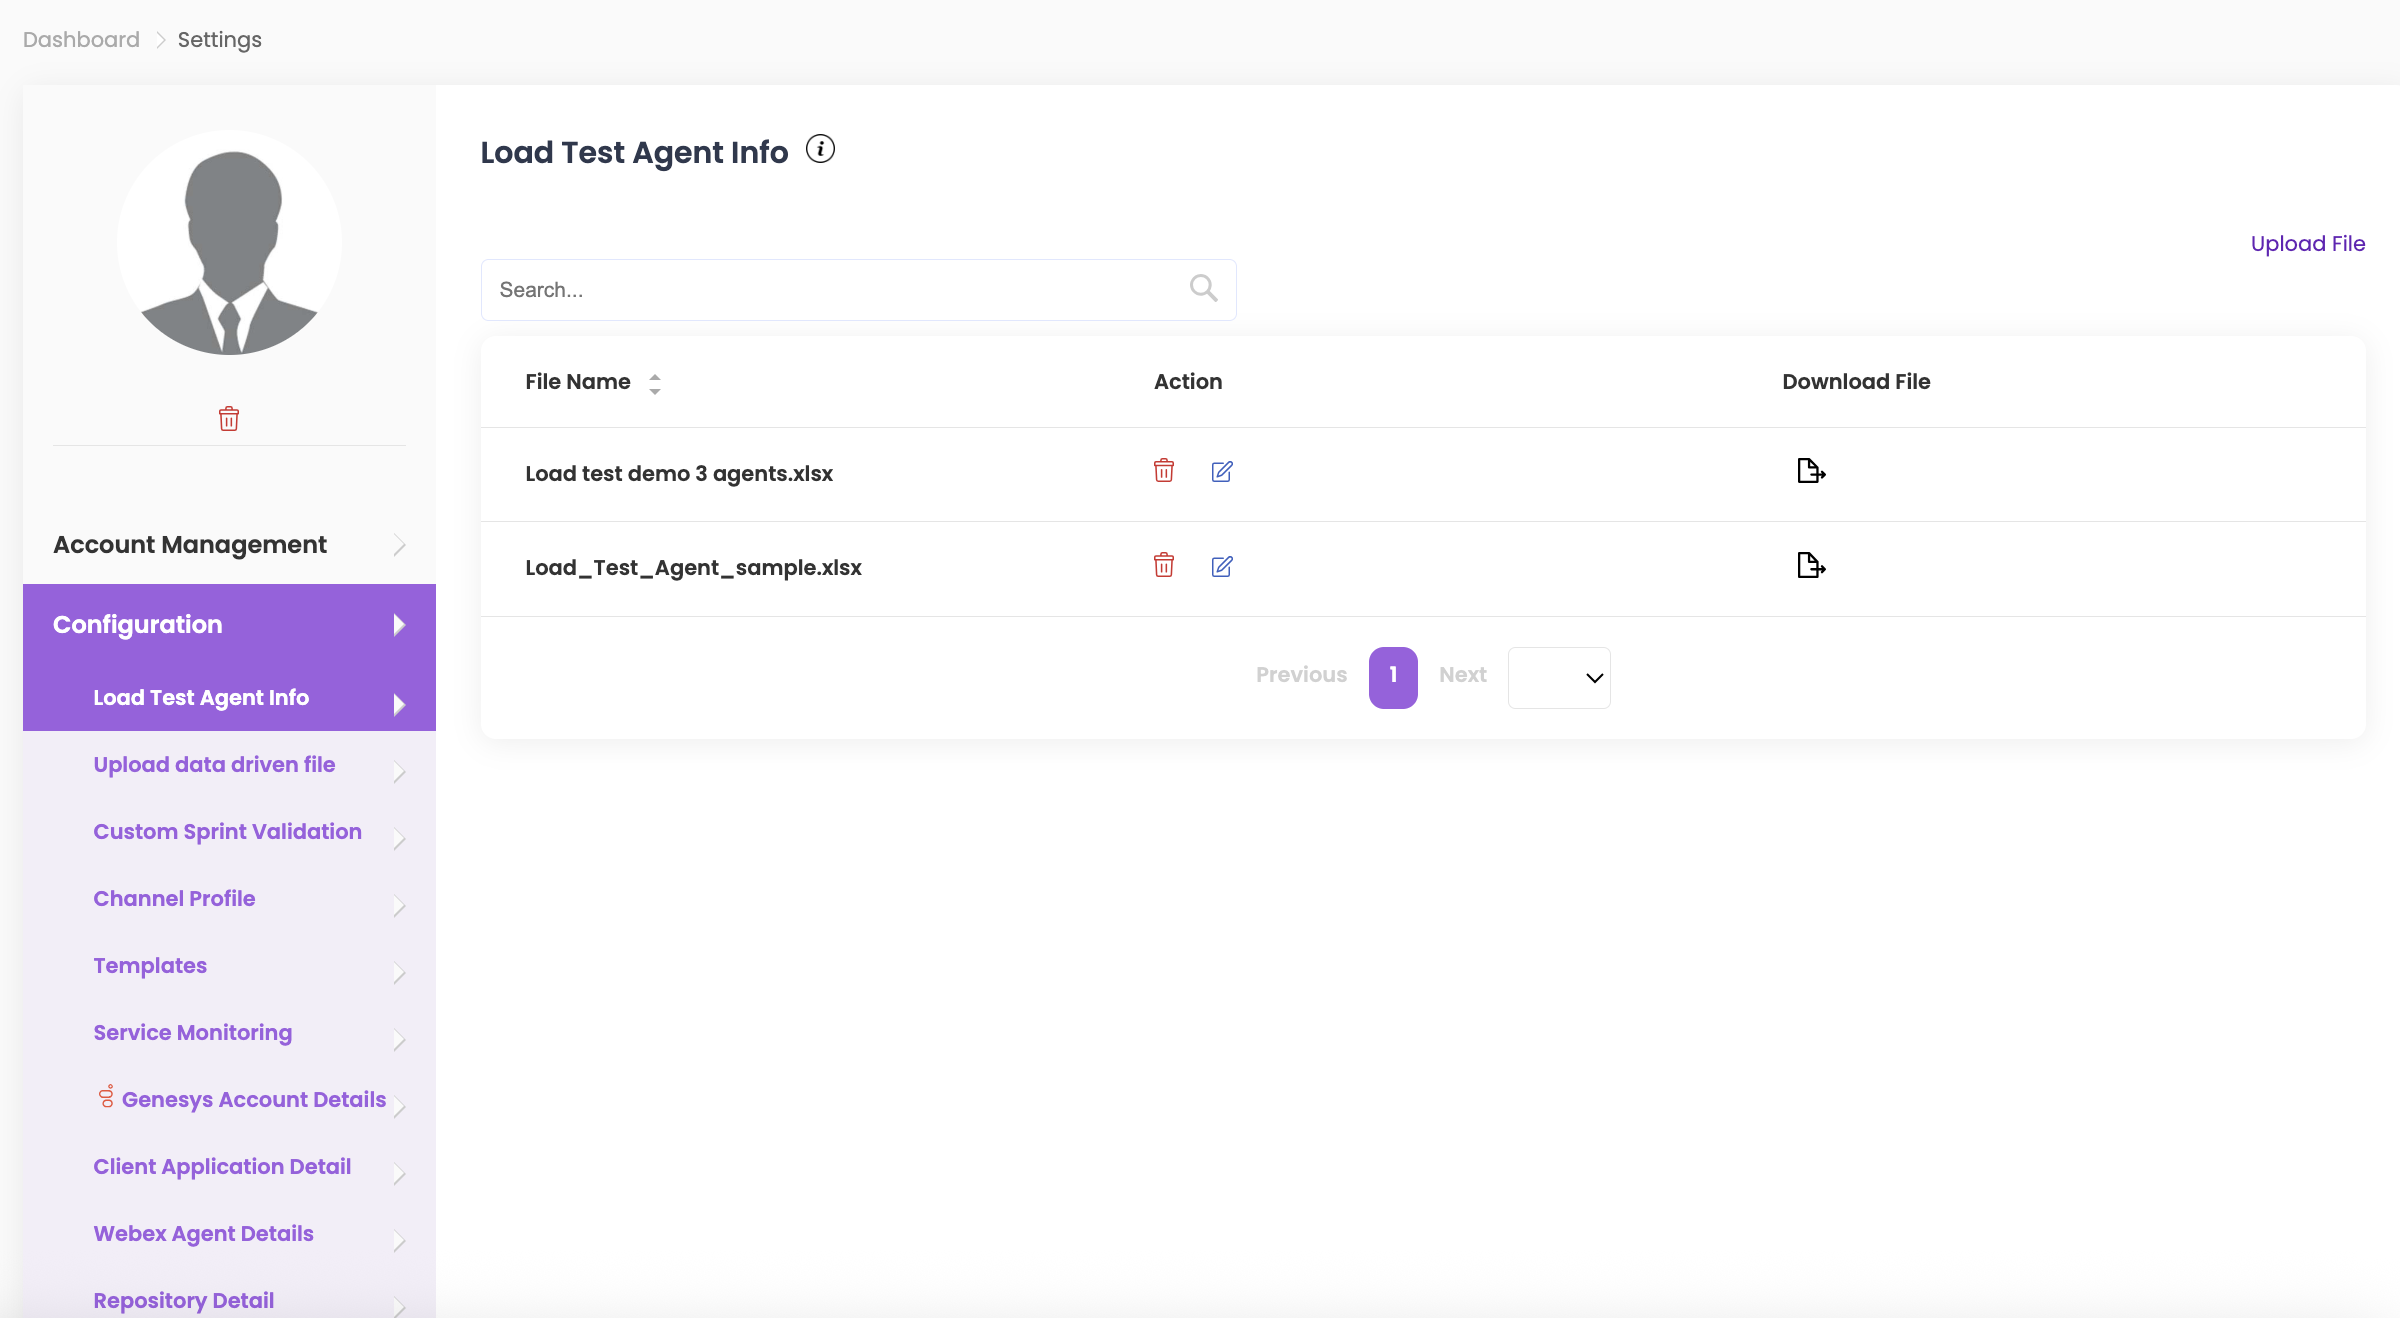
Load Test Agent Info #
Load test agent information includes essential login details, along with queue assignments, wrap-up codes, site location, and team or group. This data is crucial for preparing agents to handle incoming interactions efficiently during load testing.
- Click on Upload File, select the required file, and click Upload.
- You can also download a sample file by clicking on Download Sample File if you would like to amend and use it. (Sample photo attached below.)
- To delete a file, click Delete under the Action column.
- To edit a file, click Edit under the Action column. You can amend and upload the file with the same name, and all changes will apply to your scripts.
- Note: When editing a file, the new file will only be uploaded if it has the same saved name as the previous file.
Note: Attached below sample image of excel sheet for Load Test Agent Info file:

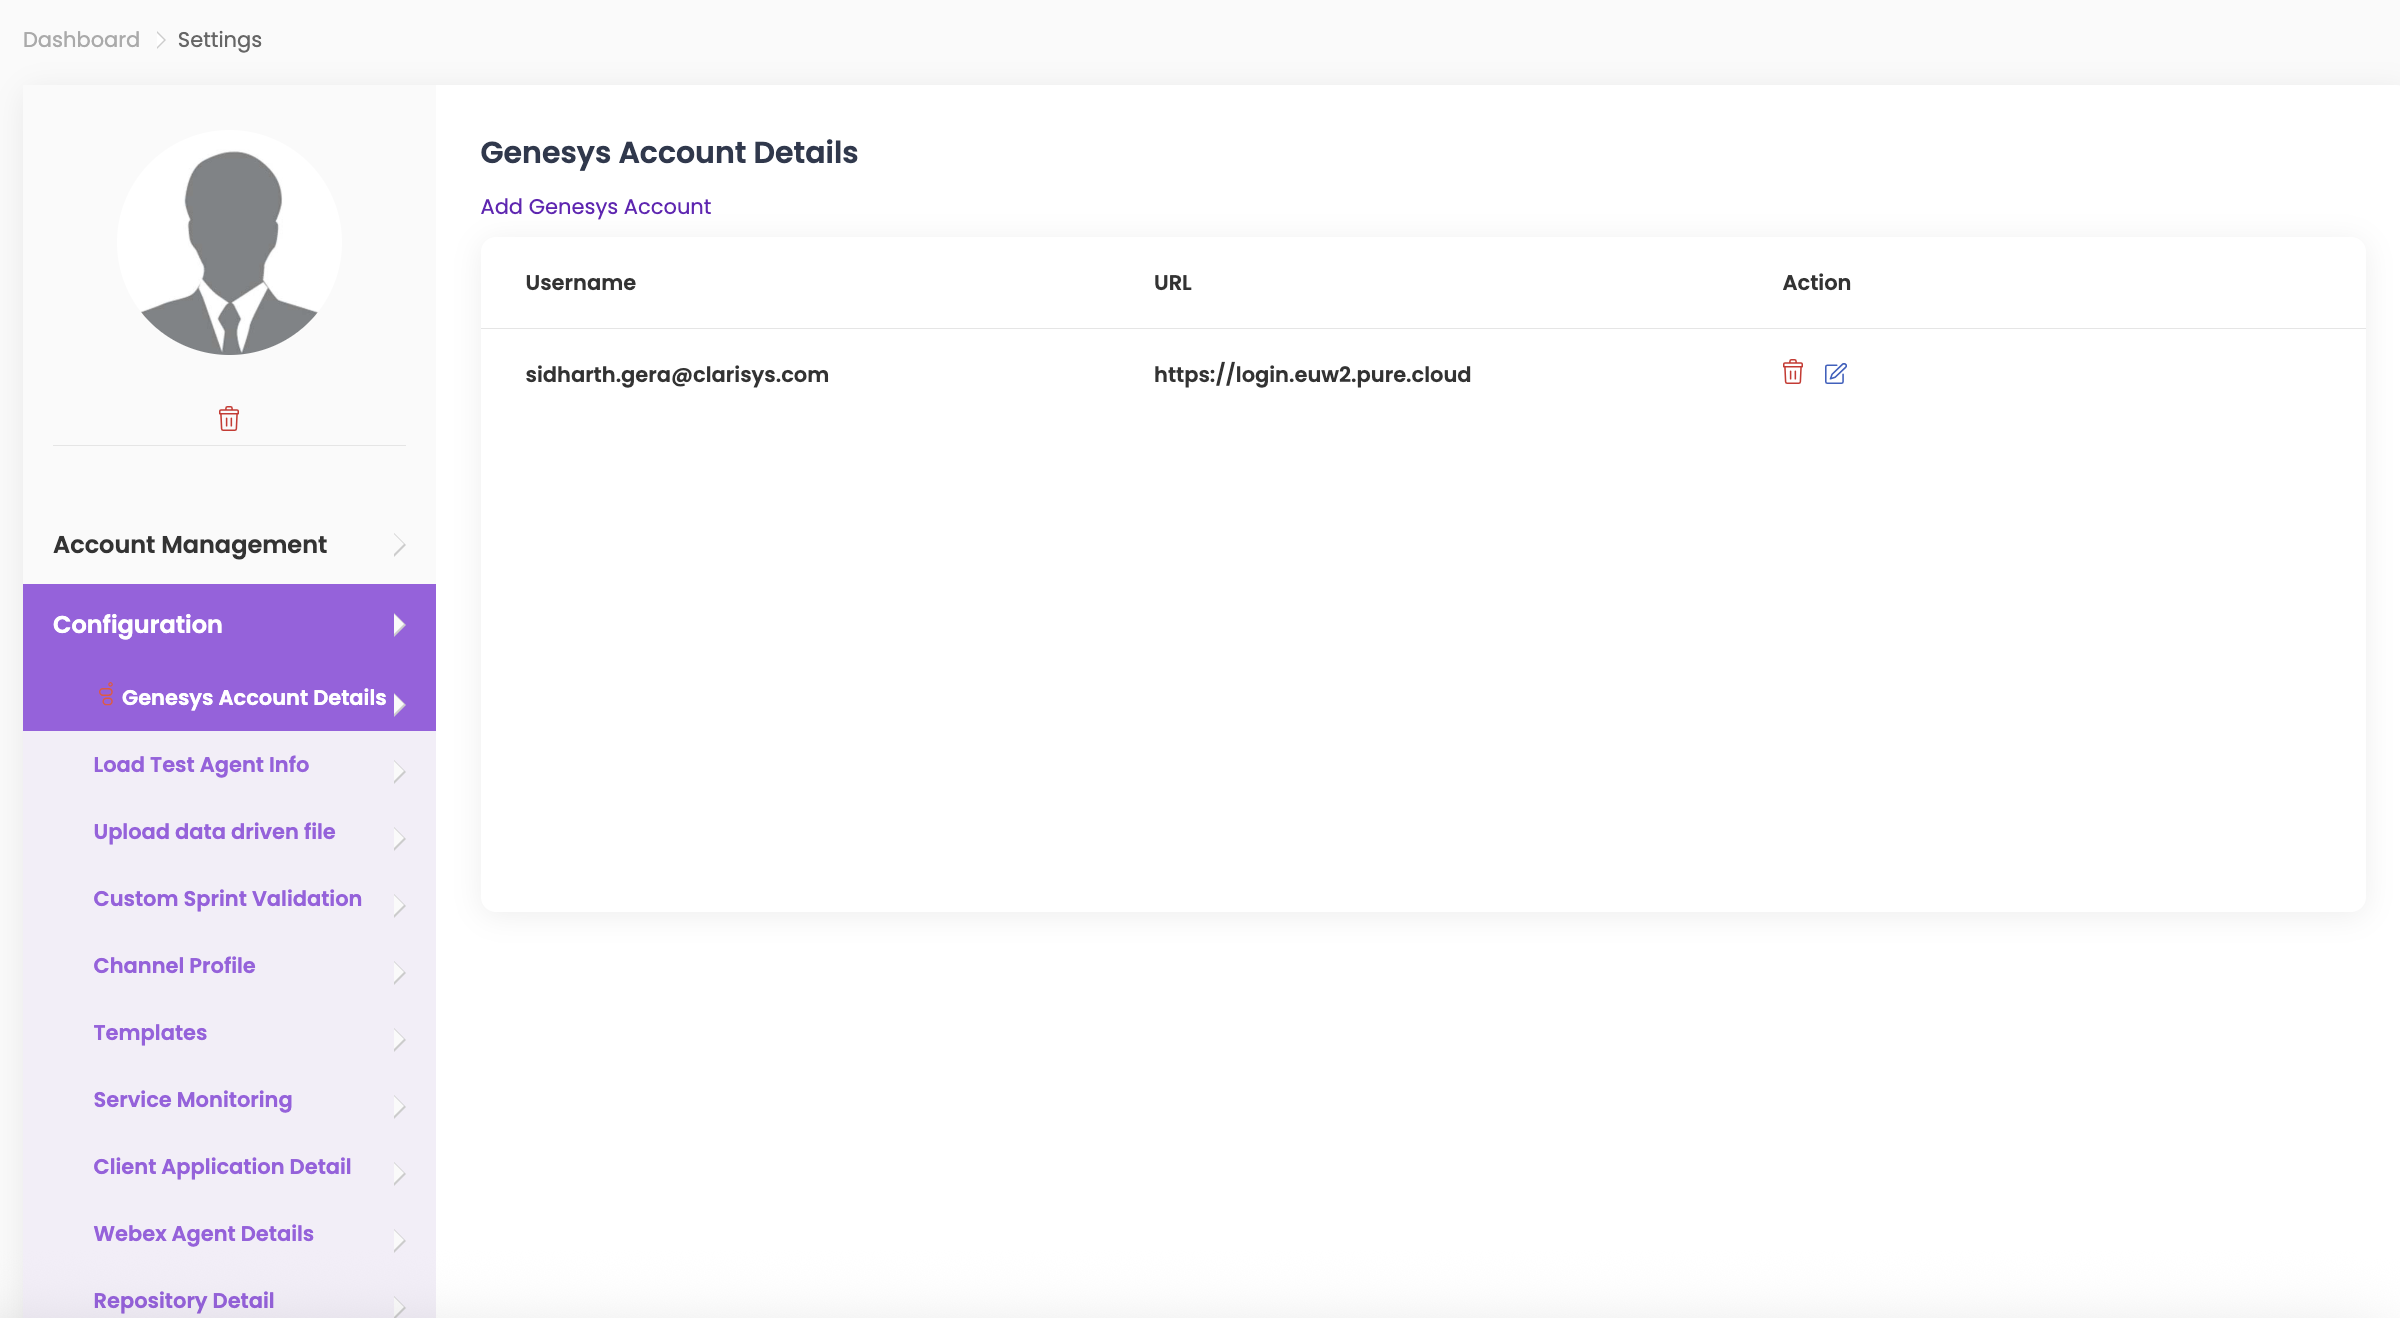
Genesys Account Details #
- To add multiple Genesys logins for test execution, click on Add Genesys Account.
- Enter the details for Login Username, Login Password, select the Login URL from the dropdown, choose Login with Account, and enter the Organization Name.
- Click Save.
- To edit or delete account details, click on the respective icons under Action in Genesys Account Details.
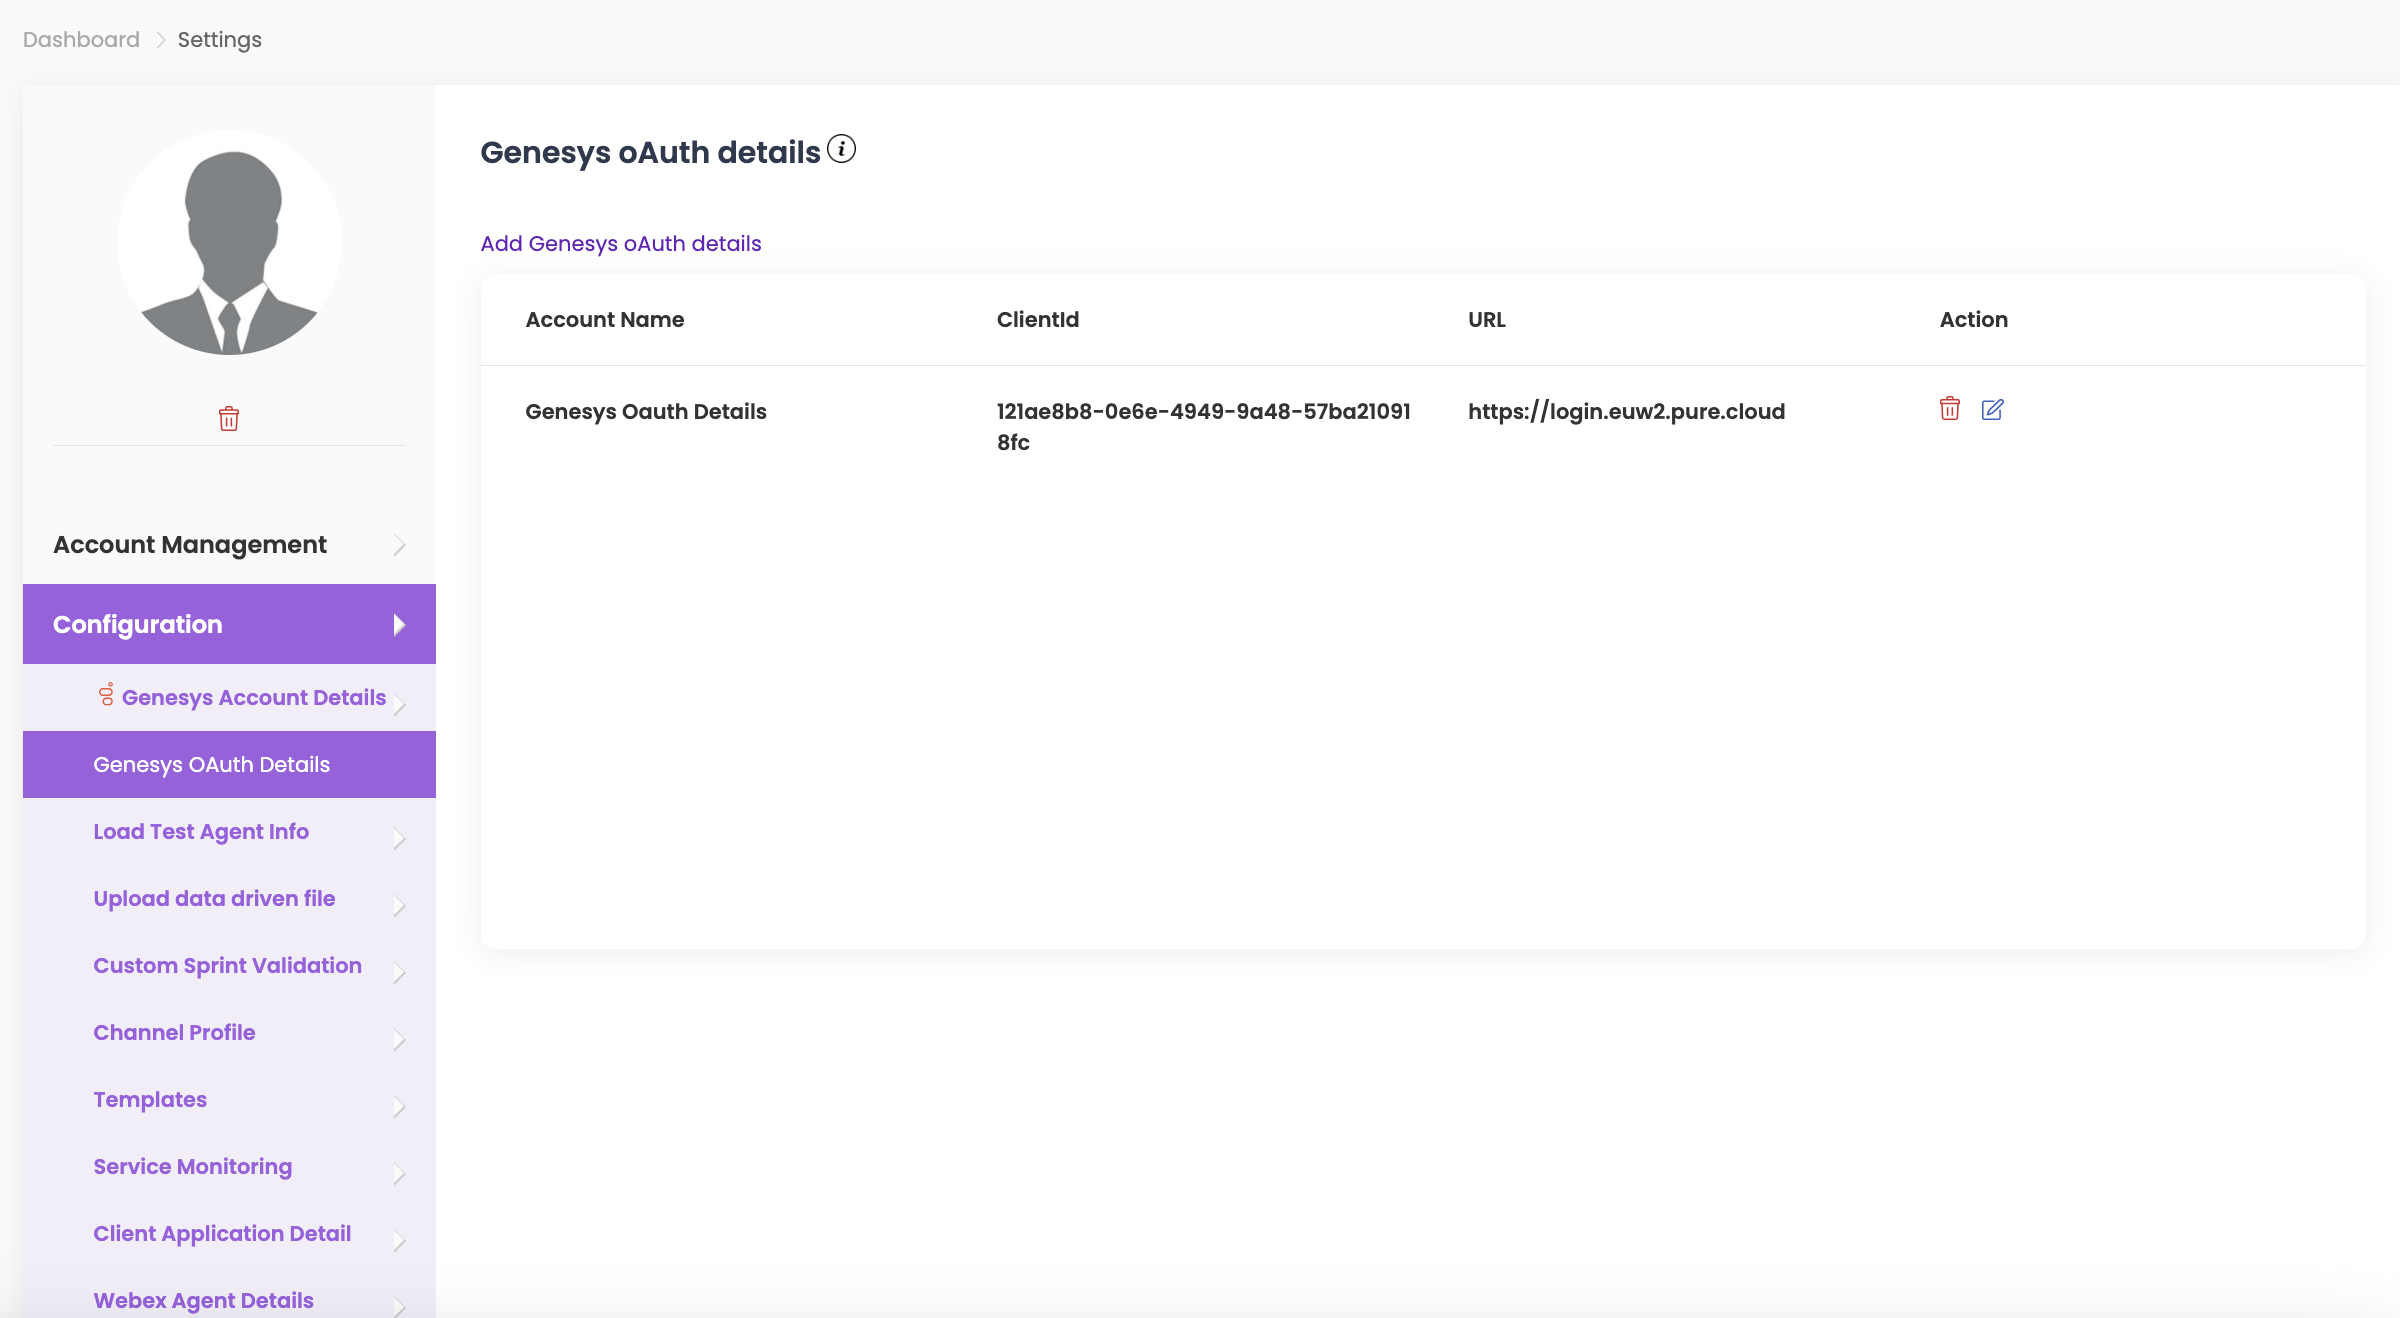
Genesys oAuth details #
Genesys OAuth Details refer to the information and credentials required to authenticate and authorize access to a Genesys system or service using the OAuth protocol.
- To add multiple Genesys OAuth logins for test execution, click on Add Genesys OAuth Details.
- Enter the Account Name, Client ID, Client Secret, and select the Login URL from the dropdown.
- Click Save.
- To edit or delete account details, click on the respective icons under Action in Genesys Account Details.
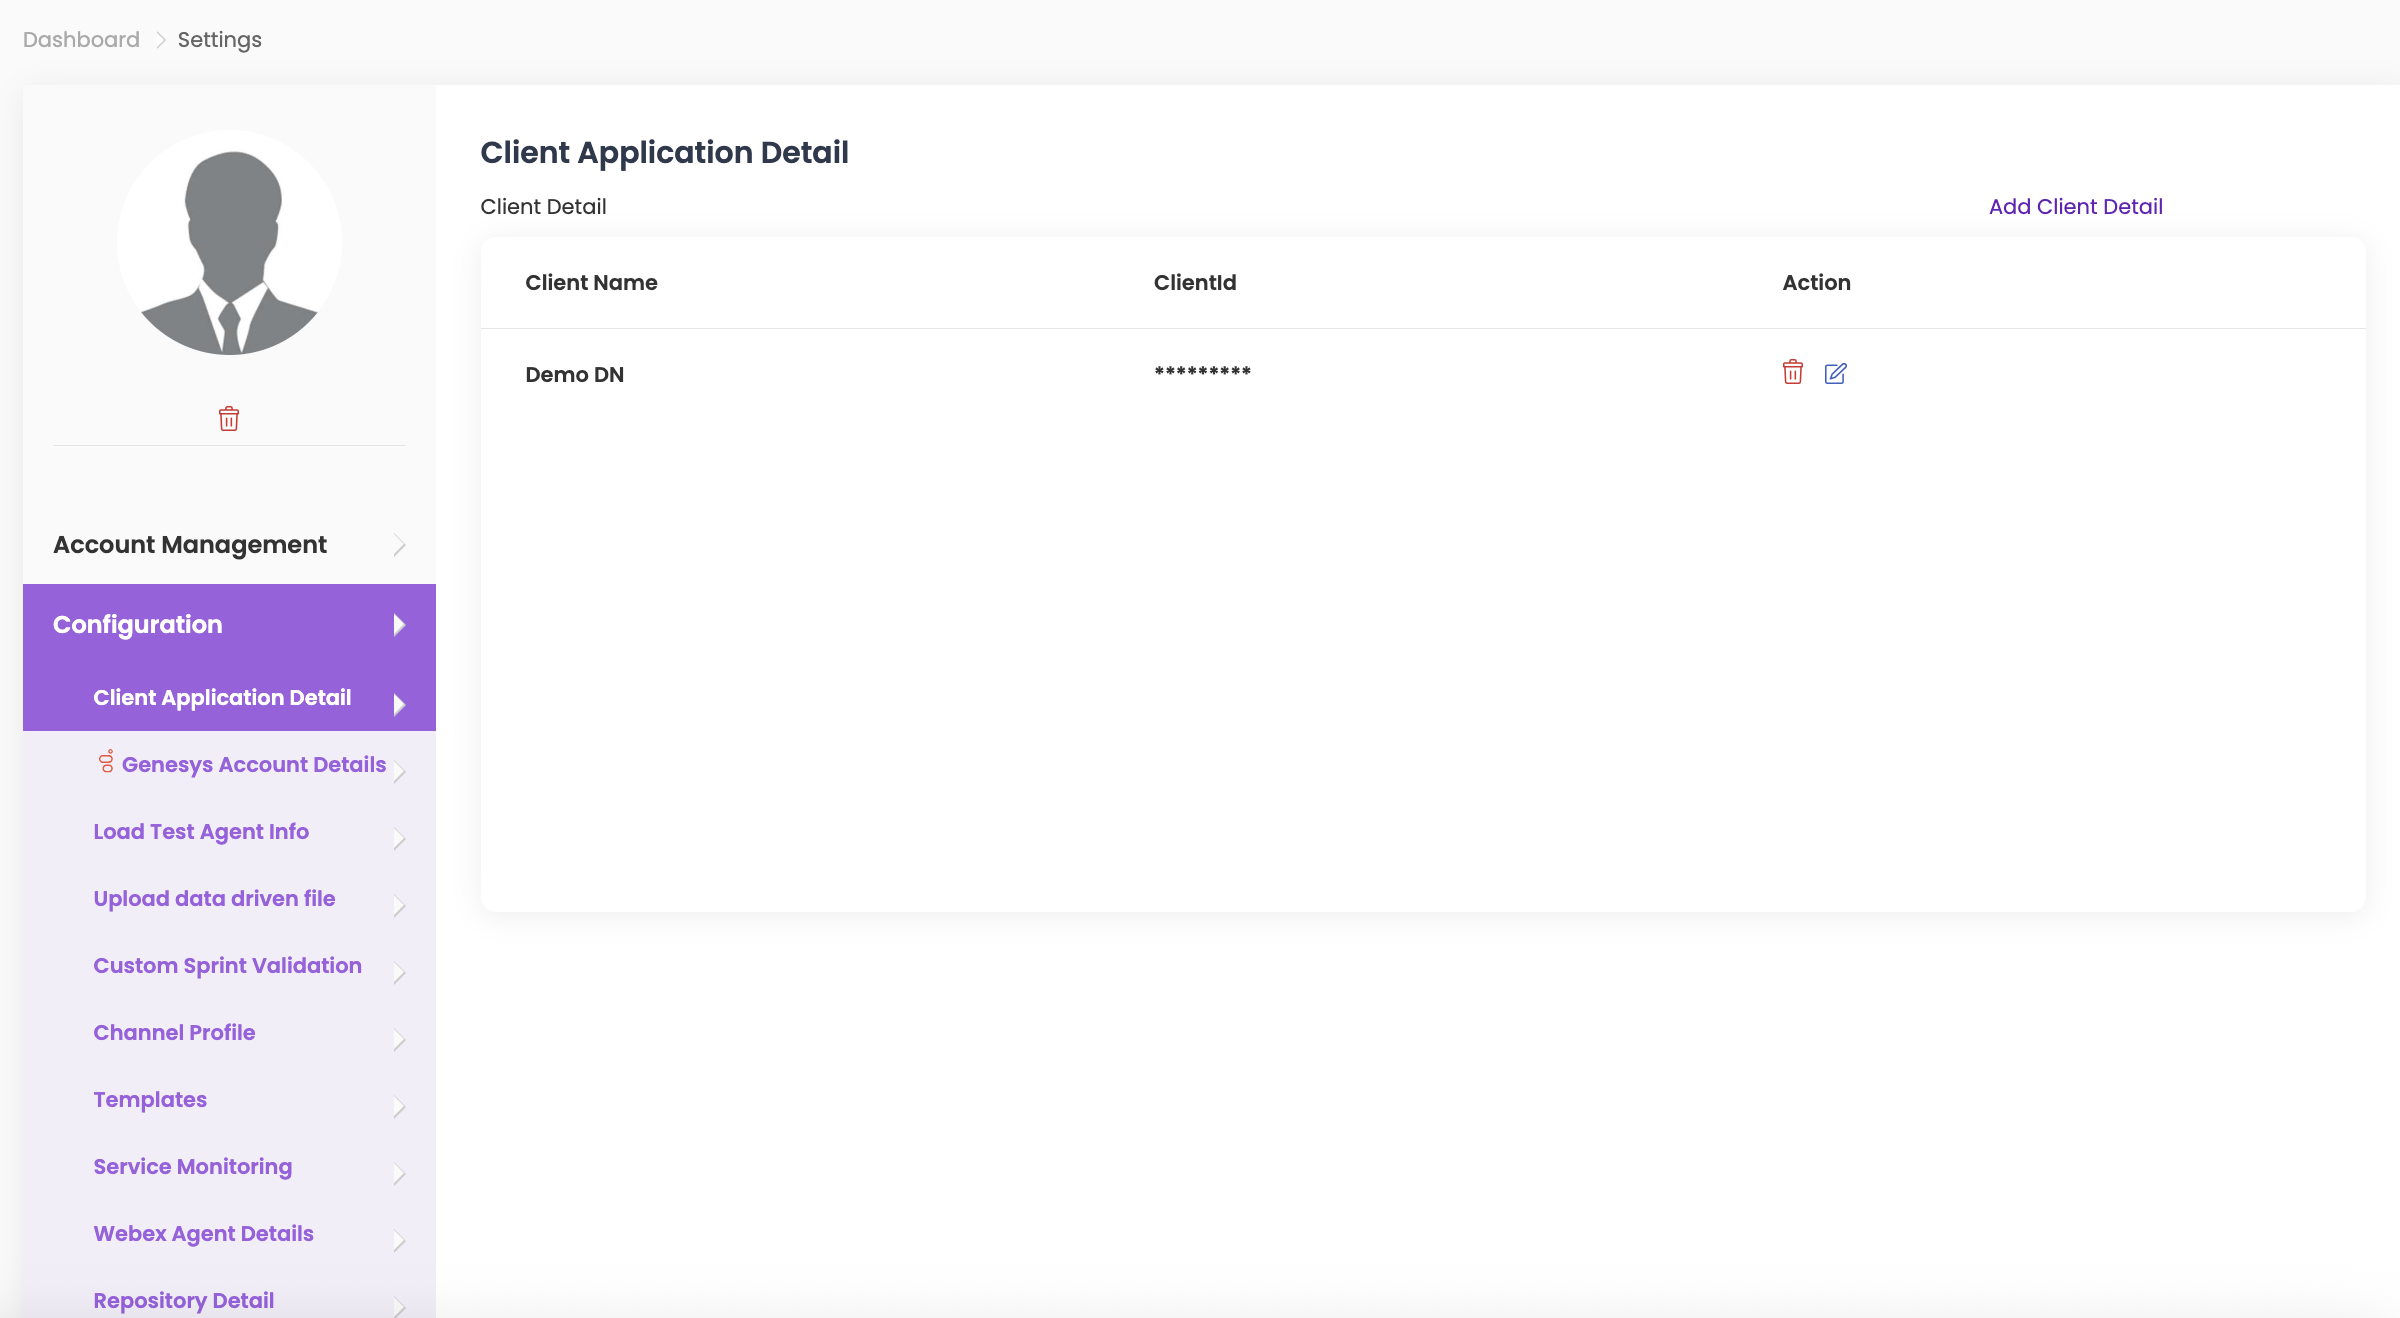
Client Application Detail #
- To add multiple Client Application details for test execution, click on Add Client Details.
- Enter the Client ID and Client Name, then click Save.
- To edit or delete account details, click on the respective icons under Action in Client Application Detail.
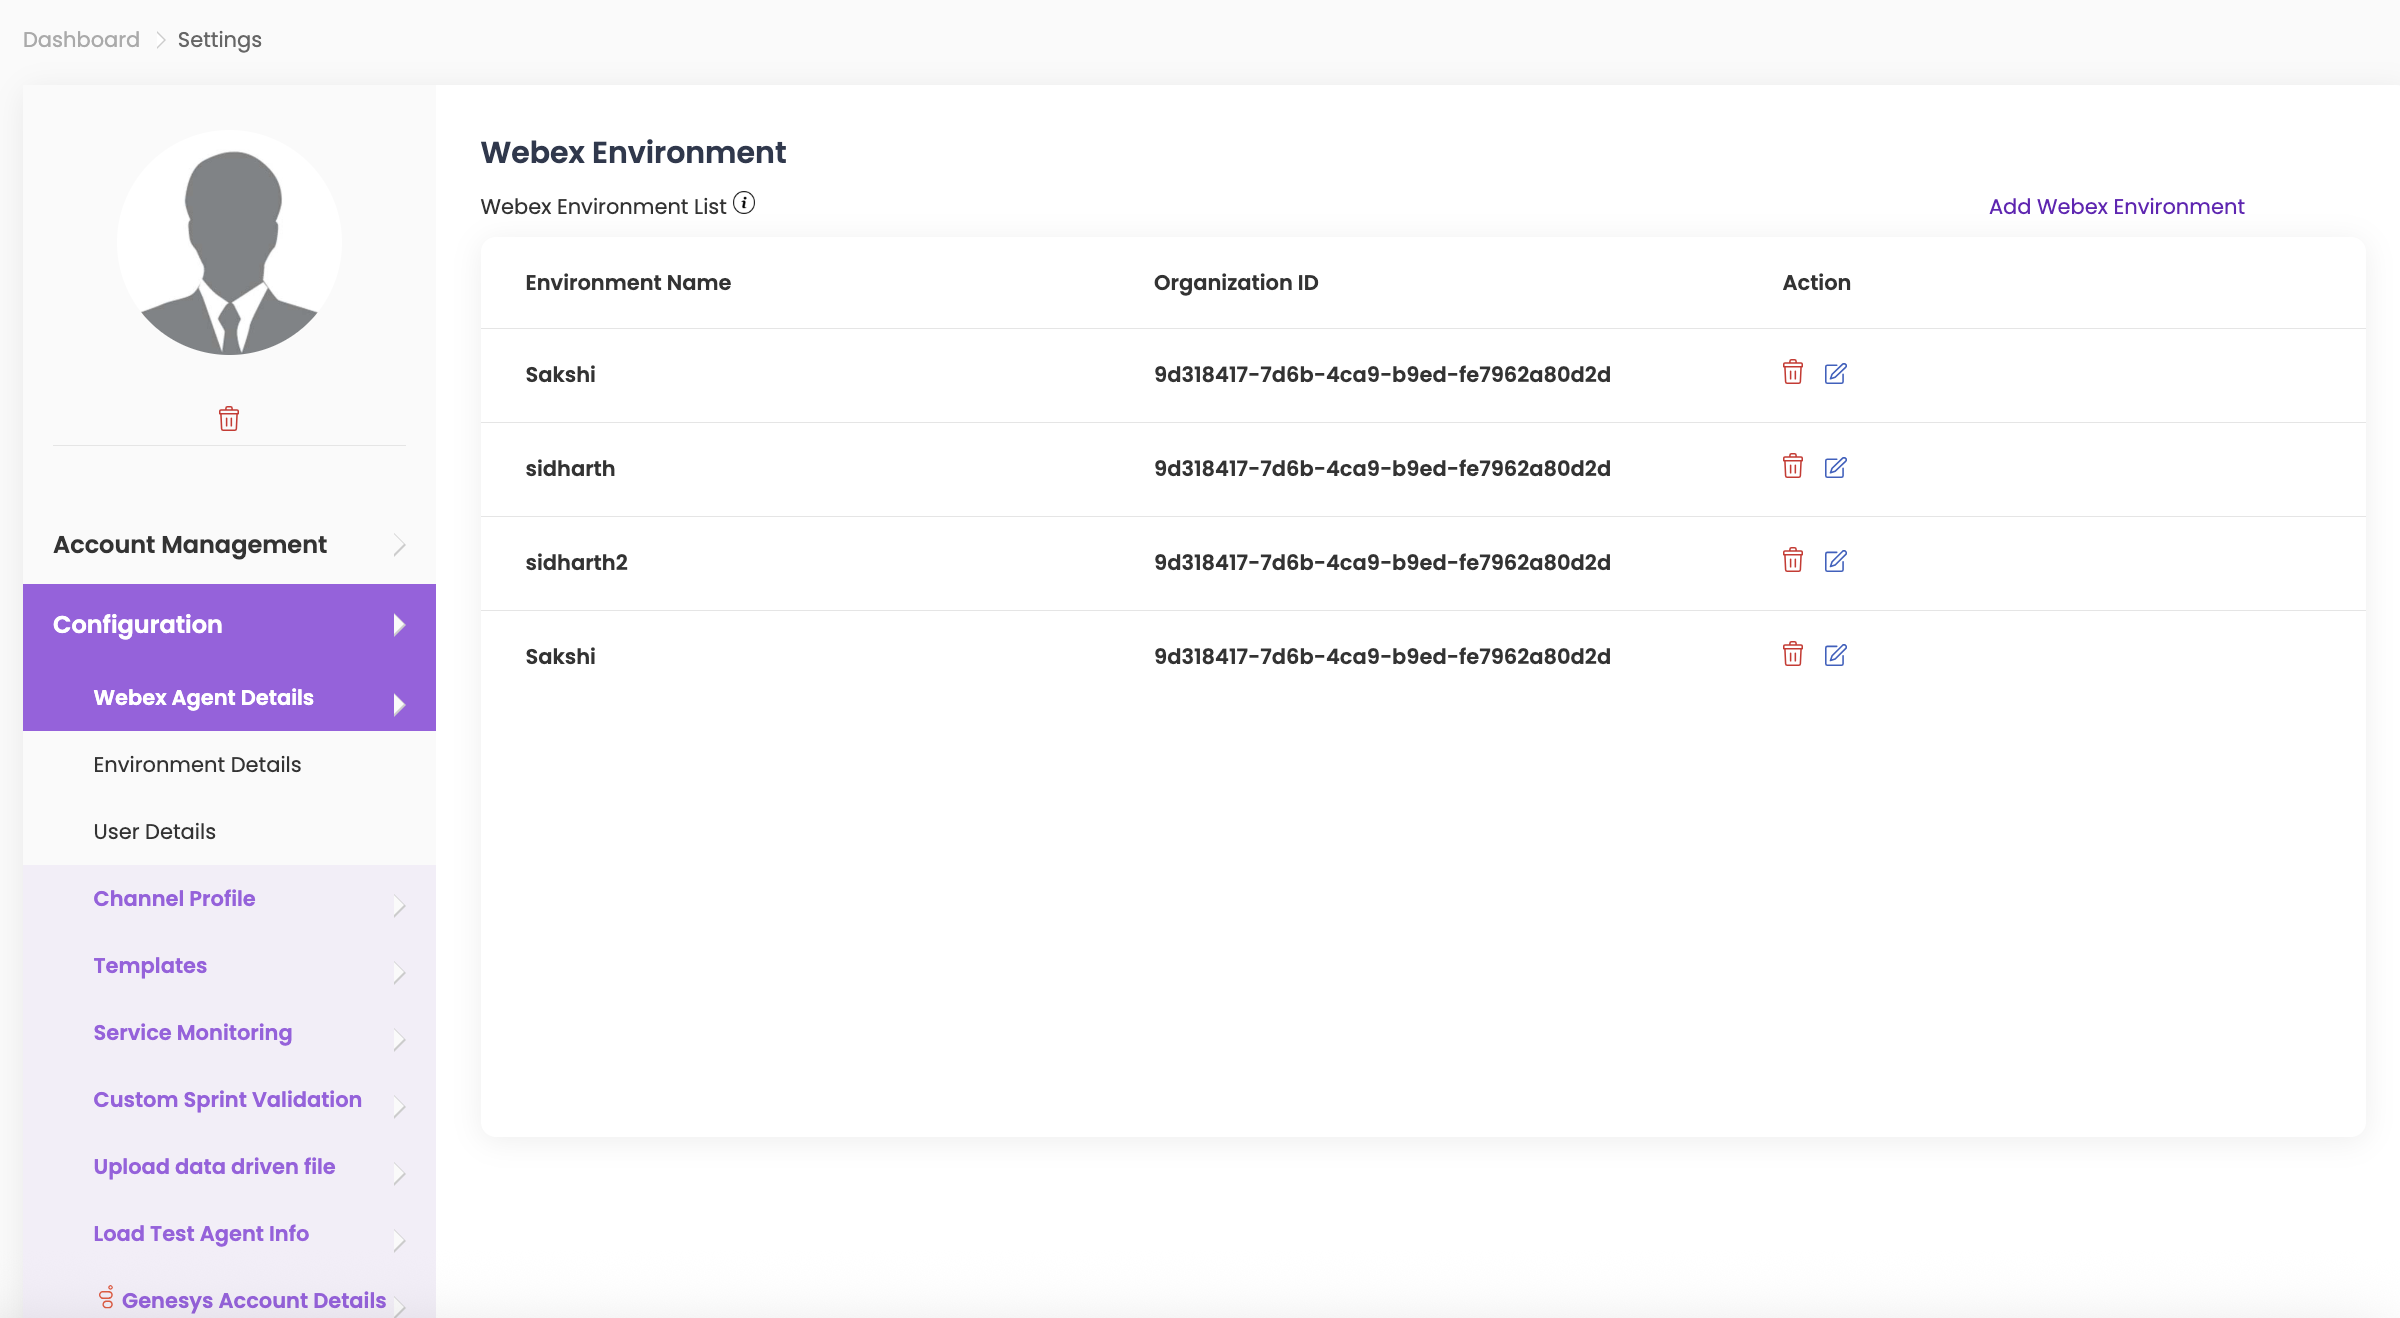
Webex Environment #
This information will be used during Webex Sprint creation and execution, enabling seamless connection to Webex APIs.
- To add multiple Webex environments for test execution, click on Add Webex Environment.
- Enter the Environment Name, select the Region from the dropdown, and enter the Organization ID. Click Save.
- To edit or delete environment details, click on the respective icons under Action.
User details – Webex Agent Detail #
Use Webex agent login information during sprint execution for seamless testing.
- To add multiple Webex agent details for test execution, click on Add Webex Agent Details.
- Enter the Email, Login URL, and Login Password, then click Save.
- To edit or delete Webex agent details, click on the respective icons under Action.

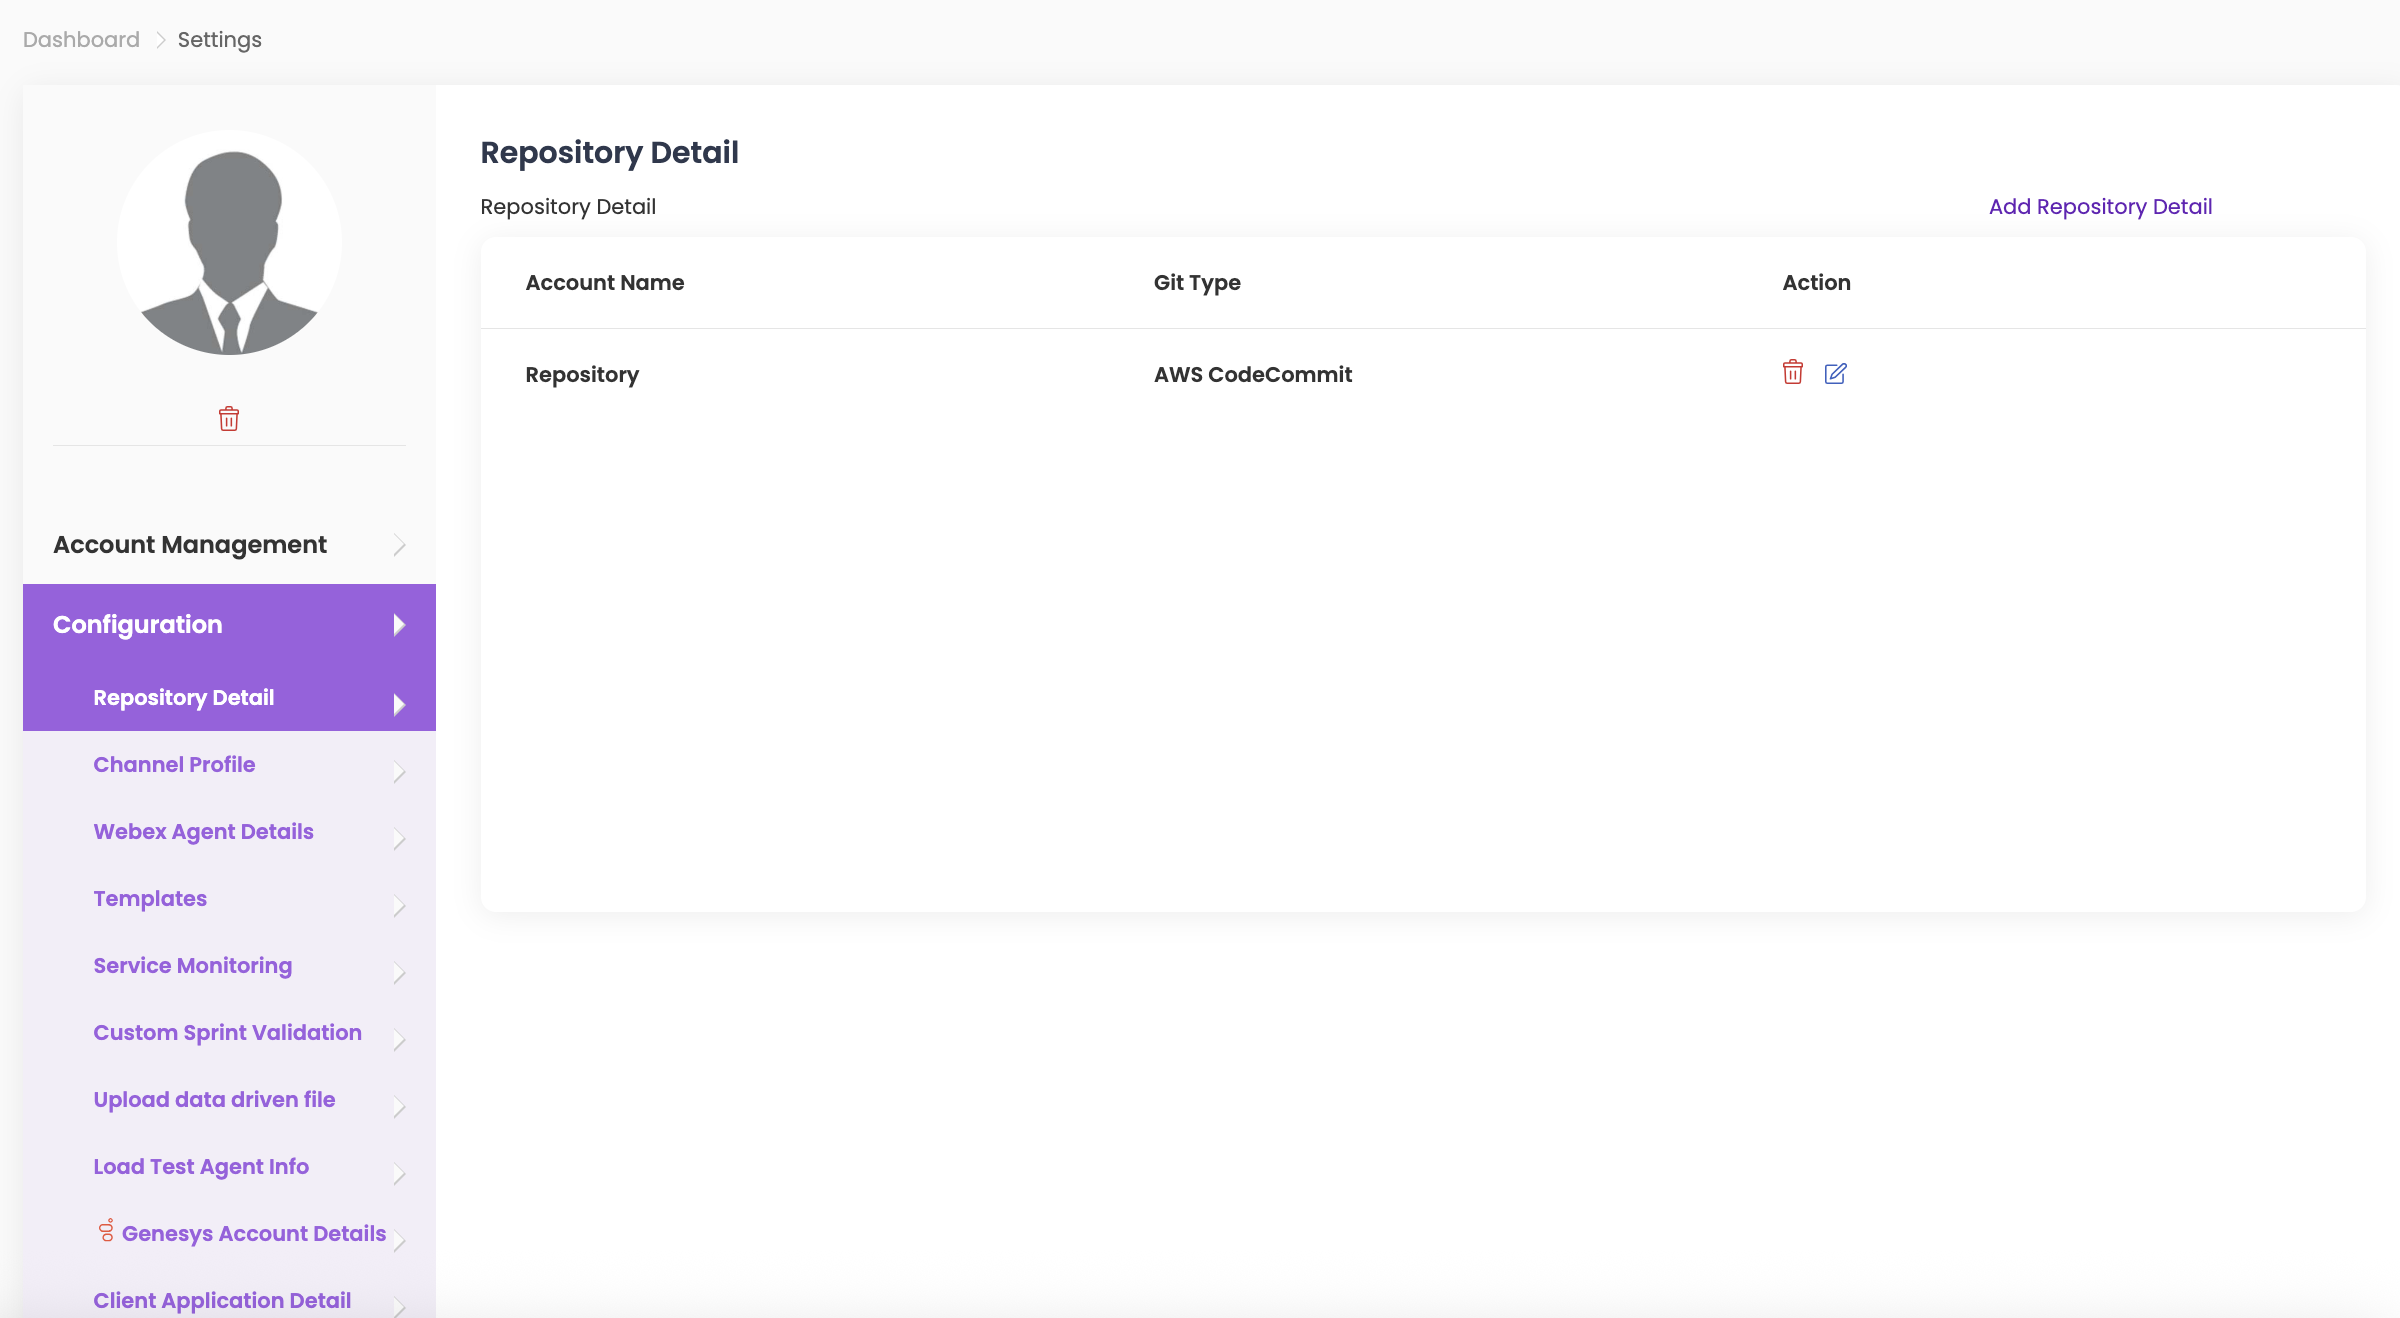
Repository Detail #
- To add multiple repository details for test execution, click on Repository Detail.
- Enter the Account Name, Access Key, Secret Key, and select the Git Type and Region from the dropdown. Click Save.
- To edit or delete repository details, click on the respective icons under Action in Repository Detail.
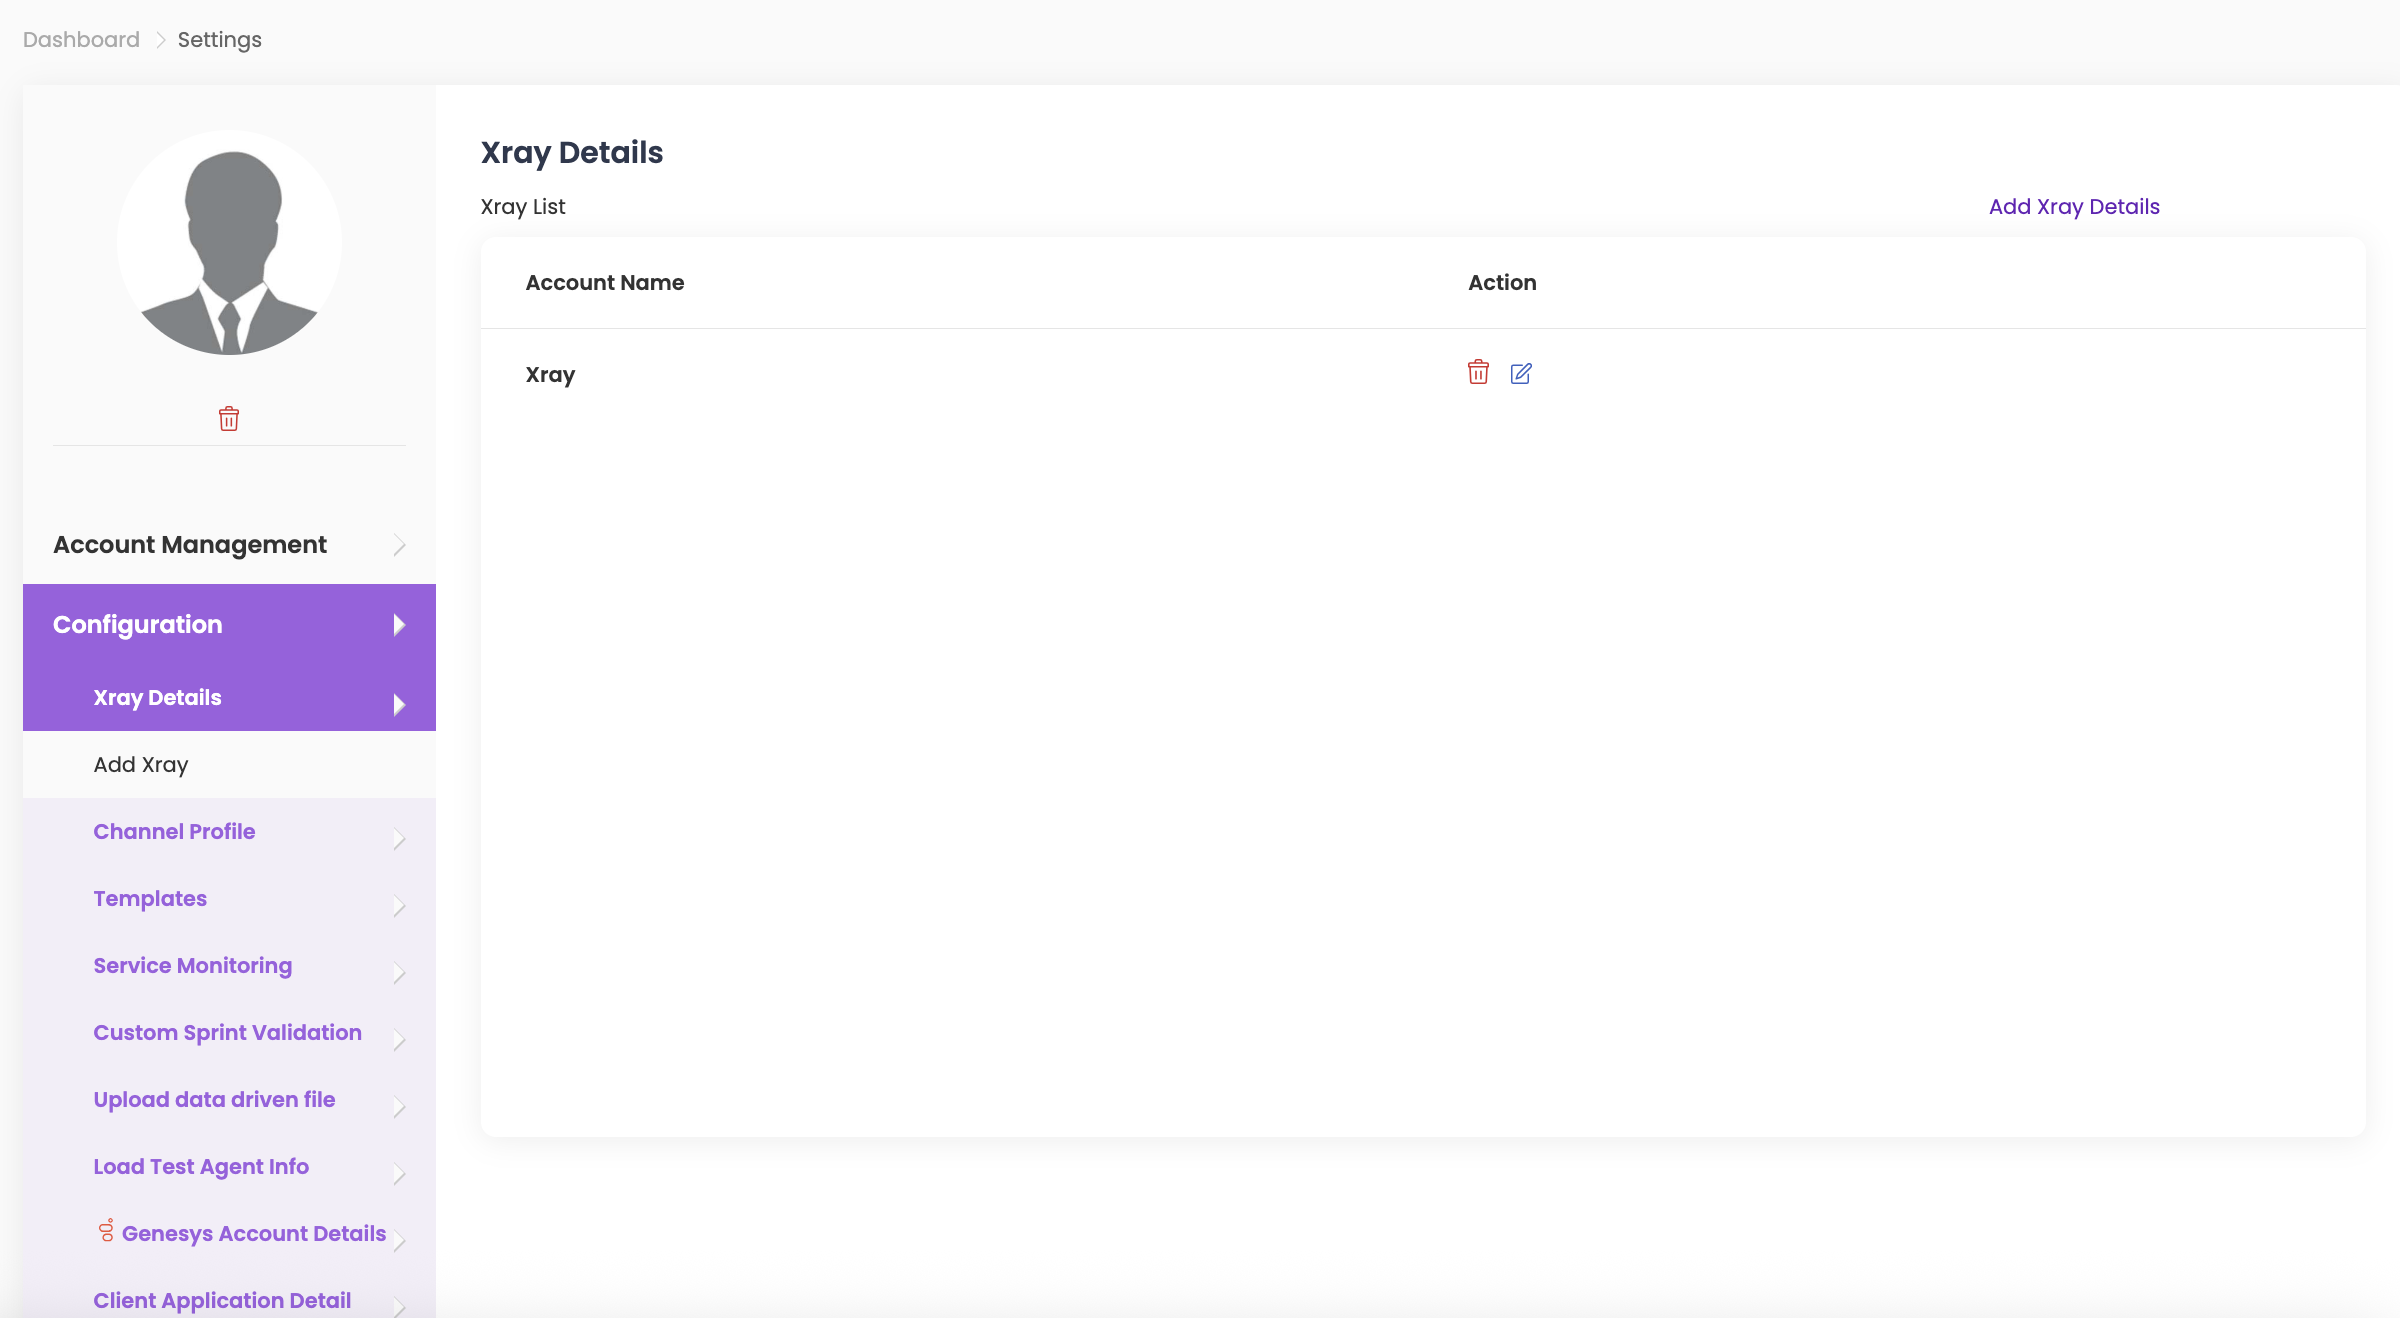
Xray Details #
- Click on Add Xray Details.
- Enter the Account Name and details for Base URL, Client ID, Client Secret, and select Enterprise if required. Enter Jira Base URL, Jira User Email, and Jira API Token.
- Click on Projects, then use the dropdown to search for Jira Projects and Jira Issue Types by Project Key.
- Click Save.
- To edit or delete XRAY details, click on the respective icons under Action in Xray List.
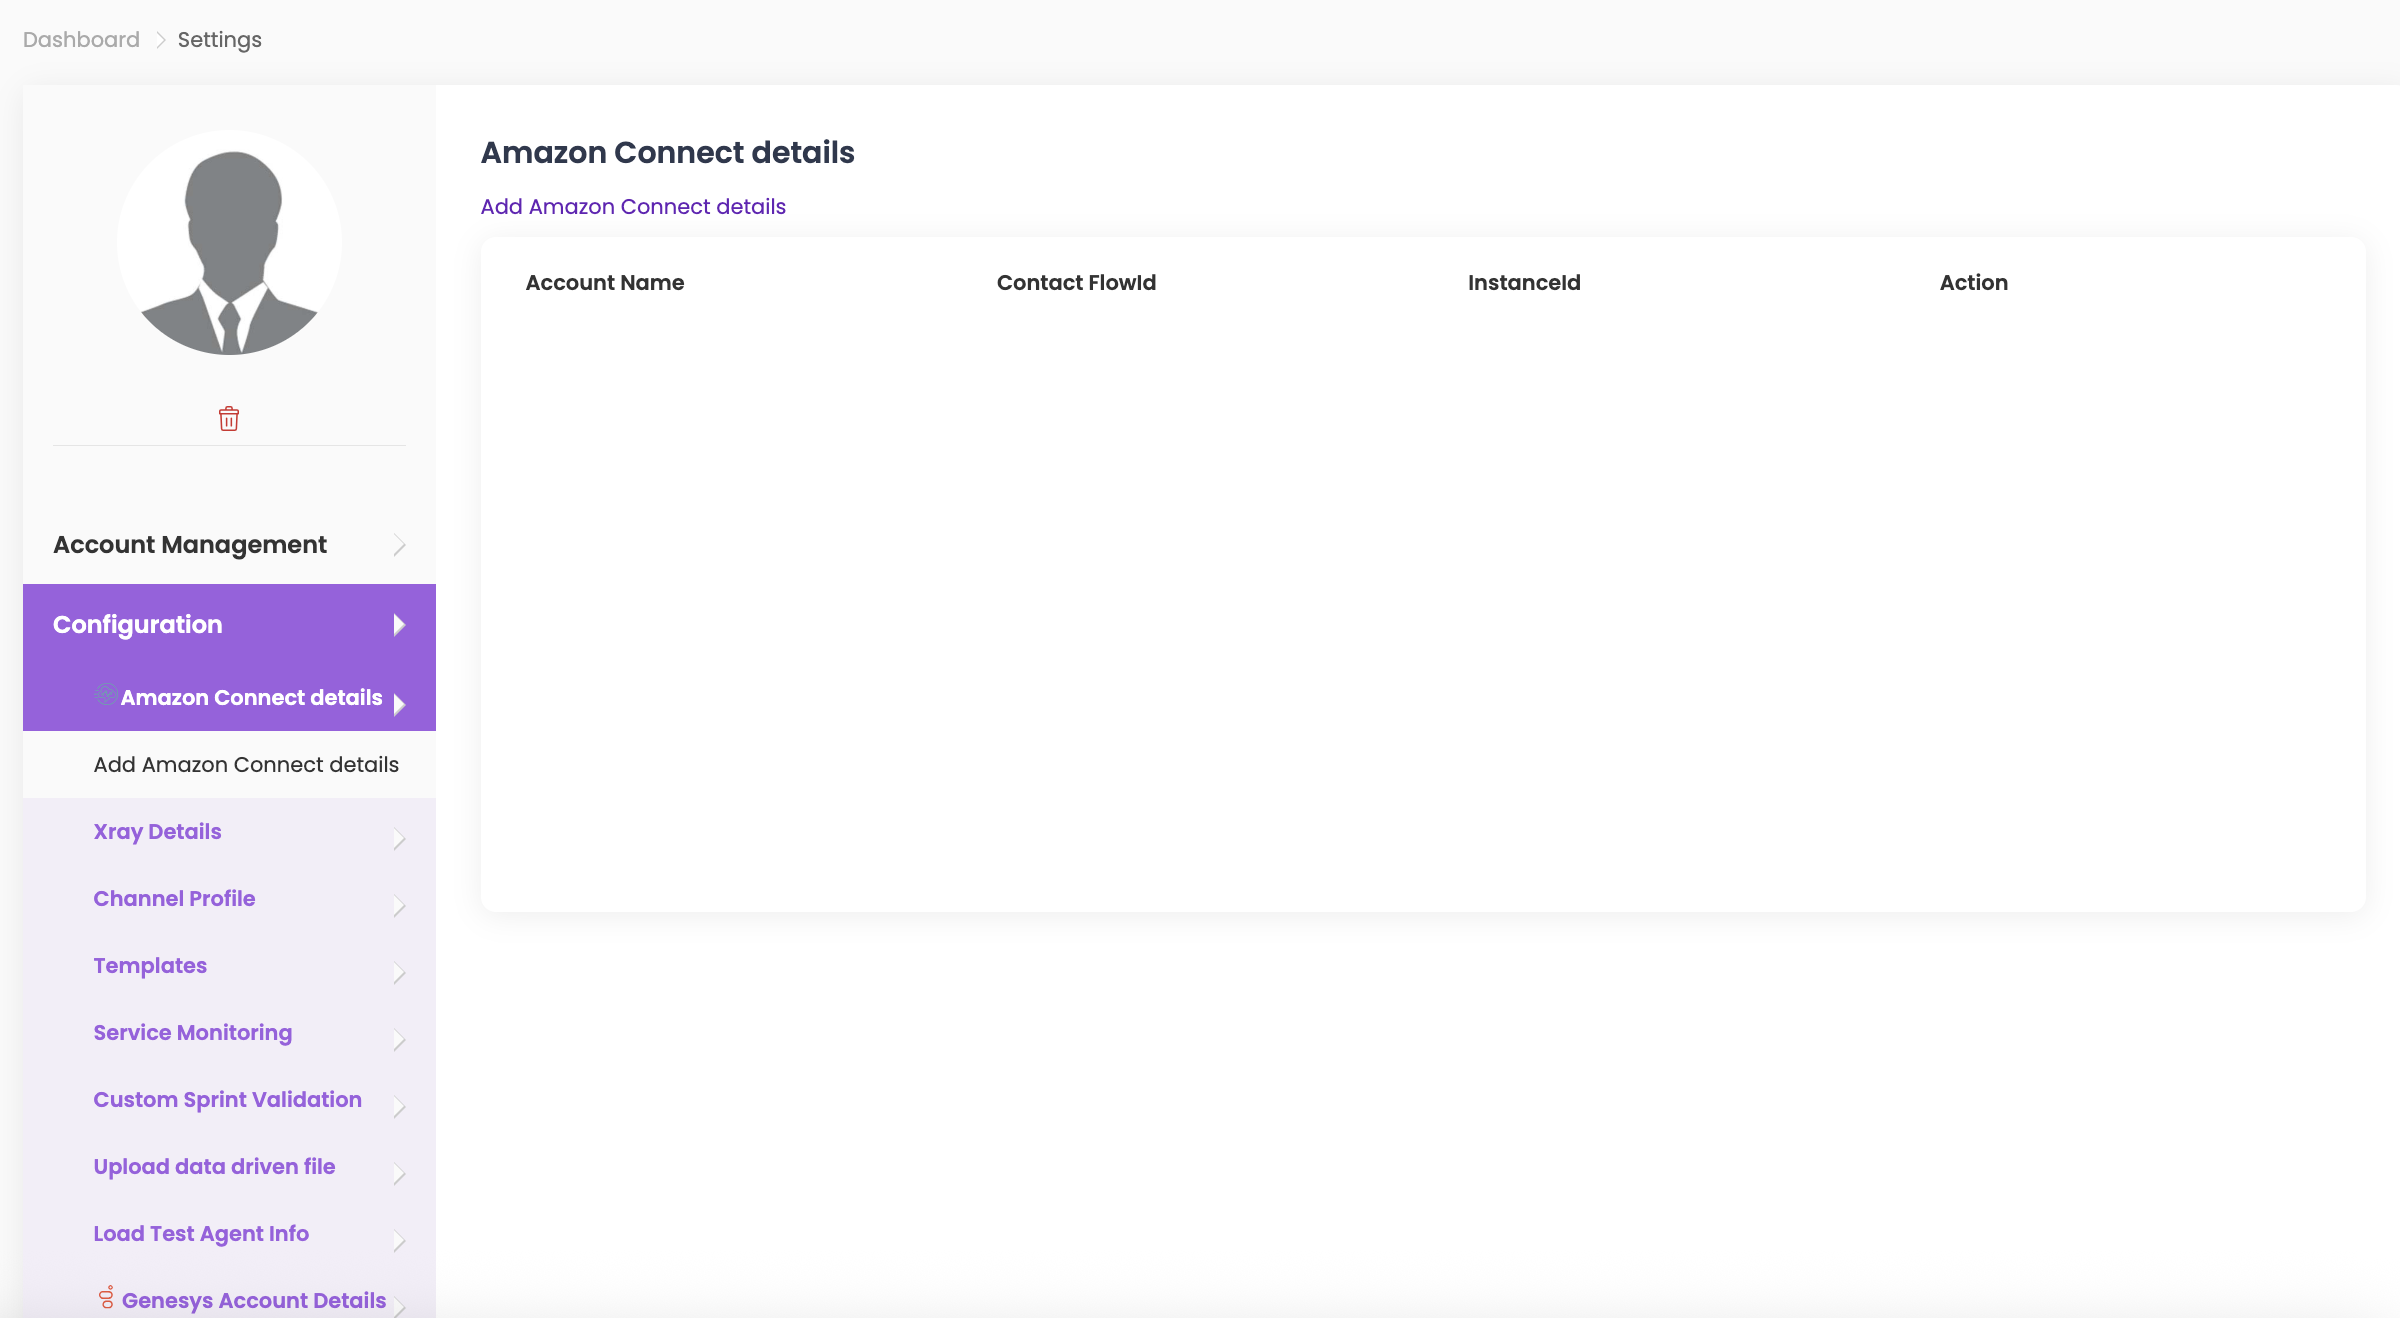
Amazon Connect details #
- Click on Add Amazon Connect Details.
- Enter the details for Account Name, AWS Access Key, AWS Secret Access Key, Instance ID, and Contact Flow ID.
- Click Save.
- To edit or delete Amazon Connect details, click on the respective icons under Action in AWS Details.
Amazon Connect Voice Configuration #
- Click on Add Amazon Connect Voice Configuration.
- Enter the details for Account Name, AWS Access Key, AWS Secret Access Key, S3 Bucket ARN, and select Region from the dropdown.
- Click Save.
- To edit or delete Amazon Connect configuration details, click on the respective icons under Action in Amazon Connect Voice Configuration.
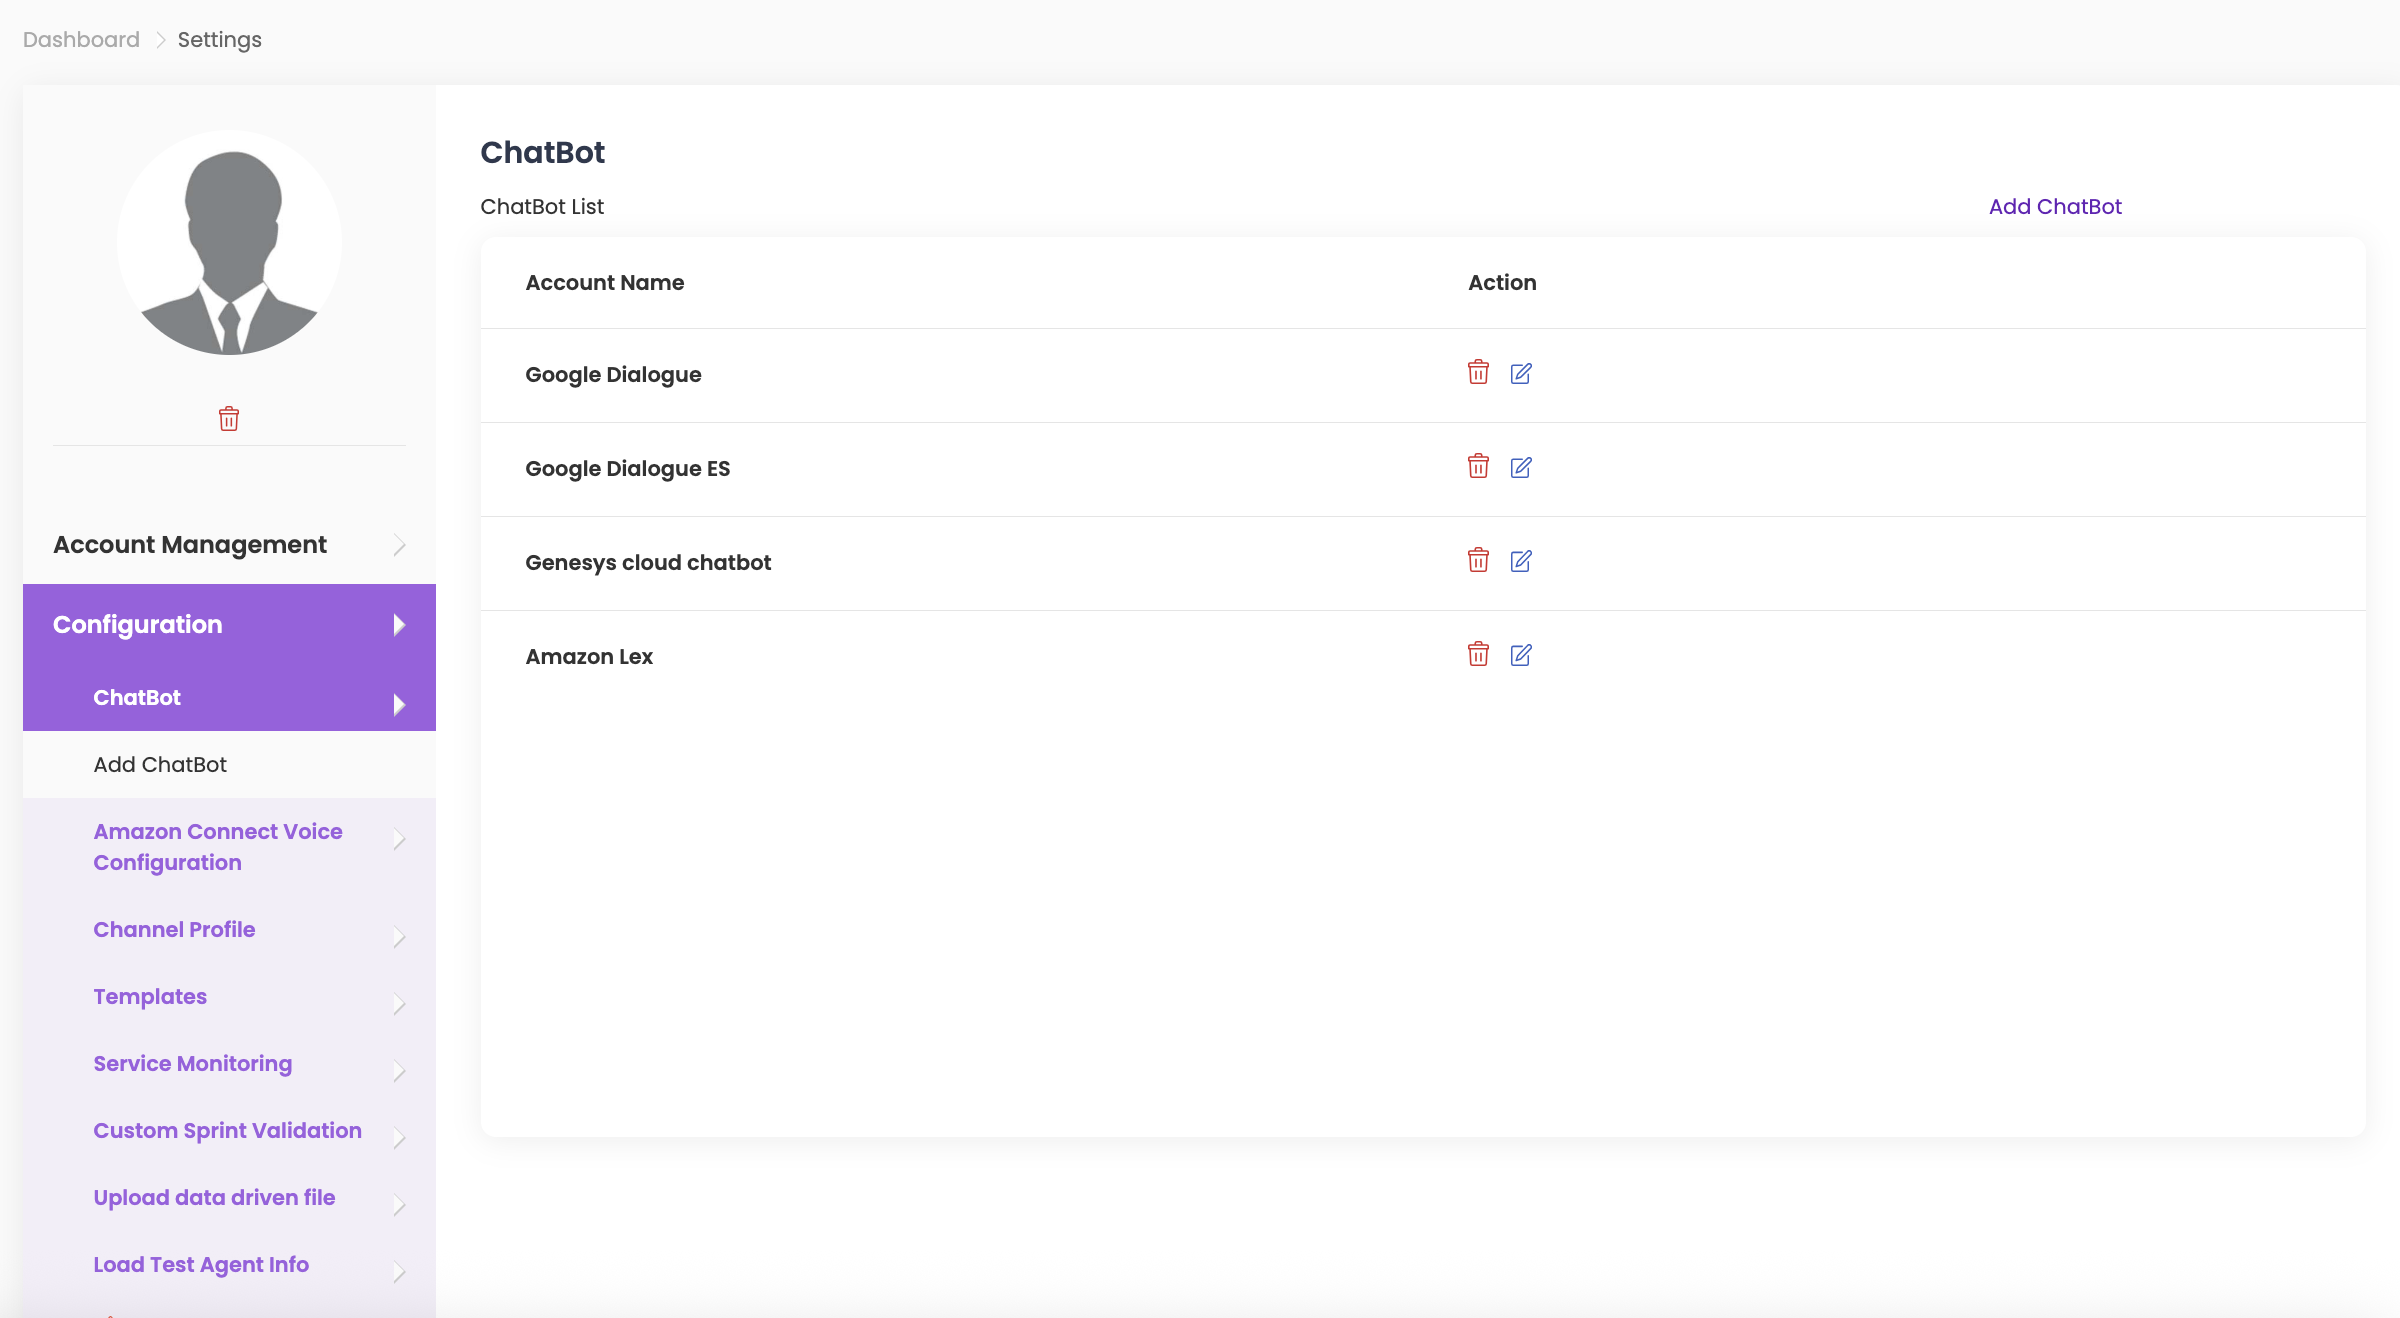
ChatBot #
- Click on Add Chatbot.
- Enter the details for Account Name, select Chatbot Type from the dropdown menu, enter Location, and Agent ID.
- Upload the file in Service Account File and click Save.
- To edit or delete Chatbot details, click on the respective icons under Action in Chatbot Details.
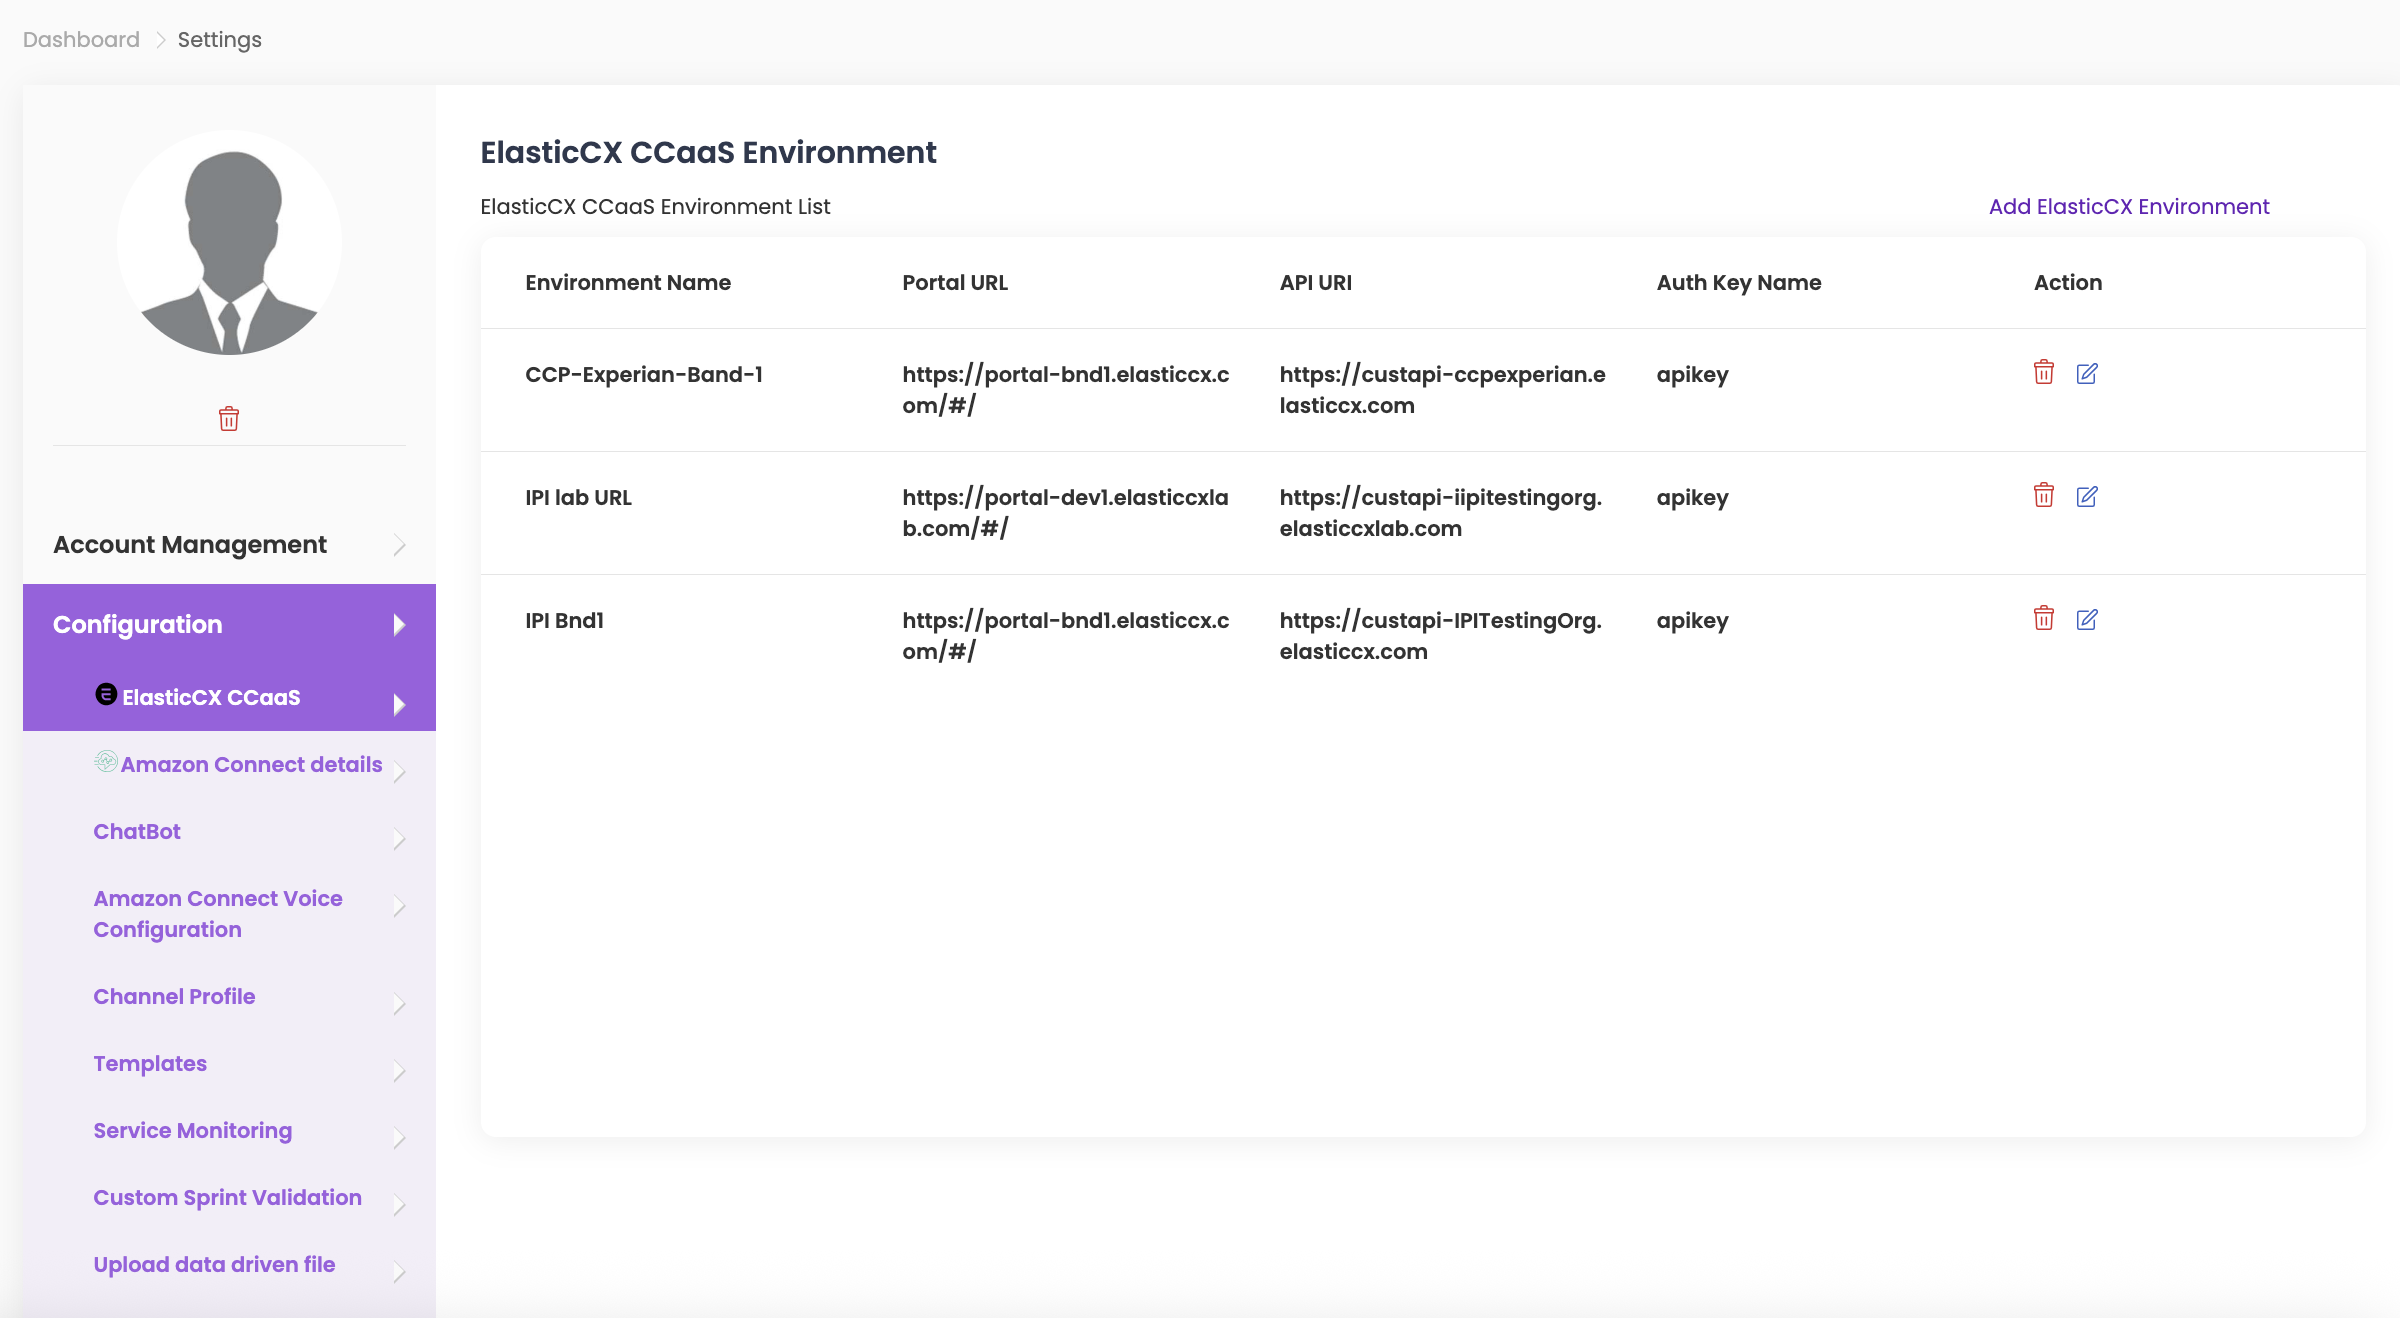
ElasticCX CCaaS Environment #
- Click on Add ElasticCX Environment.
- Click on Add ElasticCX Agent Login and enter the details for Environment Name, Portal URL, API URI, Auth Key Name, Auth Key Value, and Touch Point ID from the dropdown.
- Click Save.
- To edit or delete ElasticCX CCaaS Environment details, click on the respective icons under Action in ElasticCX CCaaS Environment List.
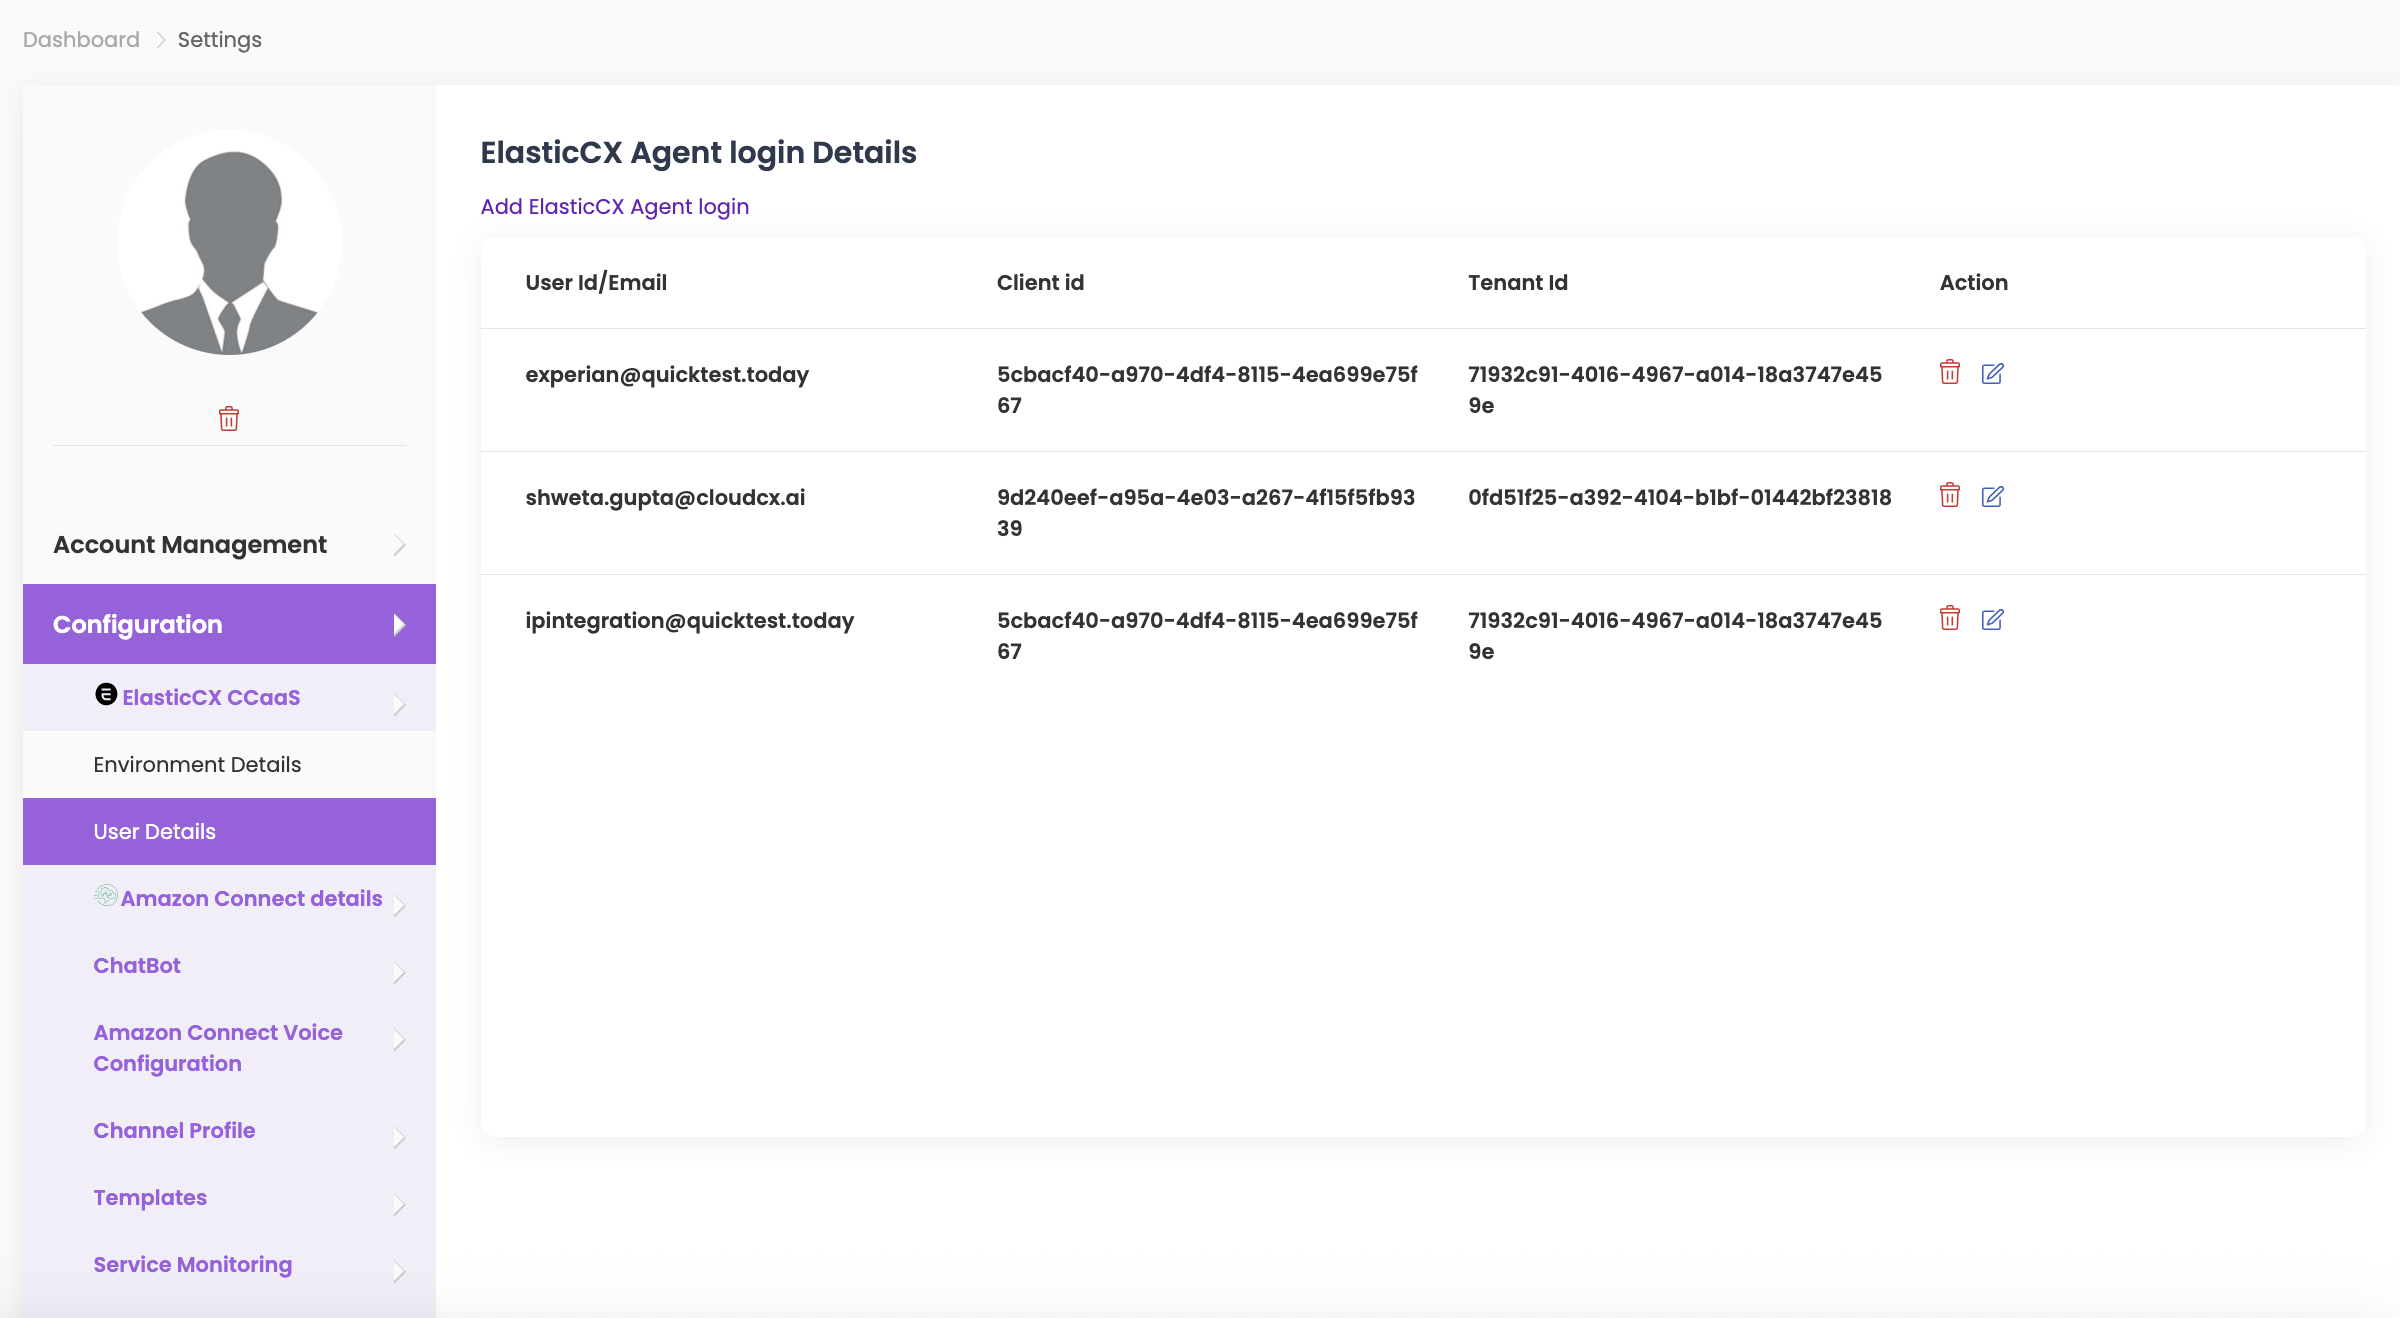
User details – ElasticCX Agent login Details #
- Click on Add ElasticCX Agent Details.
- Enter the details for Environment Name, User ID/Email, Password, Client ID, Secret Key, and Tenant ID.
- Click Save.
- To edit or delete ElasticCX CCaaS Agent Login details, click on the respective icons under Action in ElasticCX CCaaS Agent Login.
Custom Noise #
- Click on Add Custom Noise Details.
- Enter the Noise Name for reference so that when creating tests, you can easily select it from the dropdown, and upload your file. Click Save.
- To edit or delete Custom Noise, click on the respective icons under Action in Custom Noise.

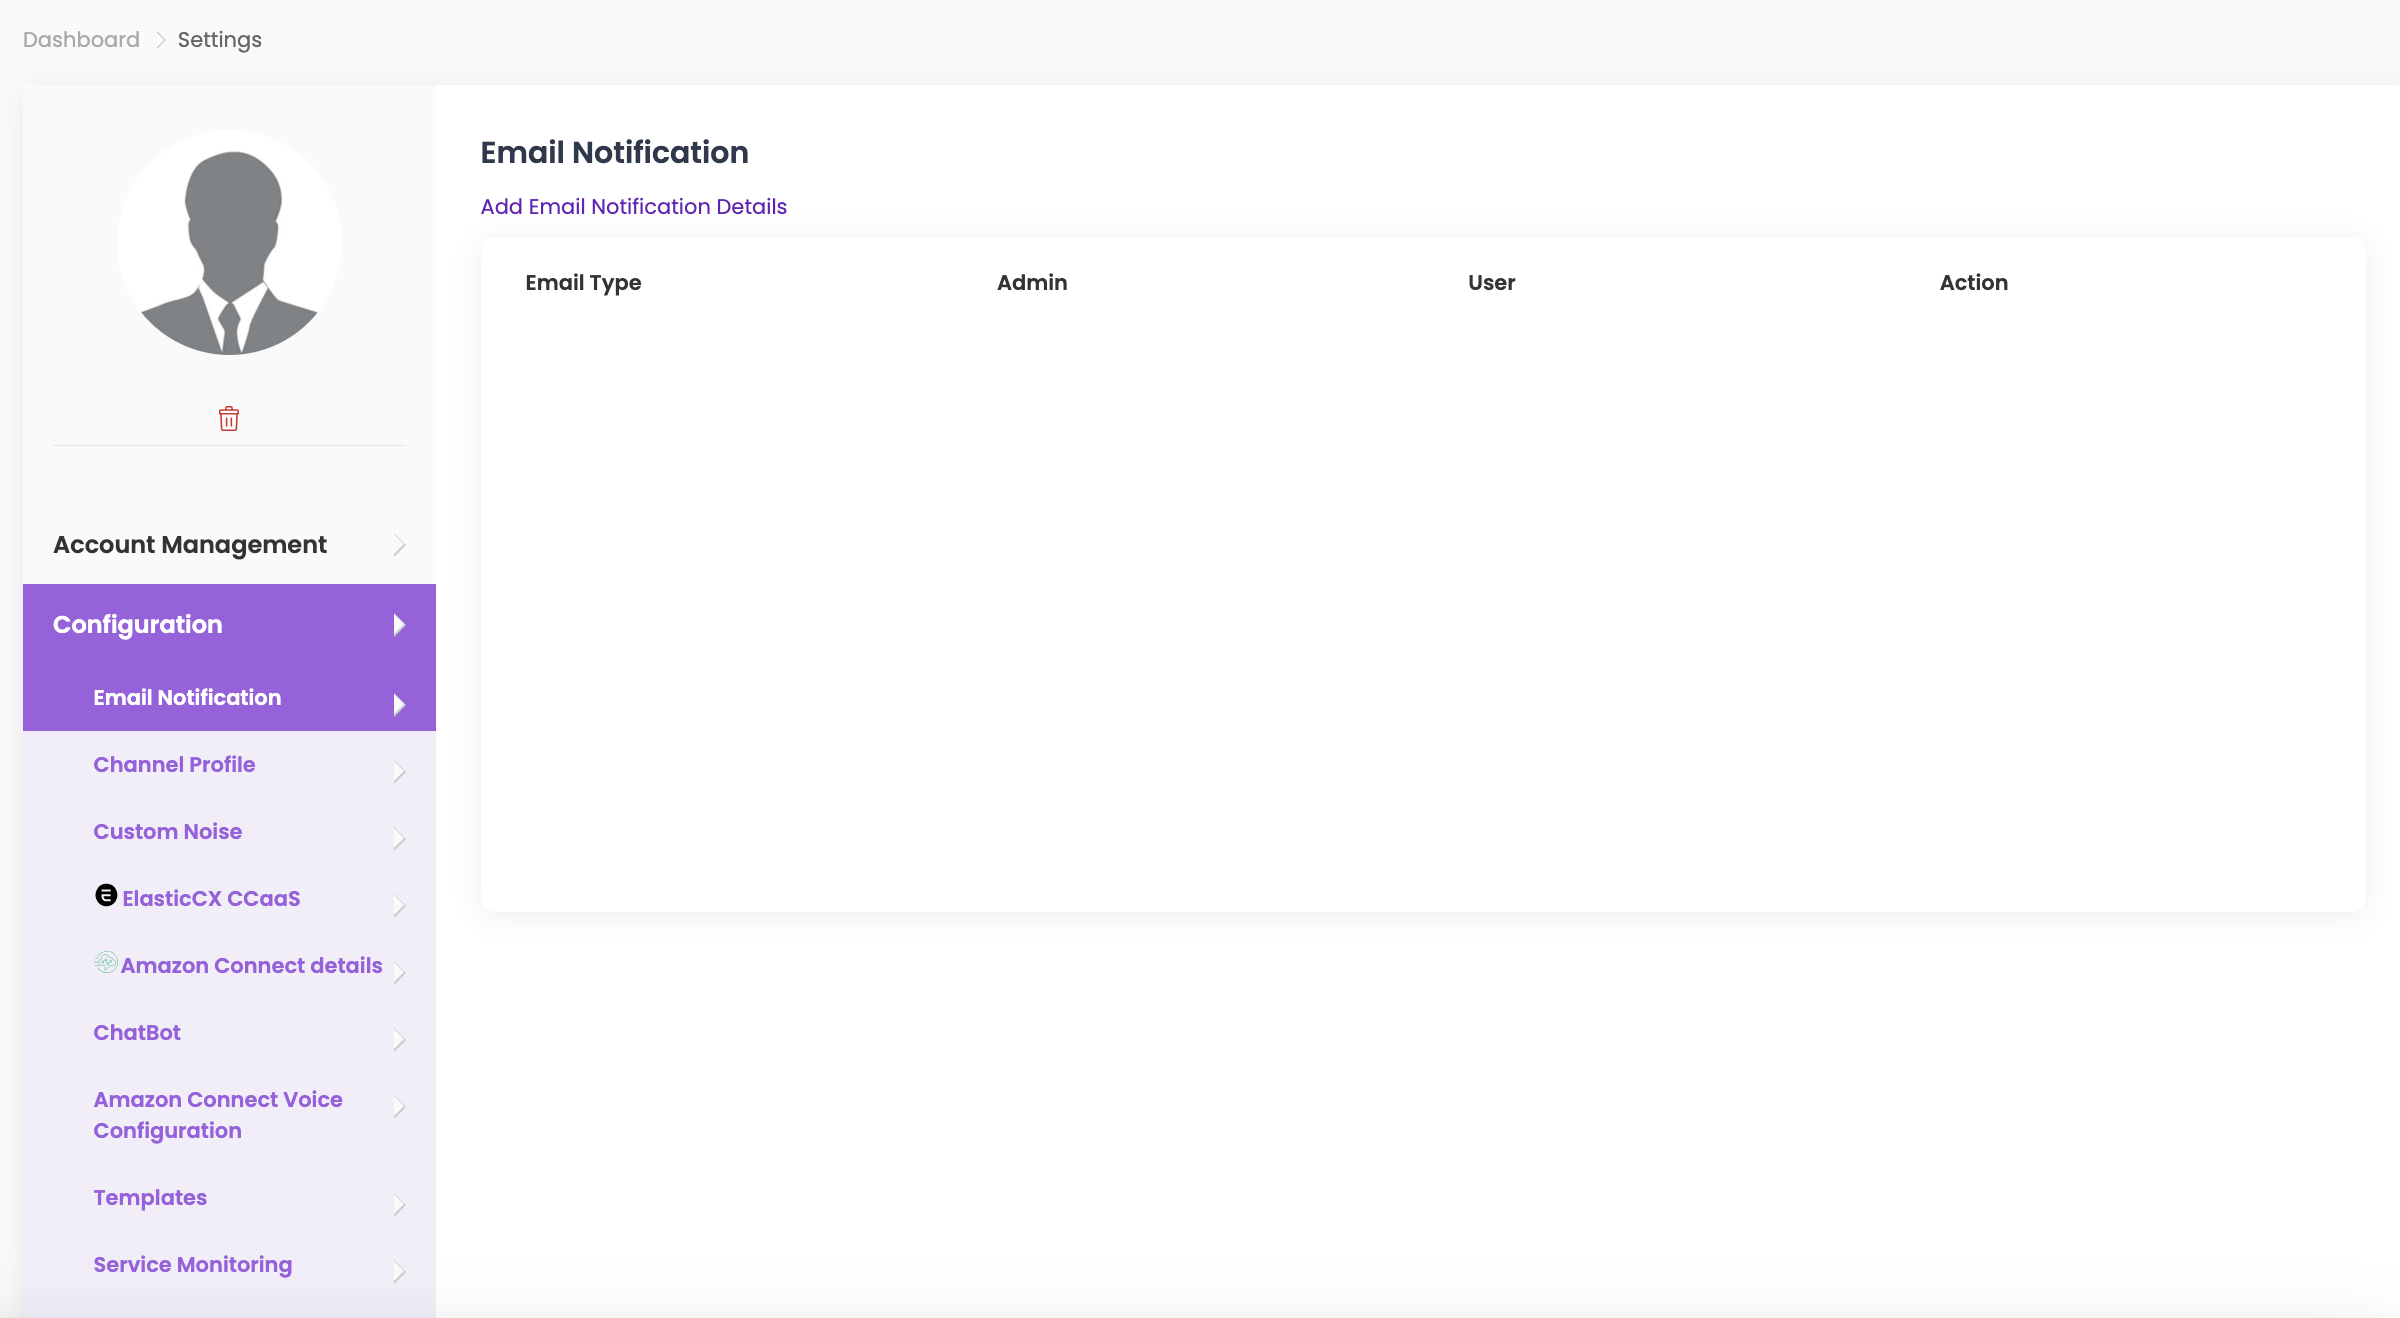
Email Notification #
- Click on Add Email Notification Details to receive test alert notifications.
- Select the Email Type from the dropdown menu and choose whether the notification should go to Admin, User, or both.
- Click Save.
- To edit or delete an email notification, click on the respective icons under Action in Email Notification Details.
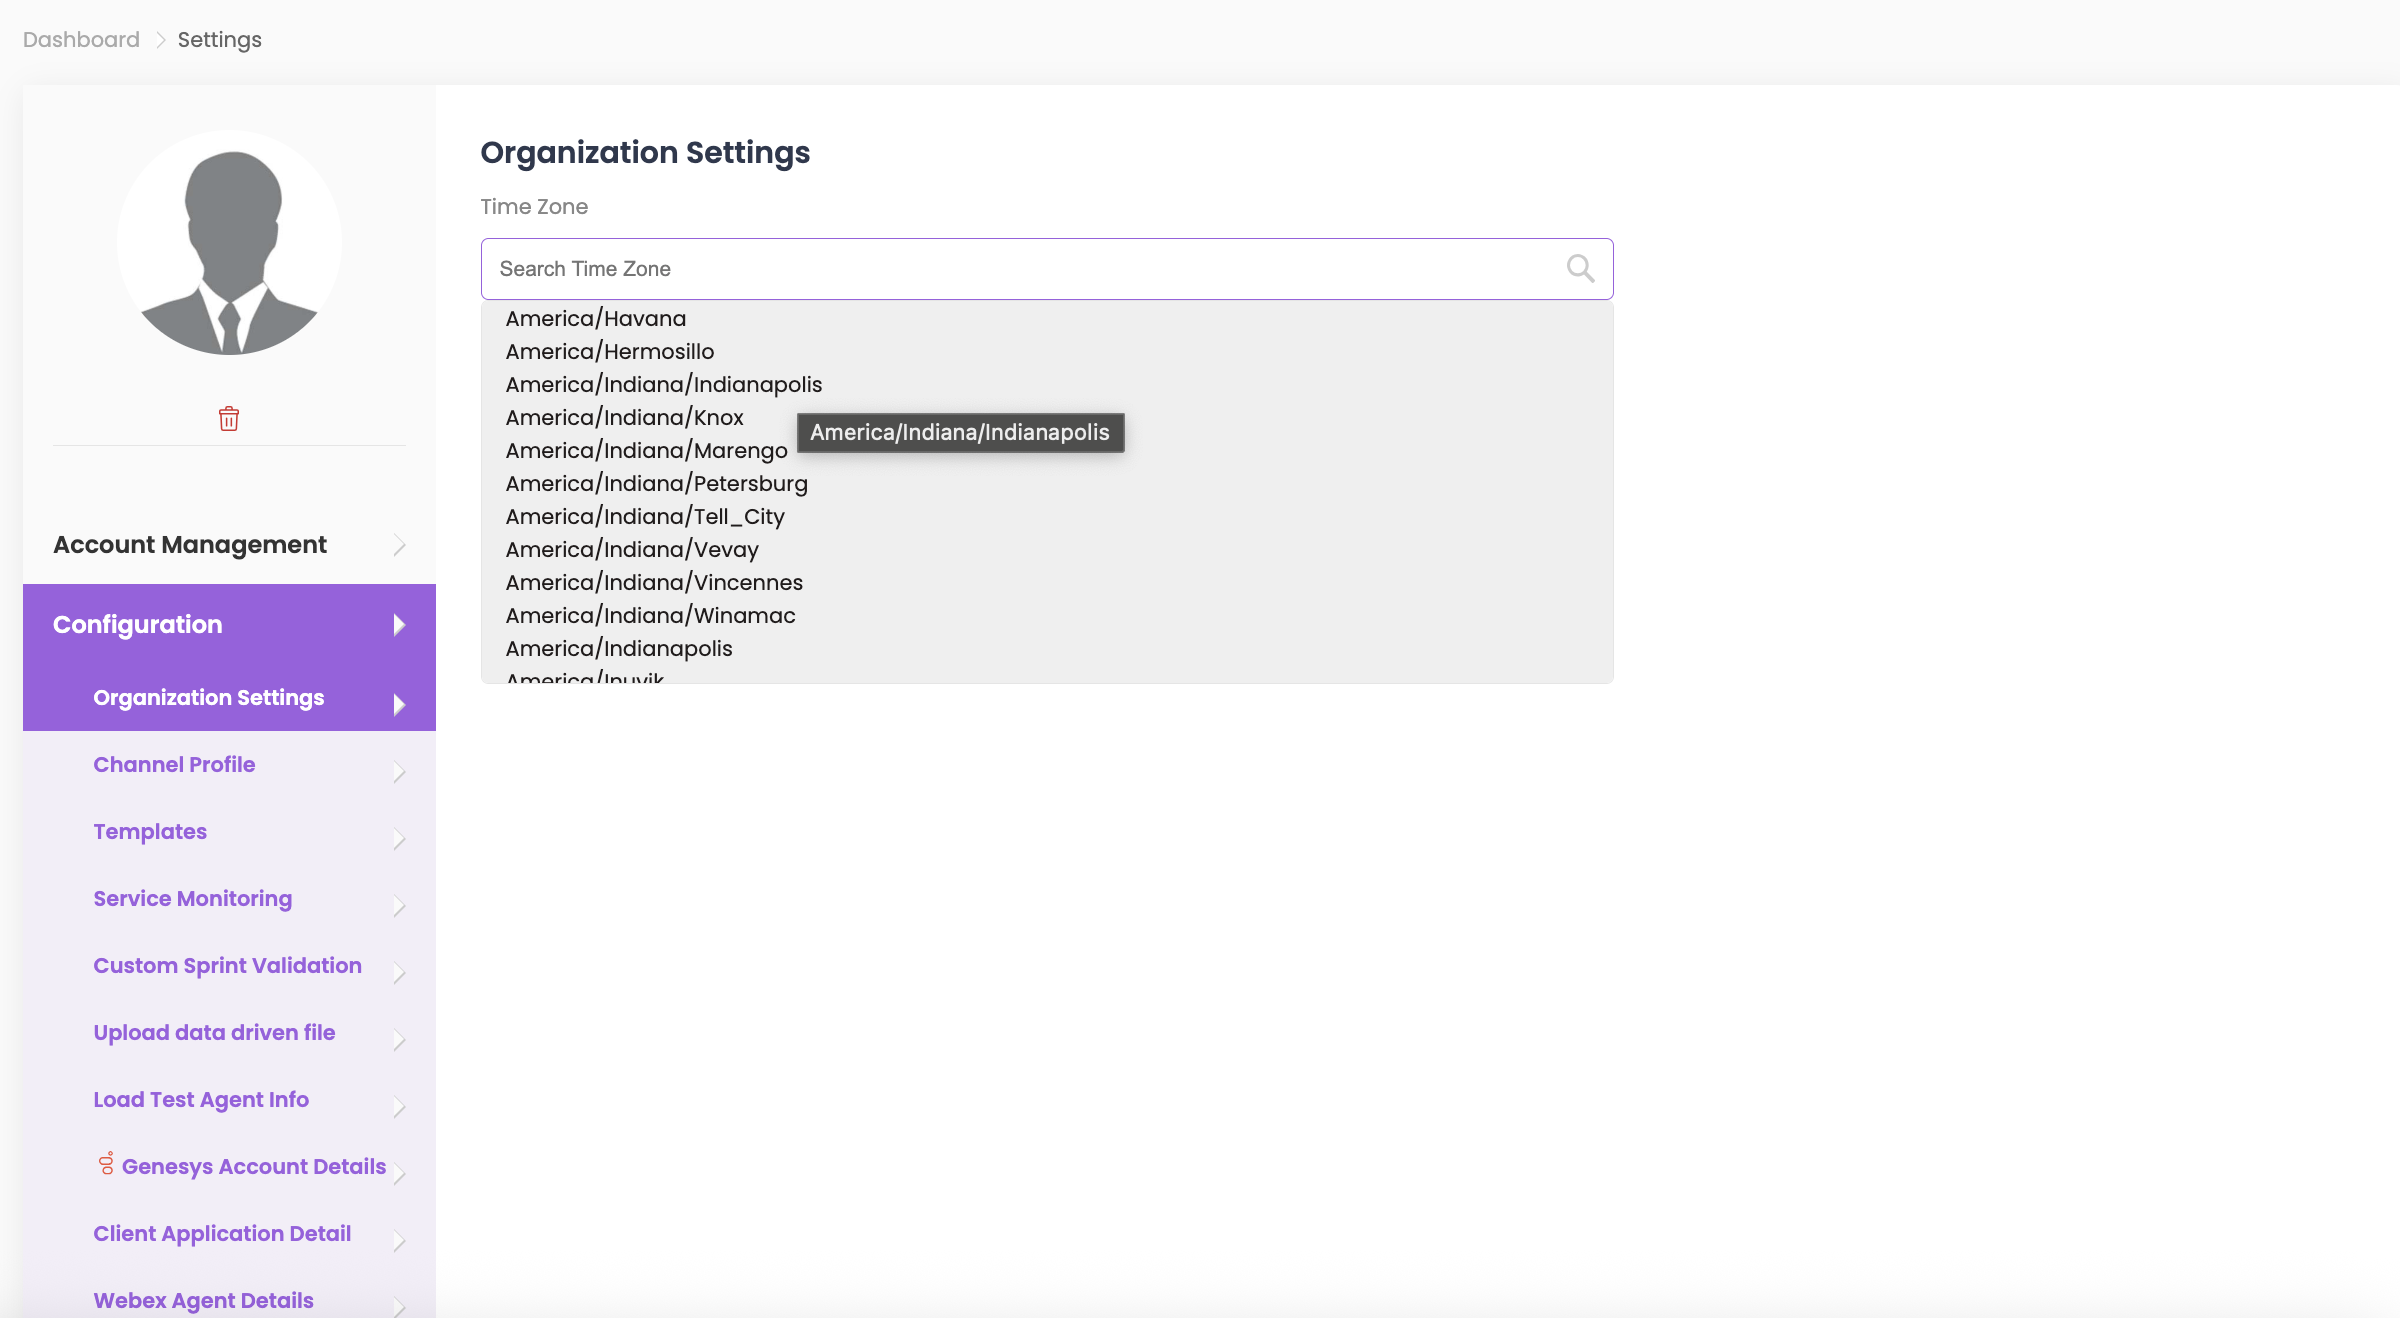
Organization Settings #
- Select the Timezone from the dropdown to set the standard timezone for your organization. This ensures a consistent timezone is applied across all users and activities in the org.
- Click Update.
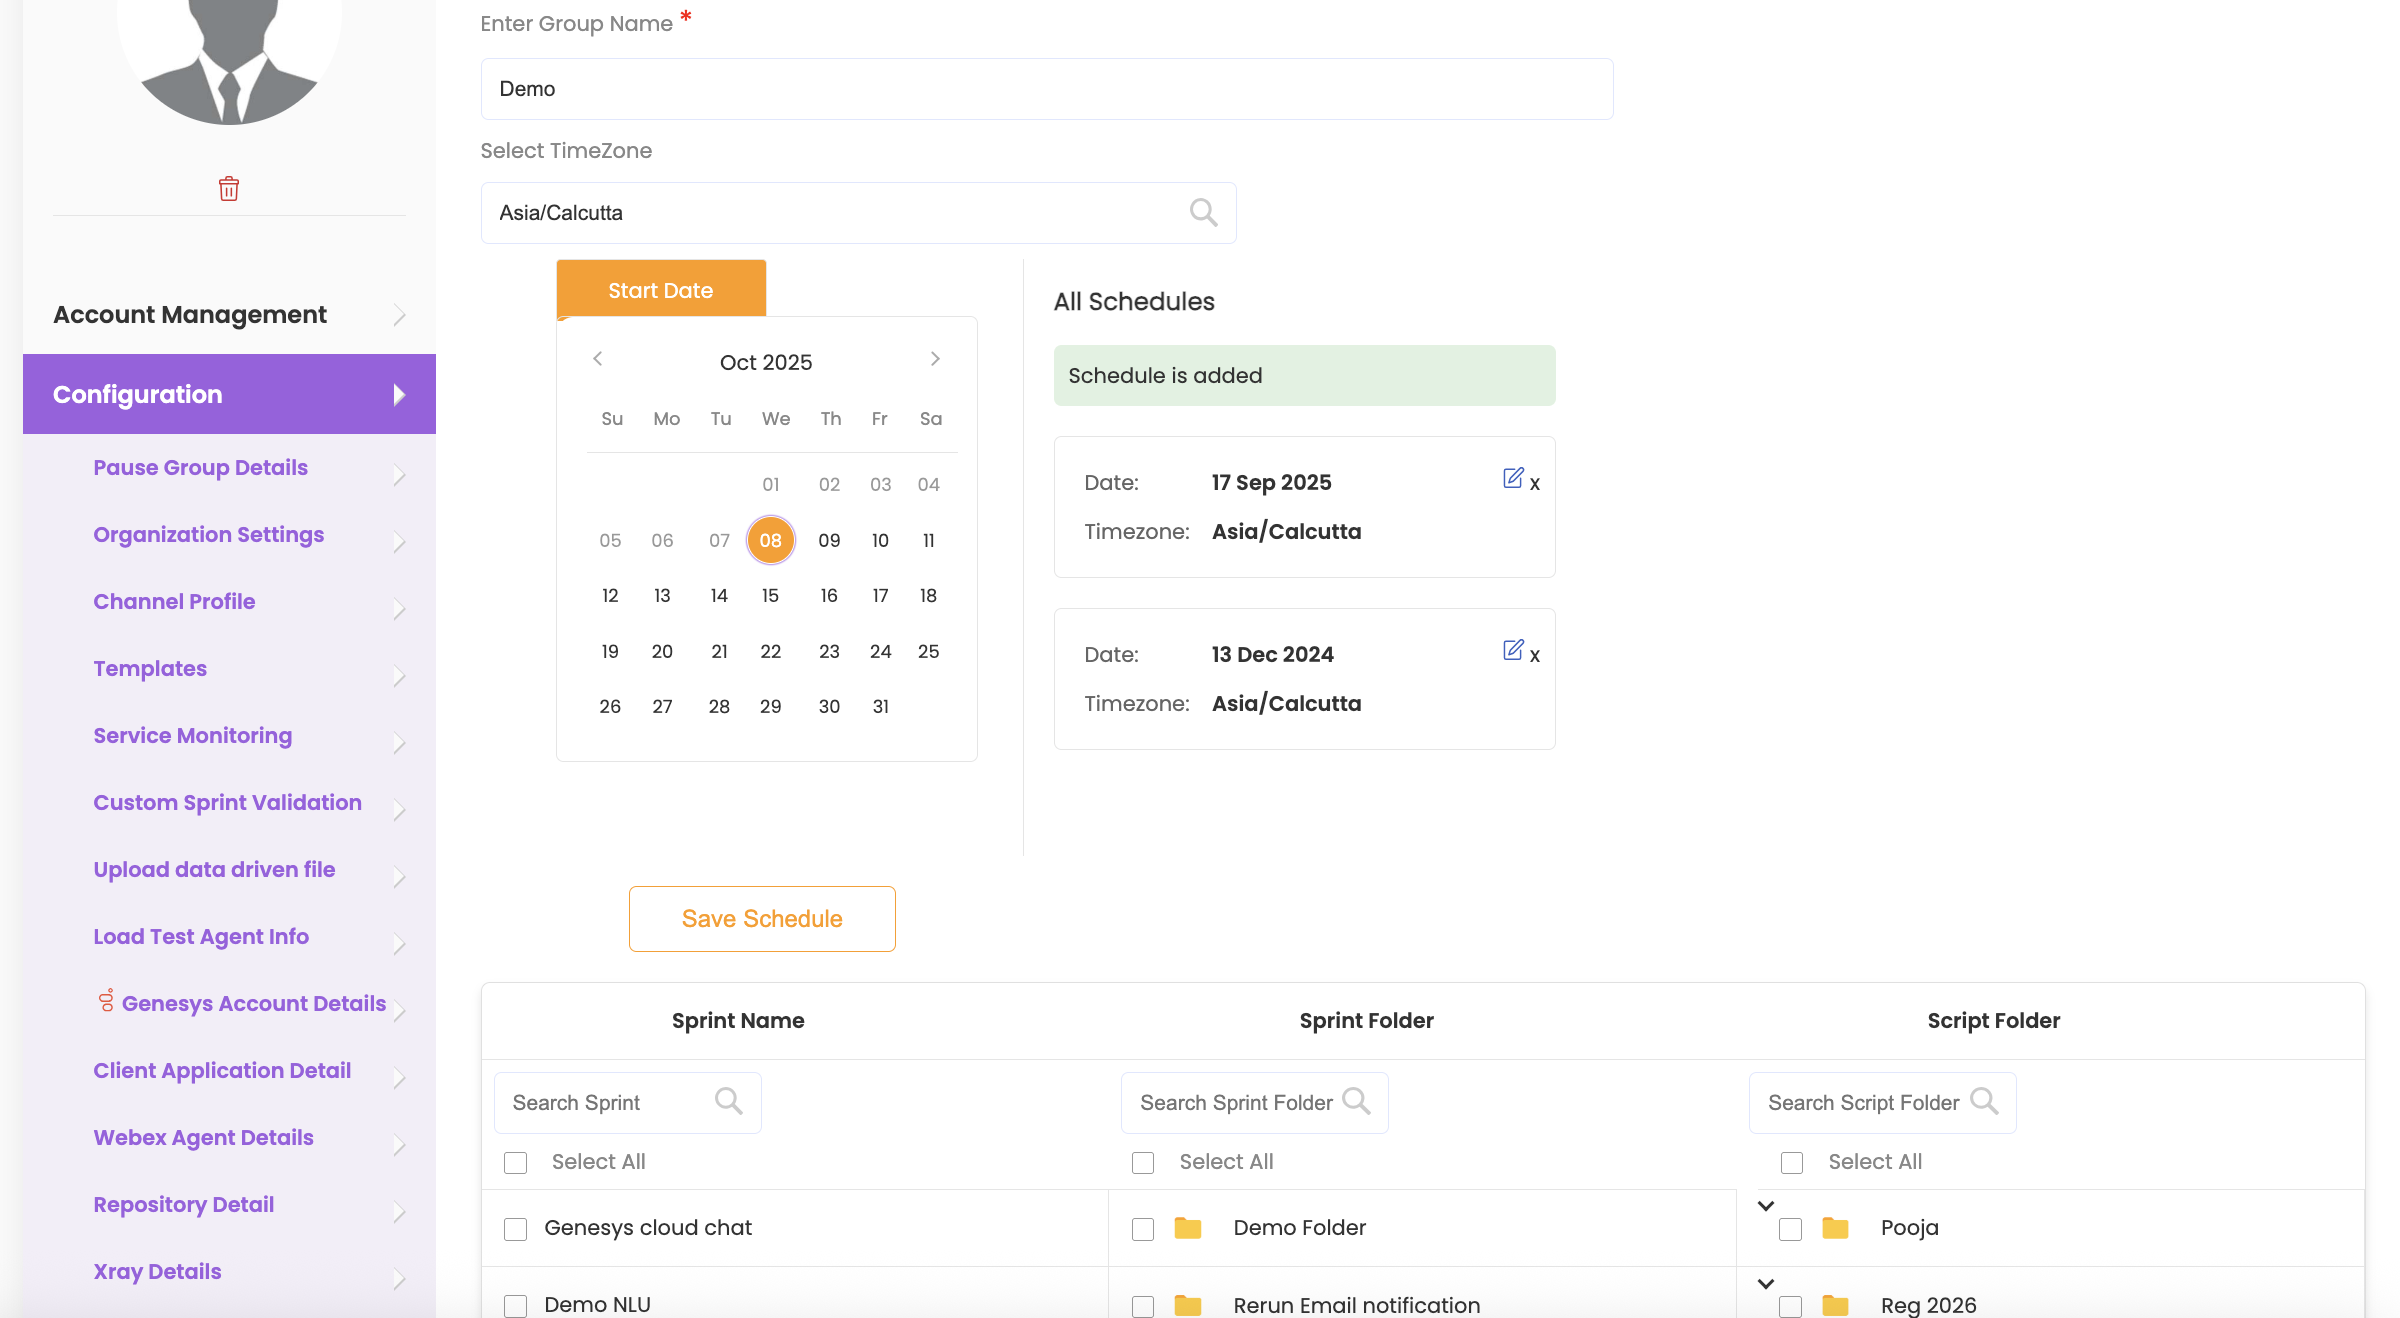
Pause Group Details #
You can create individual pause groups and assign them to scheduled sprints, sprint folders, and script folders. This allows you to manage pauses for specific tests without manually editing each sprint or script folder, giving you more flexibility and efficiency.
- Click on ‘Add Pause Group Details’.
- Enter a Group Name—make it easy to remember, as it will appear in the dropdown when using it in scheduled tests or folders.
- Select the Timezone and then choose the Start Date. Click Save.
- To edit or delete a pause group, click the respective icons under Action in Pause Group Details.
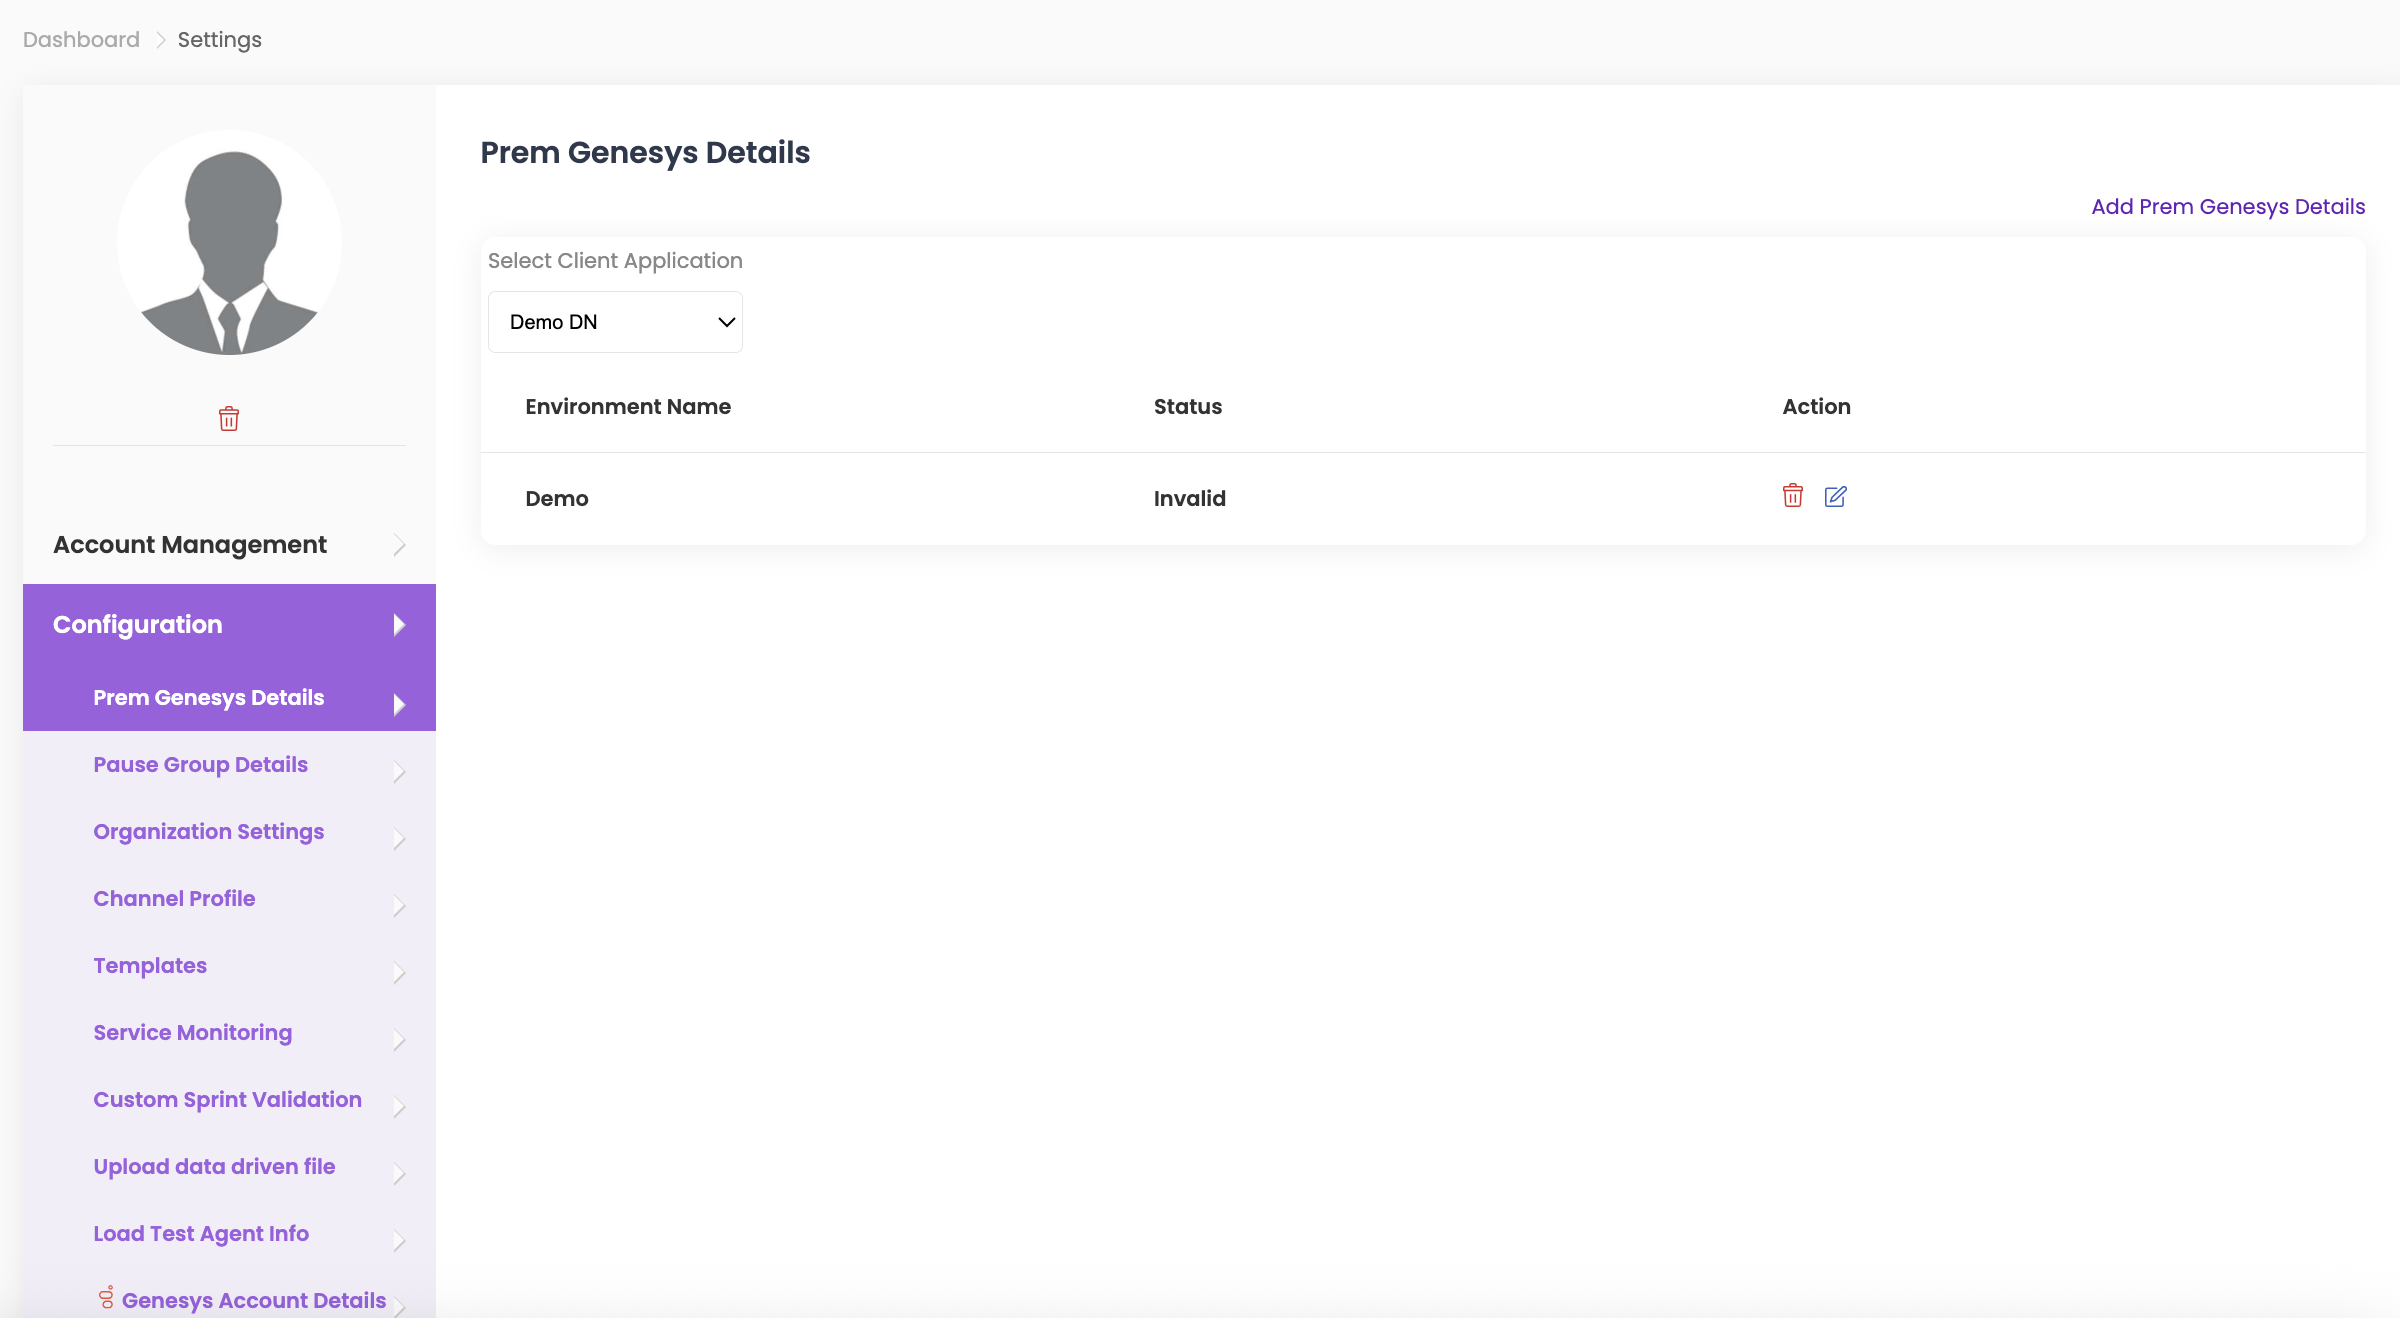
Prem Genesys Details #
- Click on ‘Add Prem Genesys Details’.
- Select the Client Application from the dropdown, enter the Environment Name, and provide the Configuration Server Details and SIP Server Details.
- Click Submit.
- To edit or delete Prem Genesys Details, click the respective icons under Action in Environment Name.
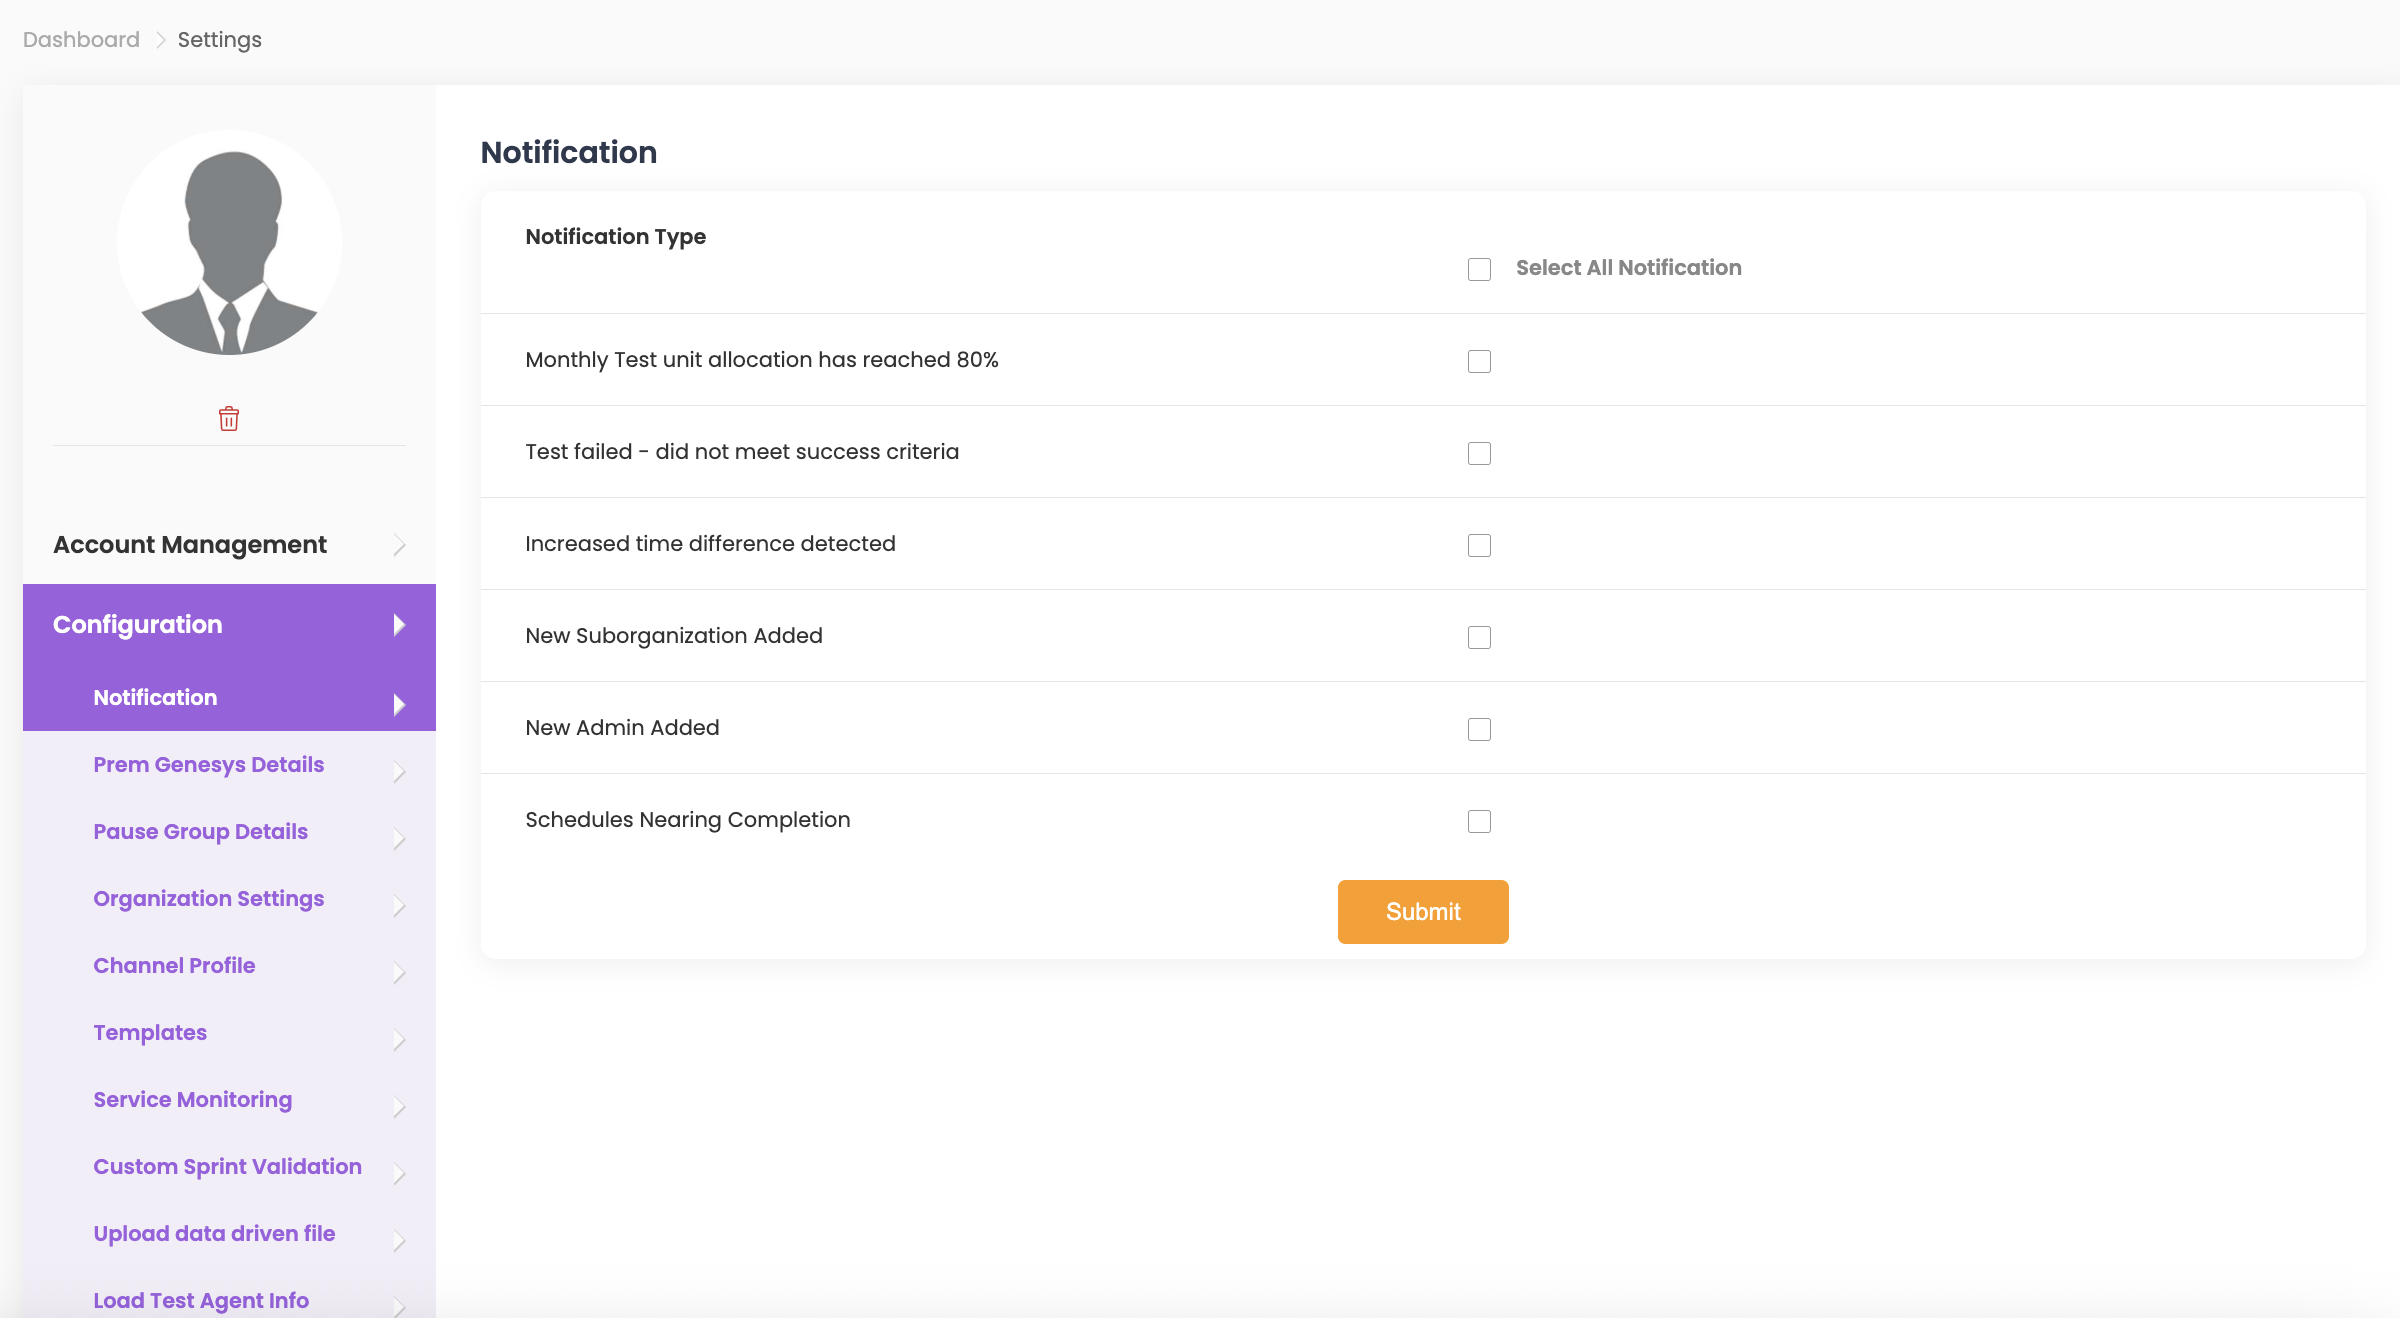
Notification #
- Select the checkboxes for the email notifications you want to receive from QuickTest.
- Click Submit once done.
- Note: Refer to the photo below to view all available notification types.