Chat Bot Testing Overview #
ChatBot Testing lets you interact directly with your chatbot through a user-friendly browser interface. As you engage in a conversation QuickTest captures the entire conversation and automatically generates a script. These scripts can then be used in automated and scheduled tests, helping you ensure your chatbot is responding correctly, consistently, and as intended across multiple scenarios.
Whether you’re testing customer service flows or transactional conversations, ChatBot Testing gives you a fast, intuitive way to validate your bot’s performance in real-world situations without needing to write test scripts manually.
ChatBot Testing is ideal for:
- QA teams focused on regression testing and ensuring chatbot reliability.
- CX teams aiming to optimize chatbot validation and improve overall user experience.
- Testing new bot releases with minimal manual scripting effort.
- Non-technical users such as CX designers or QA testers who want an easy, no coding, script-free way to create test cases.

Setting Up Chat Bot Testing #
Configure ChatBot Details #
Before you begin testing, you must configure your chatbot details in the profile settings:
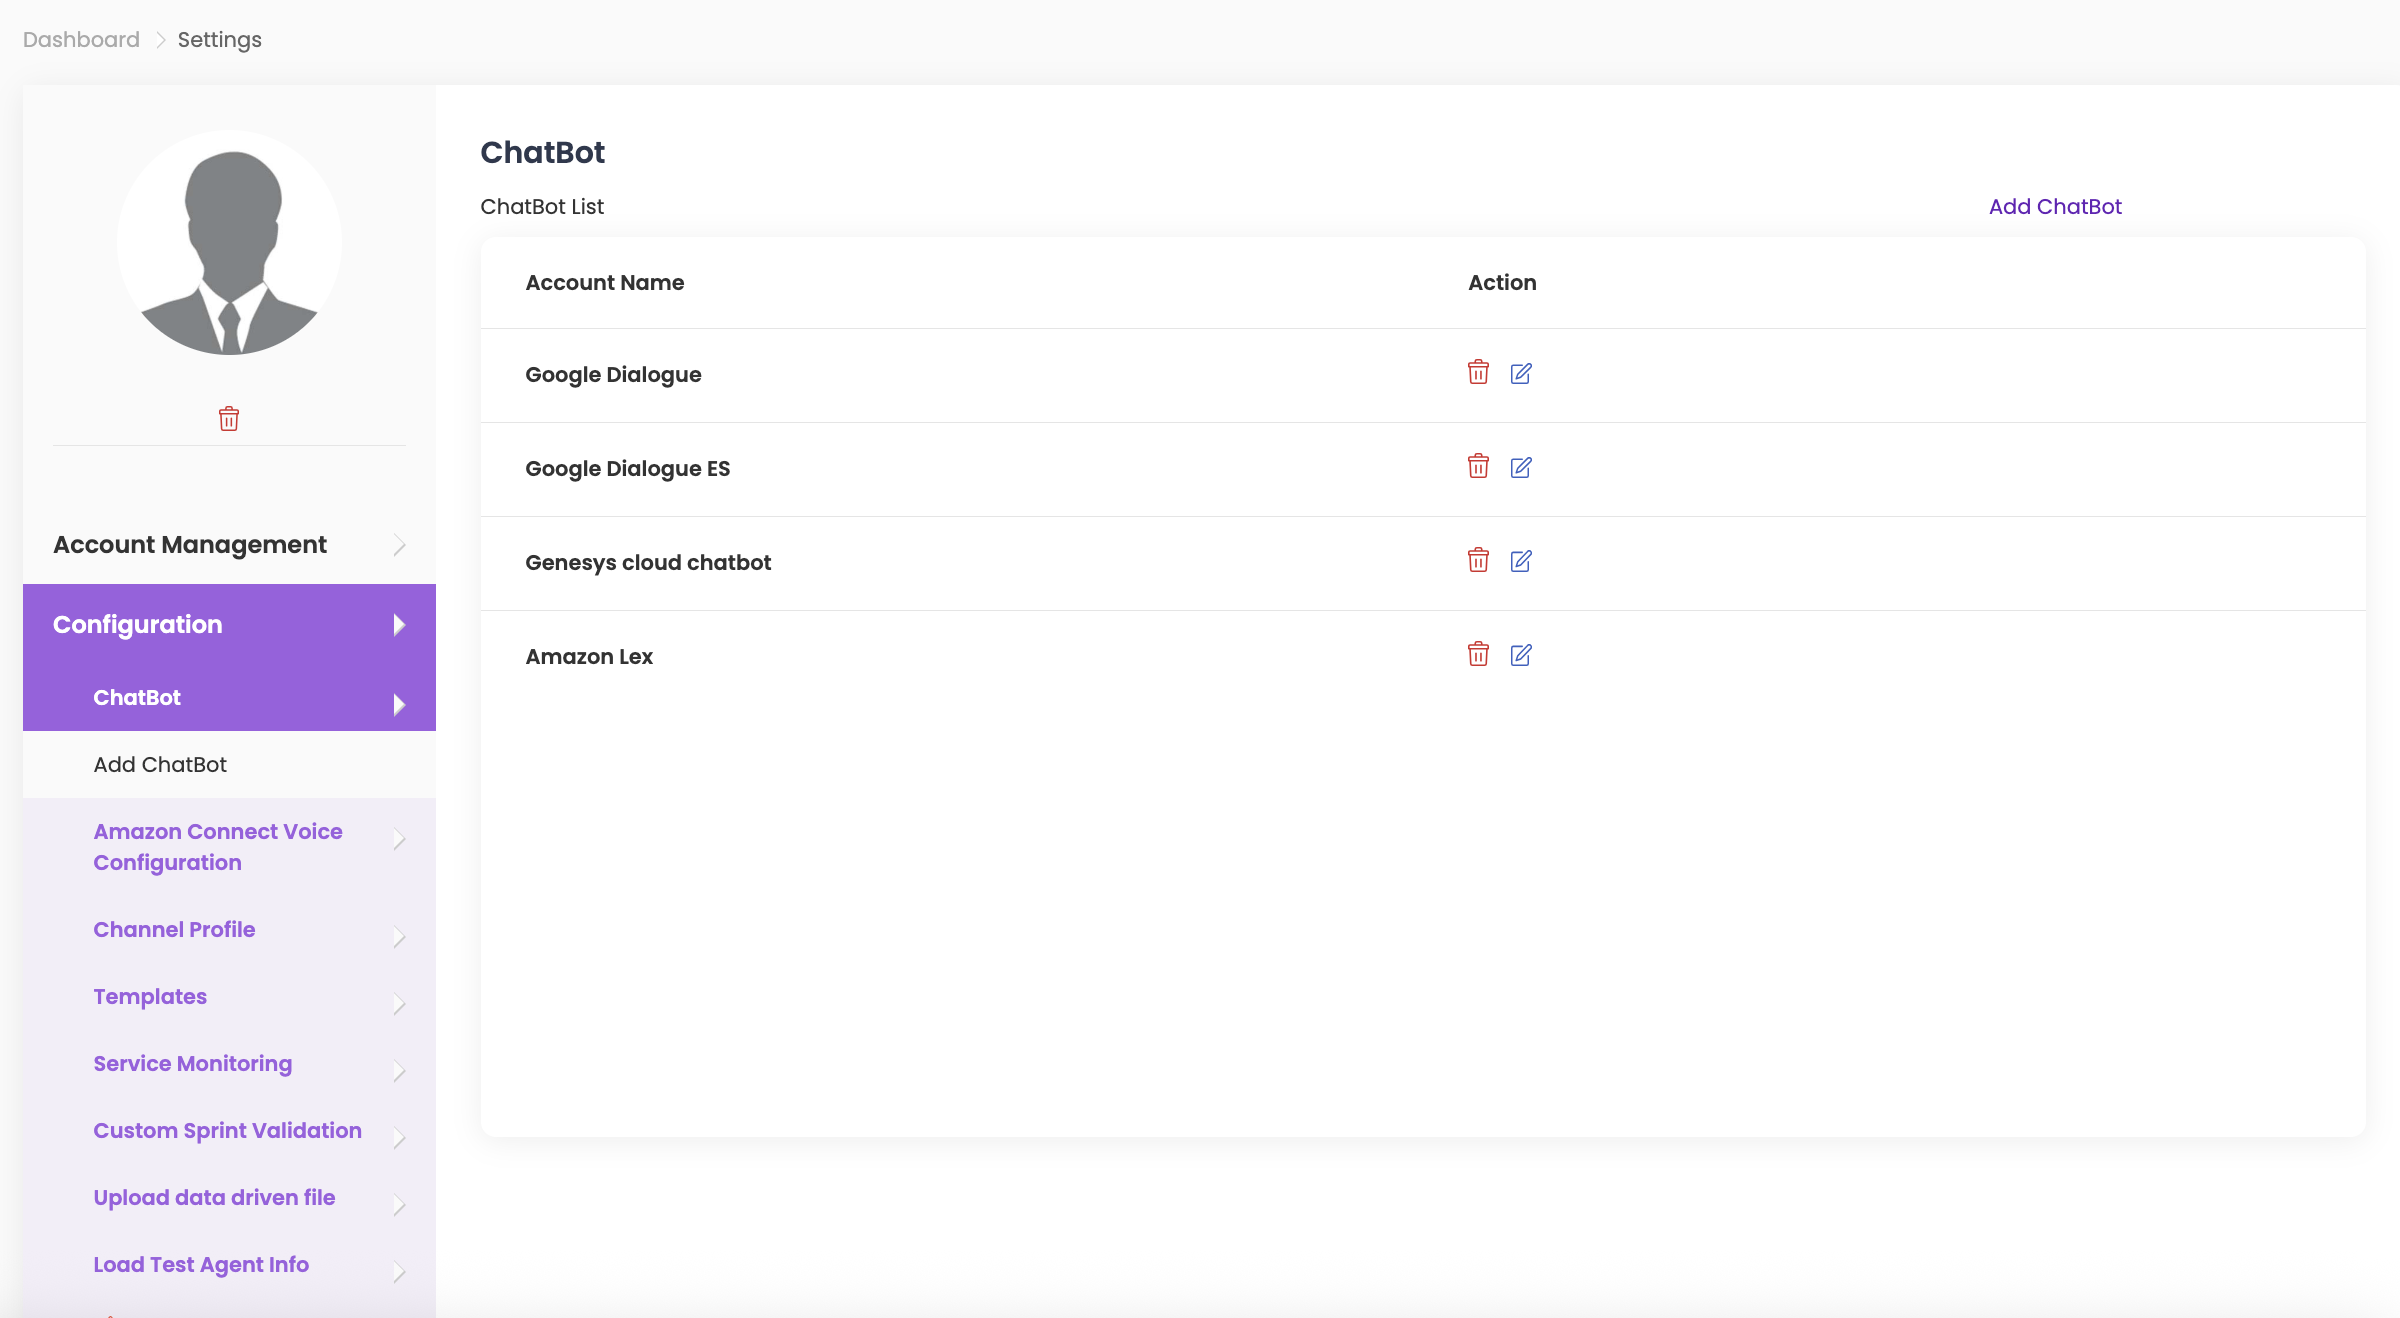
- Navigate to Configuration > Chatbot.
- Click on Add Chatbot.
- Enter the details for Account Name.
- Select Chatbot Type from the dropdown menu.
- Enter the remaining details and click on Save.
- You can find more details by clicking here.
Start ChatBot Testing #
- Navigate to ChatBot from the left-hand bar menu.
- Enter ChatBot Testing details:
- Select the ChatBot Type and ChatBot Details from the dropdown options.
- Note: Currently supported ChatBot types include Google Dialogue, Google Dialogue ES, Amazon Lex, and Genesys Cloud Chatbot.
- Click Start to begin the test. A ChatBot window will open where you can type your test messages.
- To end the test, click Stop Test at any time.
- The interaction history will display, and you can click Save Script to save the session.


