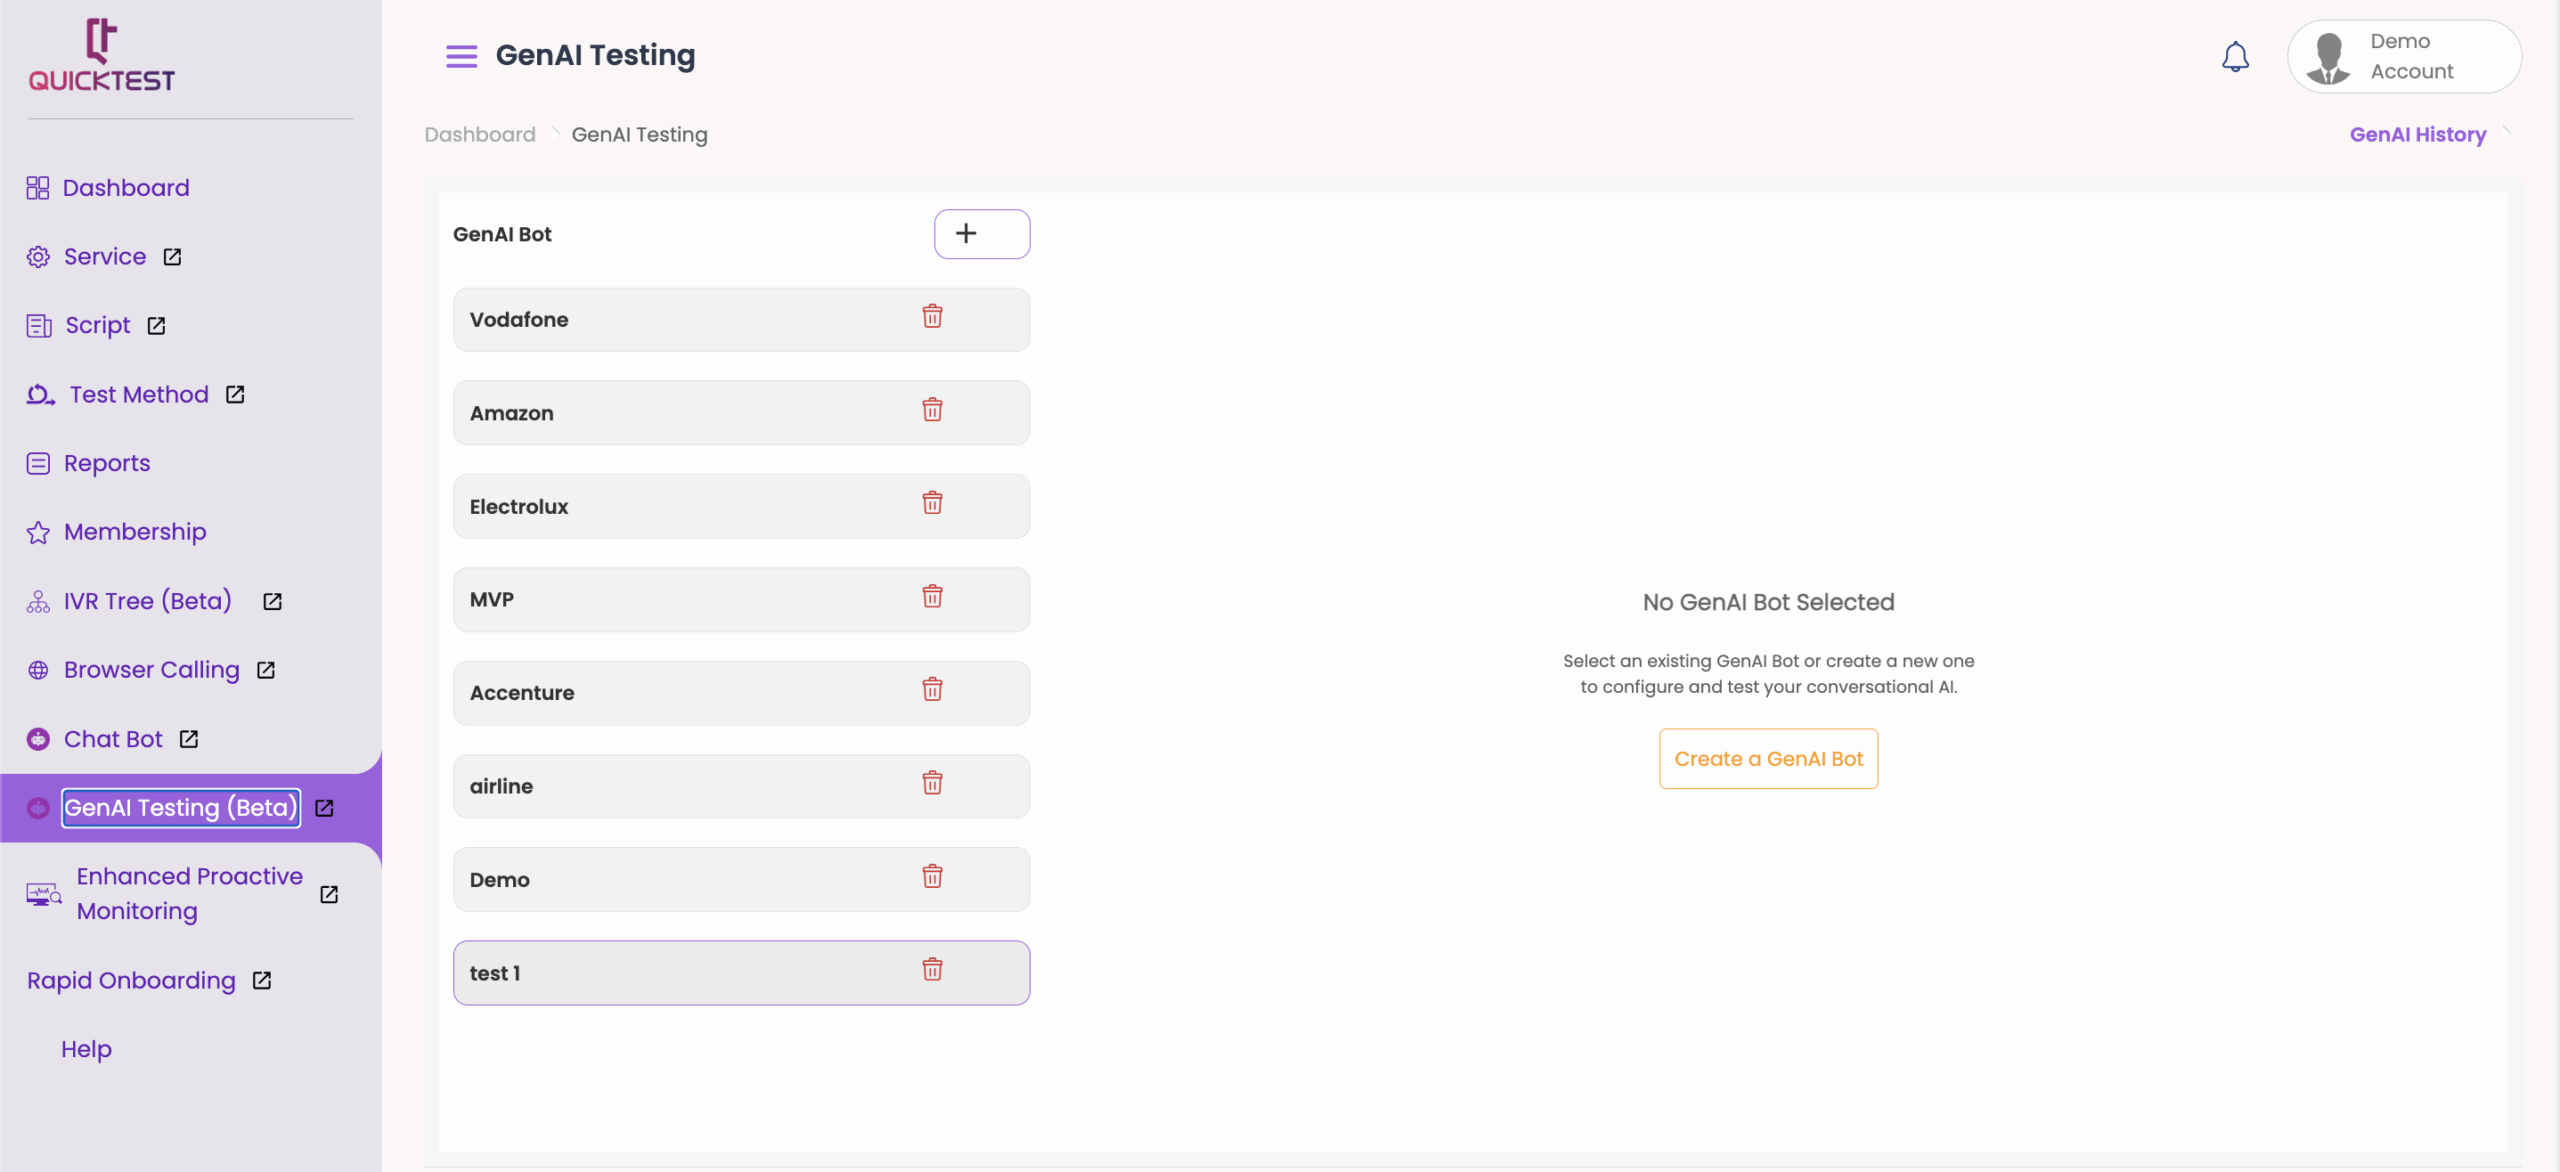
Generative AI Testing Overview #
Located at the left corner of the dashboard, ‘GenAI Testing’ automatically generates test cases for a wide range of user scenarios and conversation variations—eliminating the need for manual test creation. This enables your team to validate bot behavior with greater speed, accuracy, and coverage.
For both voice and chatbots, GenAI:
- Automatically creates multiple test cases based on diverse user inputs, intents, and scenarios
- Simulates real user interactions to eliminate repetitive, manual testing
Because conversations with AI bots can vary greatly, QuickTest uses GenAI to intelligently adapt and generate tests on the fly—without requiring predefined scripts. This ensures even unpredictable or edge-case interactions are tested, providing more realistic and thorough coverage of your AI-driven customer experiences.
Setting Up GenAI Testing #
Follow the steps below to configure GenAI Testing in QuickTest:
1. Create a GenAI Bot
- Click Create a GenAI Bot.
- Enter a GenAI Bot Name in the field provided.
- (Optional) Select the Blank Template checkbox to start with a custom template.
- Select the checkbox if the bot is a Voice Bot or Chat Bot.
- Click Save once all details are entered.
- The newly created GenAI Bot will appear in a list format on the page.
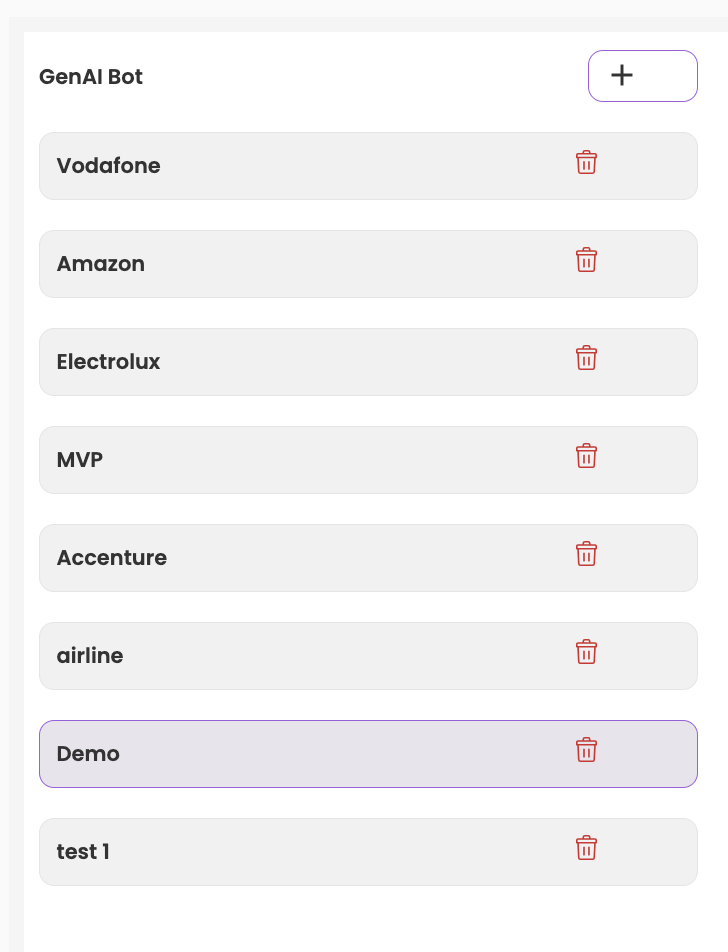
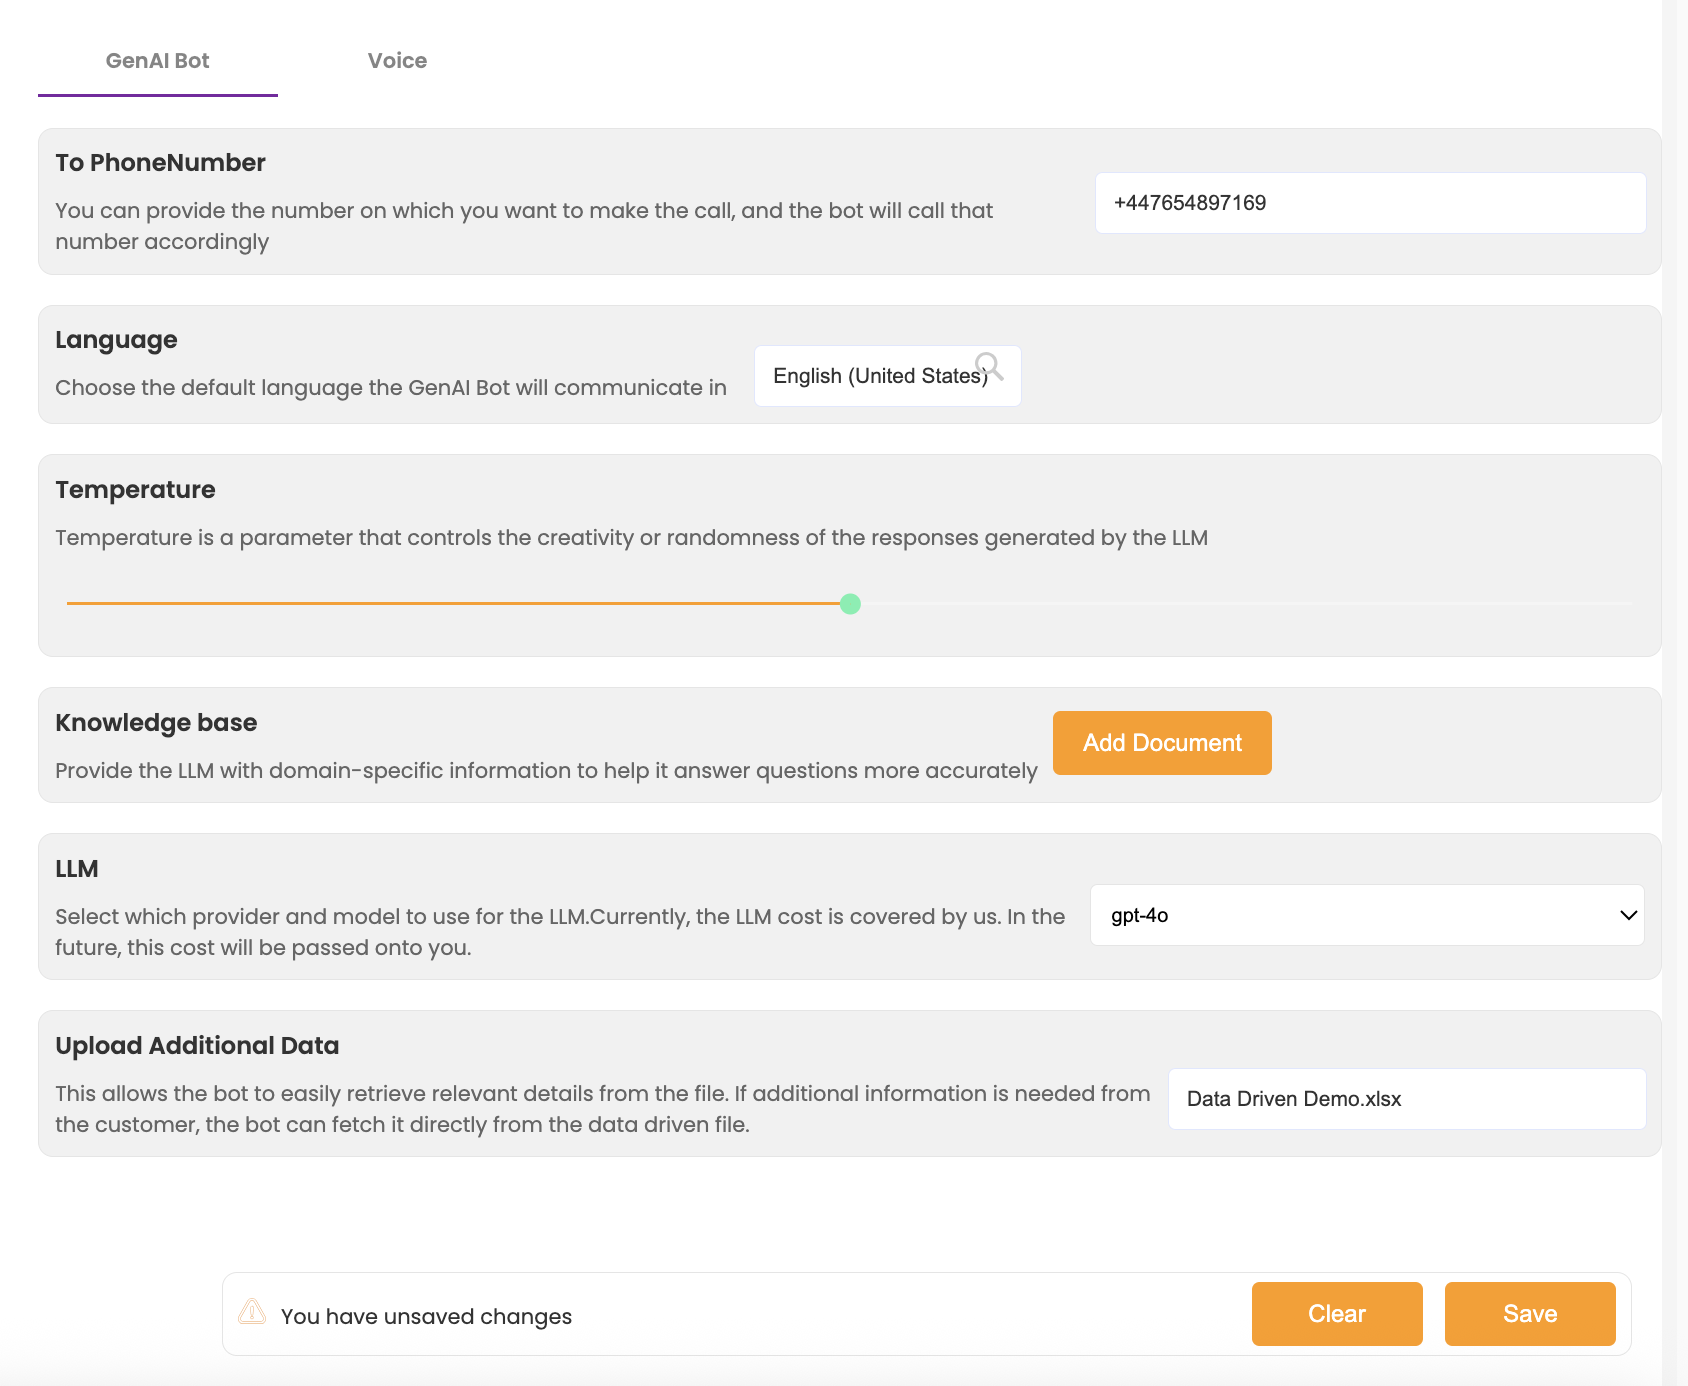
2. Customize Your GenAI Bot
Select your GenAI Bot and fill in the following details:
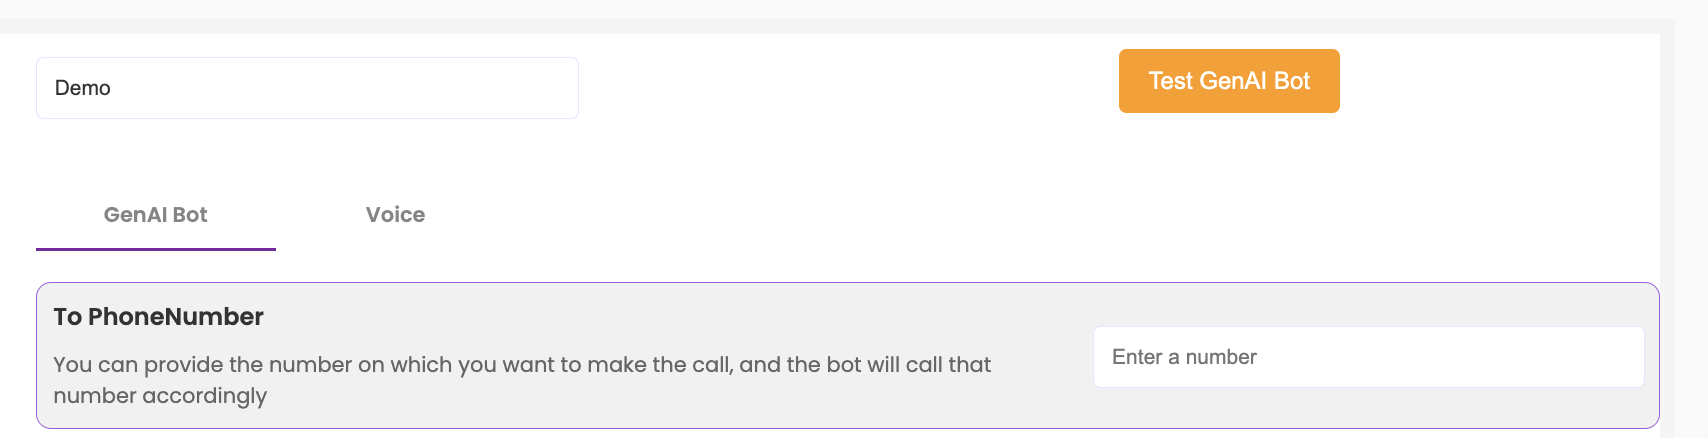
- To Phone Number: Specify the phone number to call. The bot will initiate the call accordingly.
- Language: Choose the default language from the dropdown menu.
- Temperature: Adjust the creativity/randomness of responses using the slider (range: 0 to 2).
- Knowledge Base: Provide the LLM with domain-specific information.
- Click Add Document.
- Upload files in JSON, TXT, or CSV format, or enter a website link.
- Specify the Industry (mandatory field).
- Click Save.
- LLM (Large Language Model): Choose the preferred provider and model from the dropdown list.
- Note: Currently, LLM costs are covered by QuickTest. In the future, these costs may be passed to users.
- Upload Additional Data: Allow the bot to retrieve details from uploaded data files. To upload a data driven file:
- Go to Configuration under your profile settings.
- Select Upload Data Driven File.
- Click Upload File and select the desired file.
- (For more information on how to add data-driven files, click here.)
- Click Save after configuring all settings.
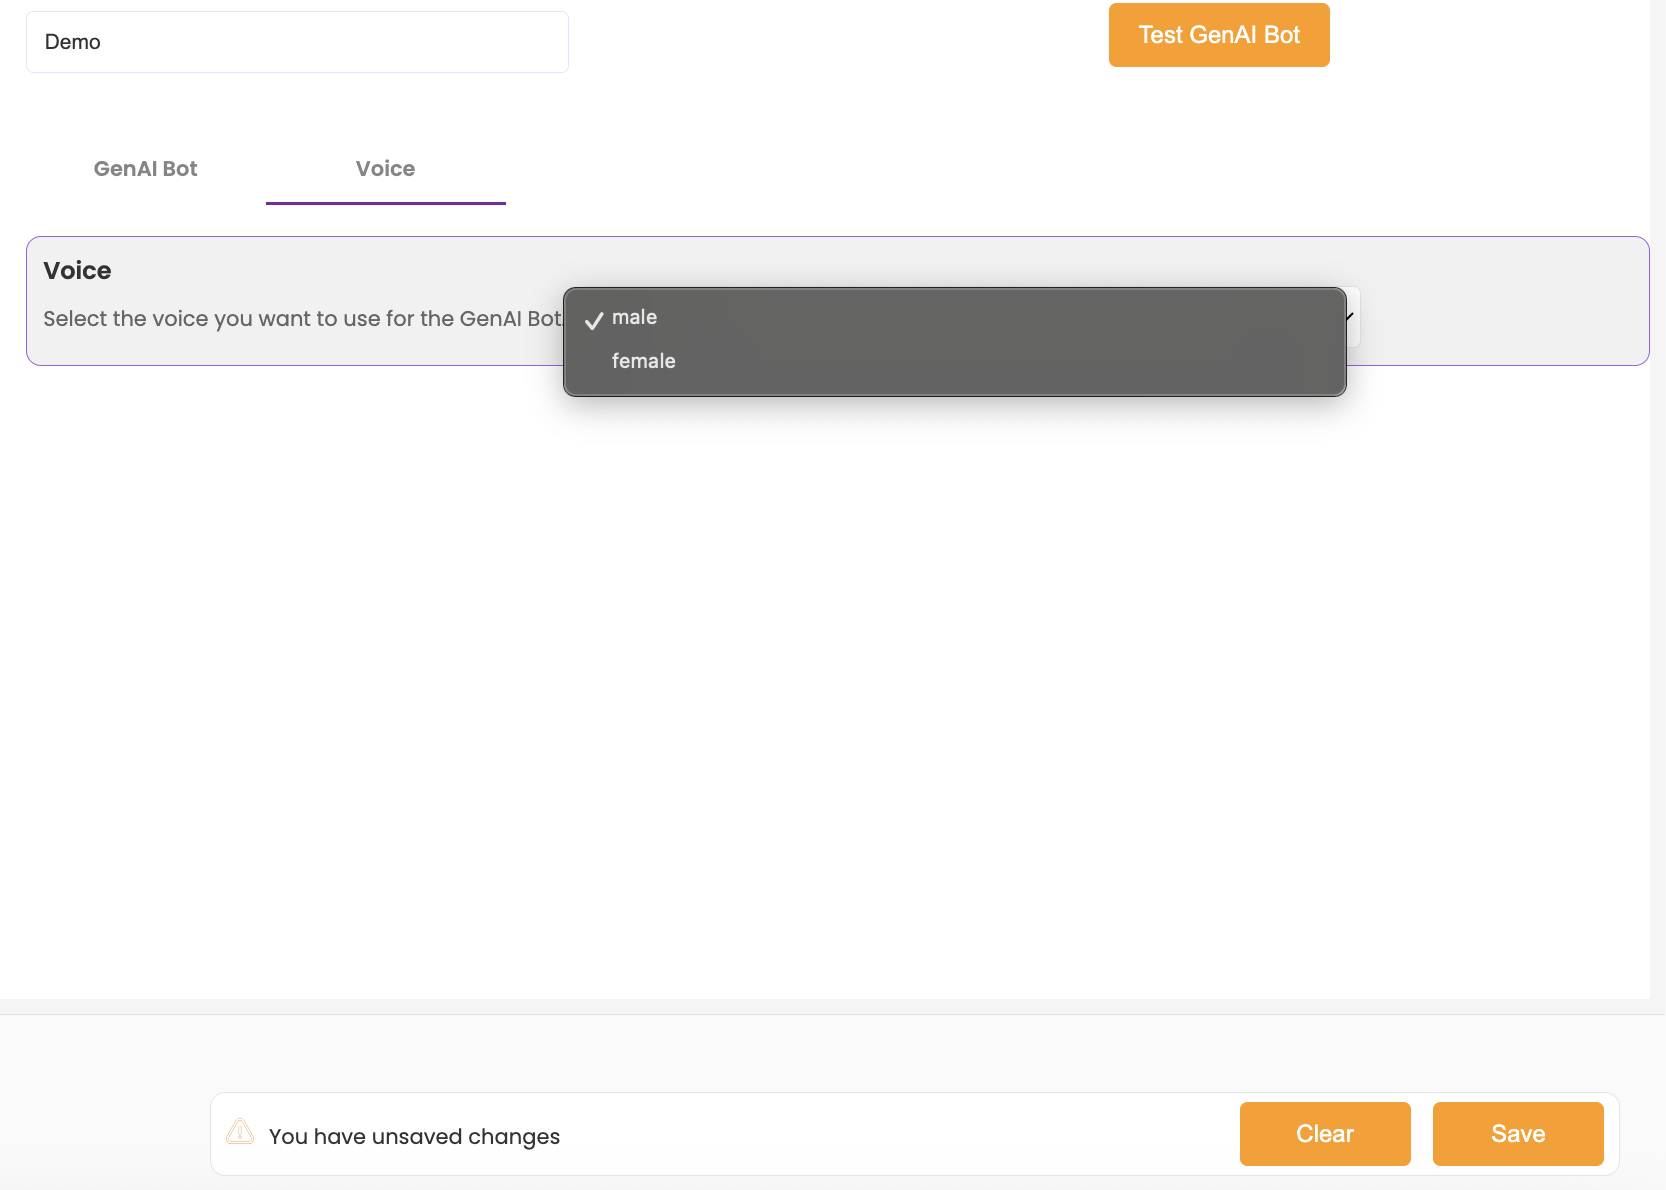
3. Customize Voice Settings (Voice Bots Only)
- Voice Selection: Choose a male or female voice from the dropdown list.
Testing Your GenAI Bot #
Once your GenAI Bot is created and configured, you can generate and run test scenarios to evaluate its performance.
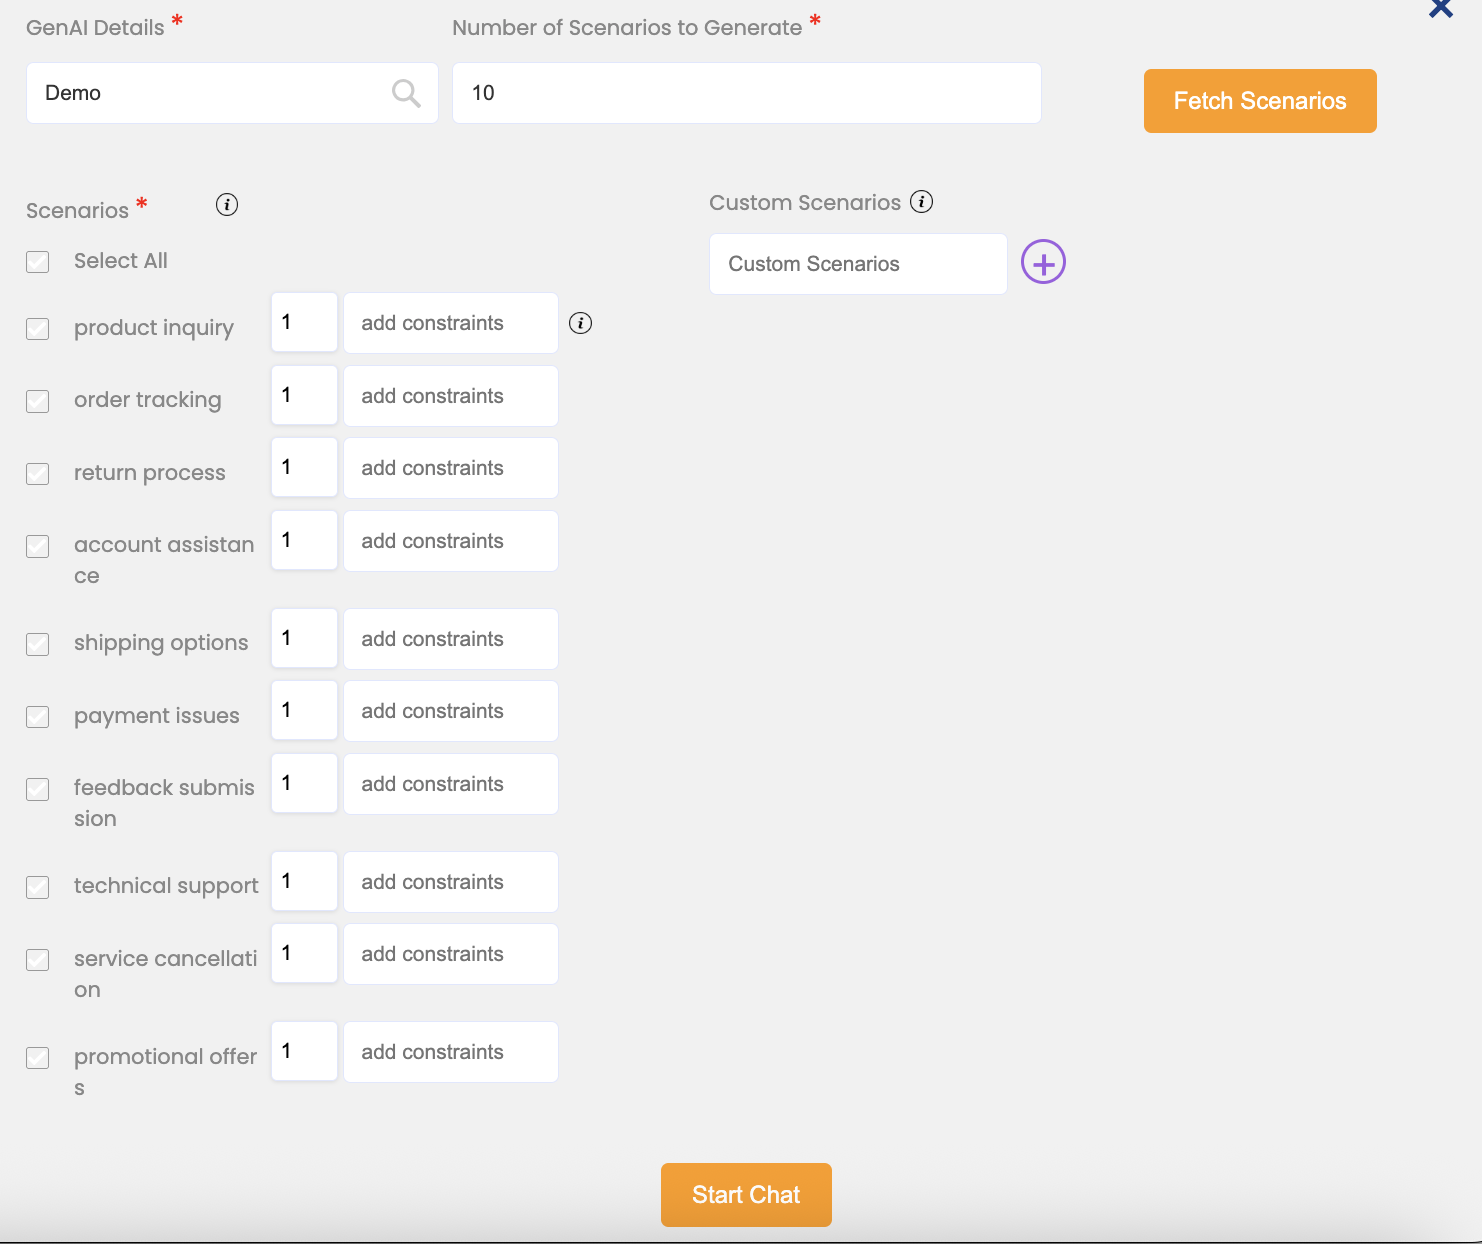
1. Running GenAI Bot Tests
- Click Test GenAI Bot.
2. Enter the Number of Scenarios to Generate.
3. Click Fetch Scenarios to create test cases.

4. After a few seconds, the bot will generate FAQs and use cases based on the data and knowledge you have uploaded. The scenarios will be displayed in a list format.
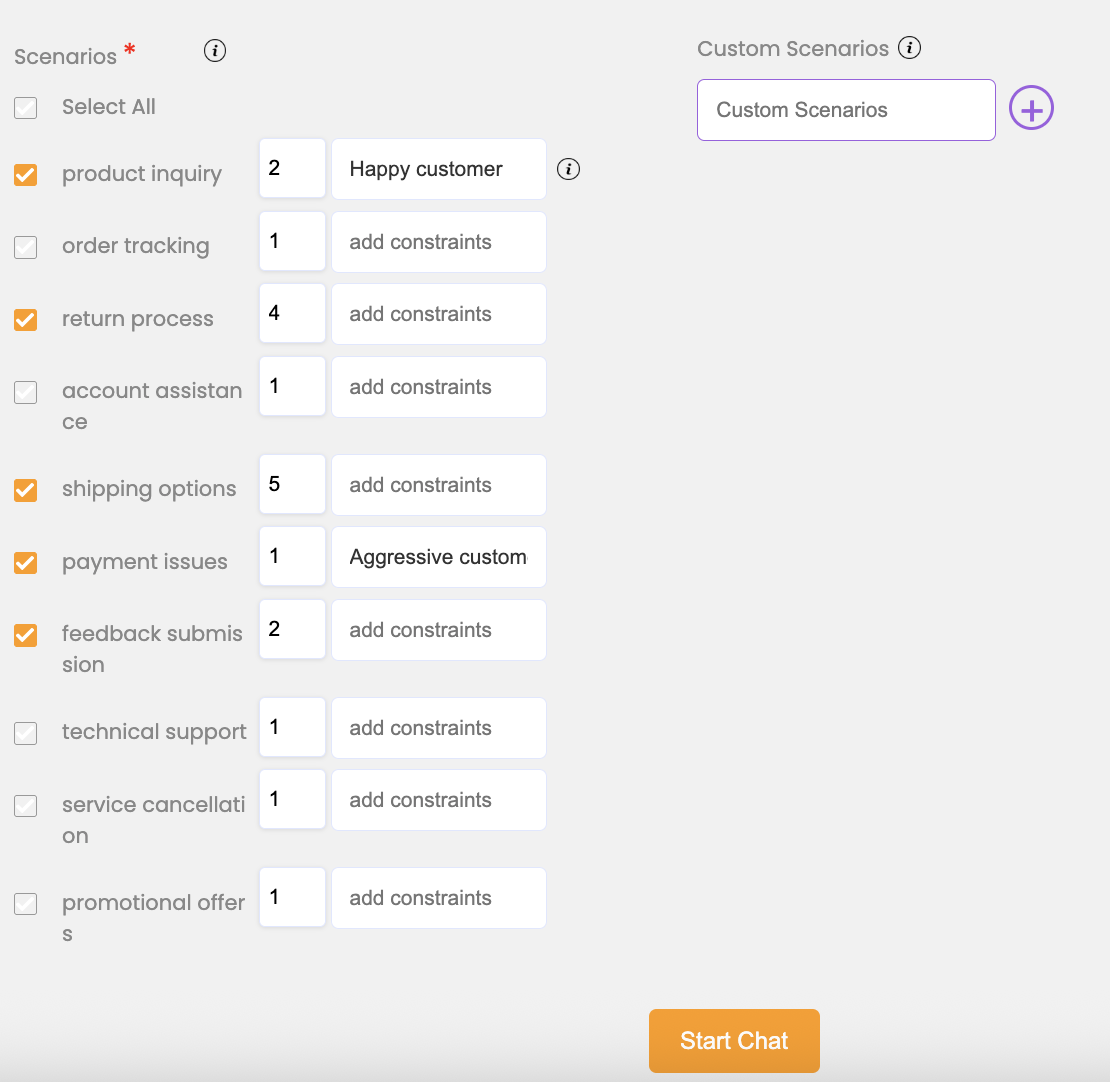
2. Select and Configure Scenarios
Select your GenAI Bot and fill in the following details:
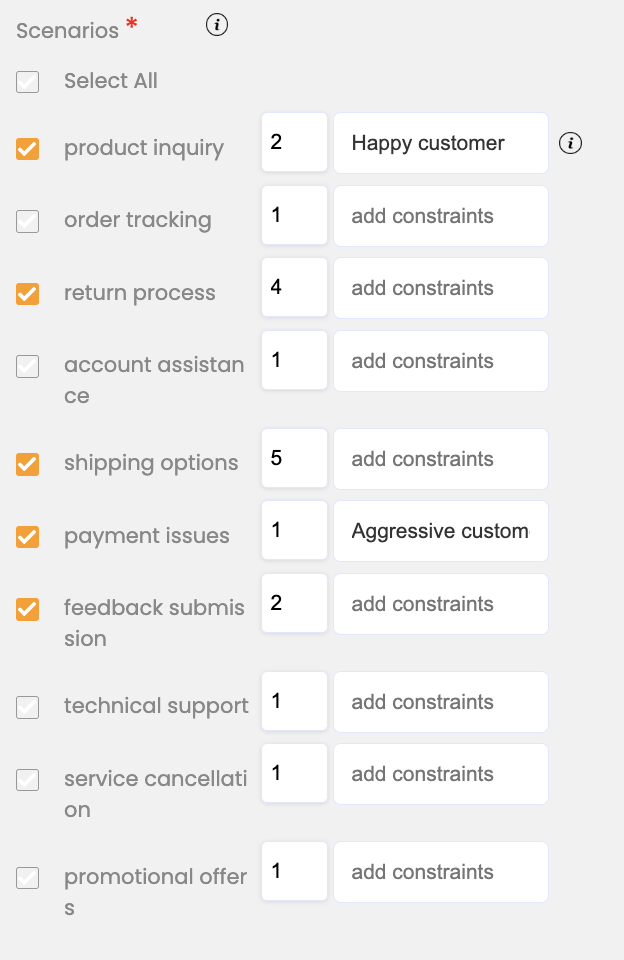
- Select Scenarios: Use the checkboxes to choose multiple scenarios for testing.
- Number of Runs: Enter the number of times each scenario should be tested. Generated scenarios can be tested multiple times with varied wording (e.g., 2, 5, 10, etc iterations)
- Constraints: Add behavioral constraints to guide how the bot should respond. For example:
- “Happy customer”: the bot will behave as if interacting with a cheerful user.
- “Aggressive customer”: the bot will behave as if interacting with an aggressive user.
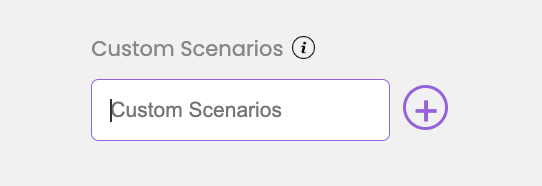
- Custom Scenarios: Create personalized scenarios that are not part of the predefined list.
- Click the + icon to add a new scenario.
- Enter the number of test runs.
- Add any constraints if required.
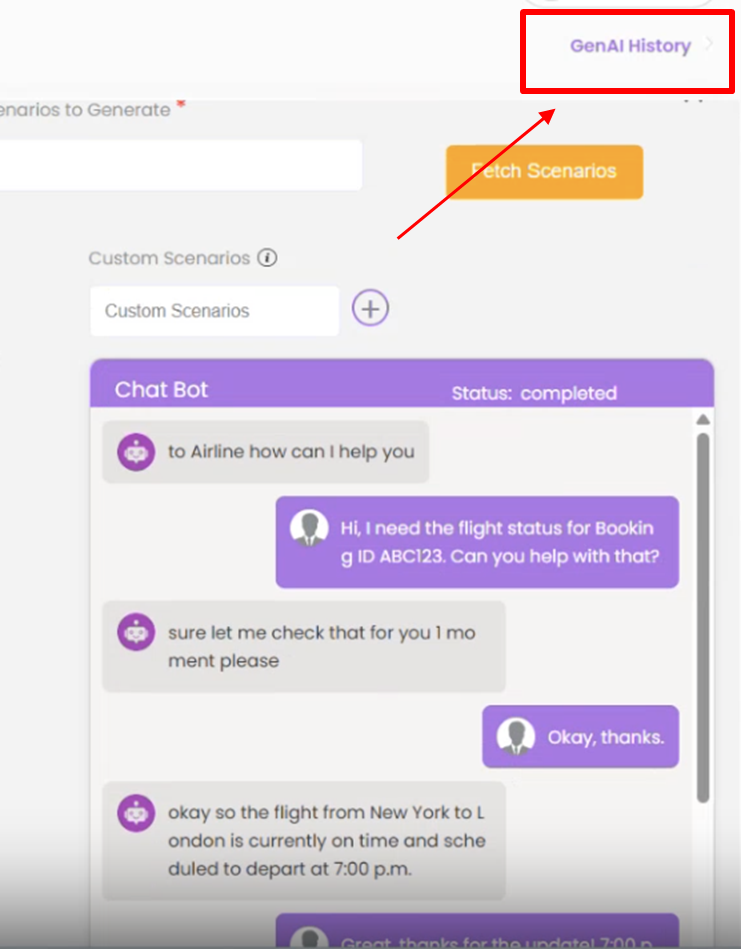
3. Start the Test
- Once all details have been configured, click Start Chat to begin testing your GenAI Bot.
- A conversation window will pop up where the interaction with the bot takes place.
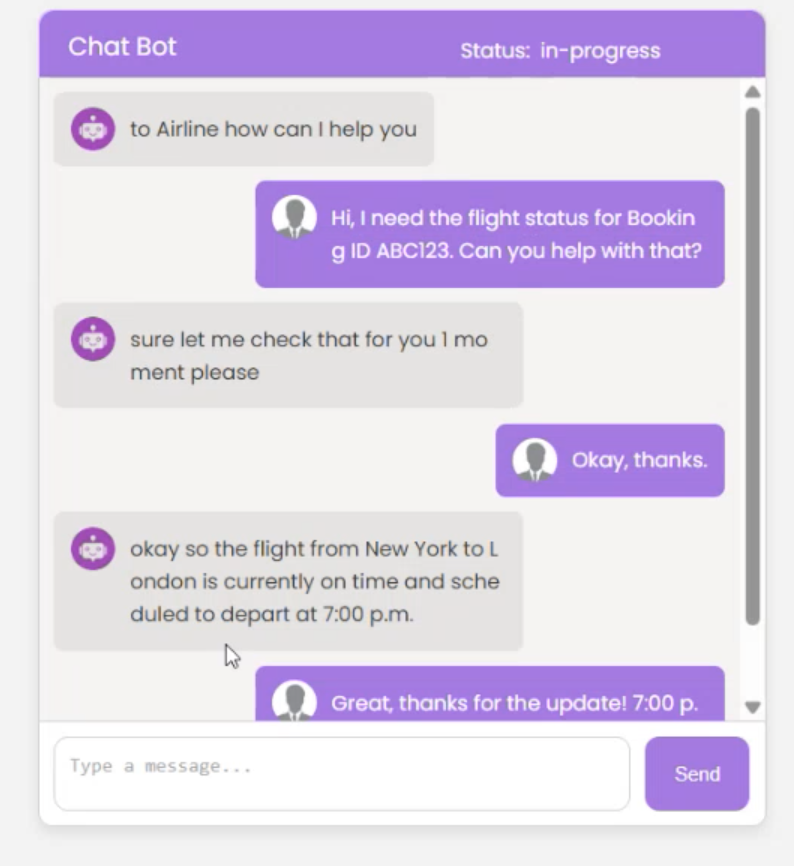
- When the conversation ends, click GenAI History to view detailed results.